Exact salon language for face-framing layers tailored to oval, round, square, heart, oblong, and diamond faces
Face-framing layers are shorter pieces cut around the front of your hair that contour your cheekbones, jawline, or chin — but where those layers start and how steeply they taper depends entirely on your face shape. Telling your stylist “I want face-framing layers” without specifying placement is how people end up with a cut that widens a round face or shortens an already long one. This guide gives you the exact terminology, starting points, and reference-photo strategy to walk into the salon and communicate precisely what you need.
This guide covers: what face-framing layers actually are (and how they differ from curtain bangs), the best layer placement for each of the six face shapes, specific phrases to use during your consultation, techniques your stylist may suggest, and realistic maintenance expectations.
What Face-Framing Layers Are and How They Work
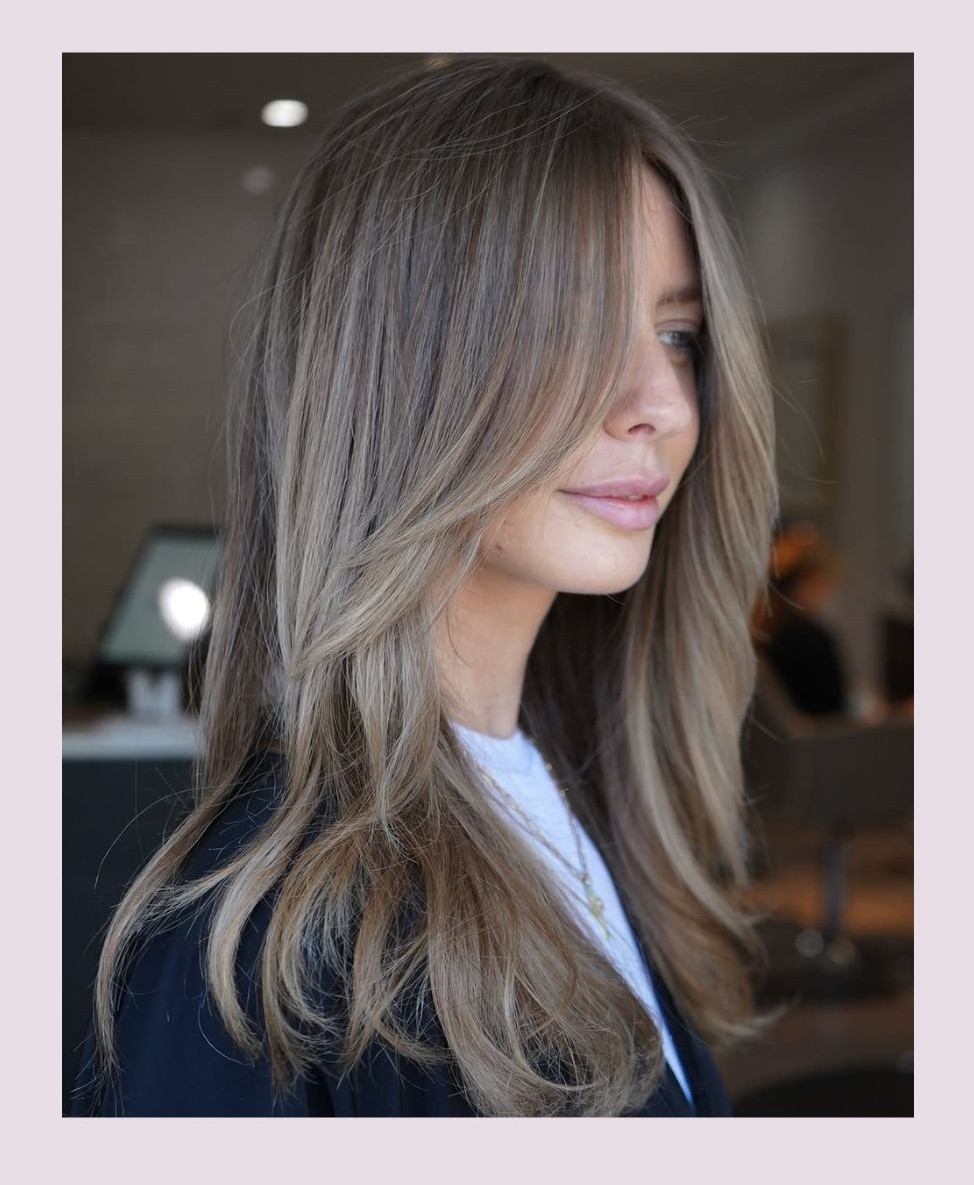
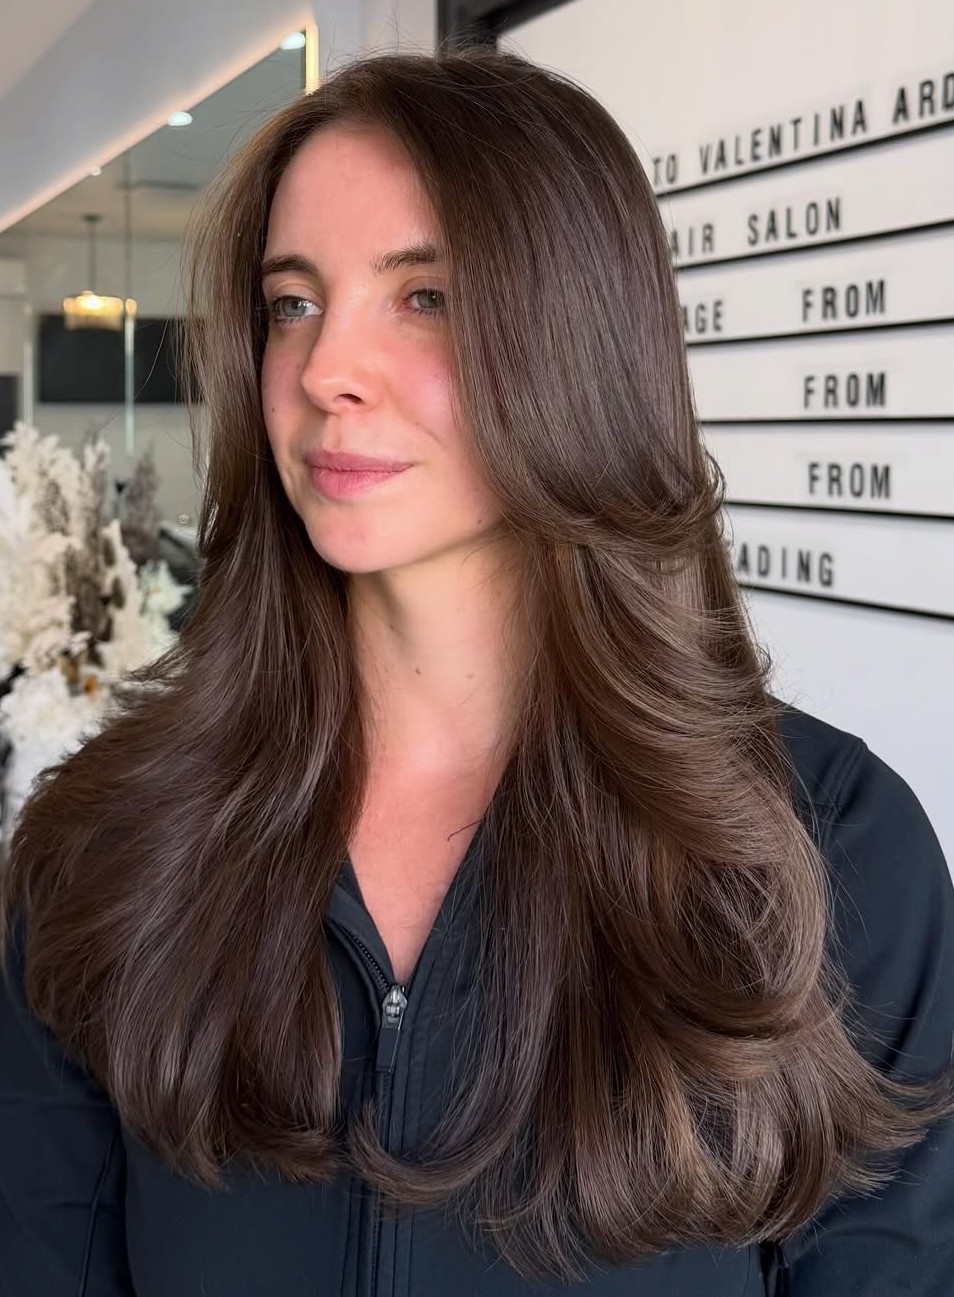
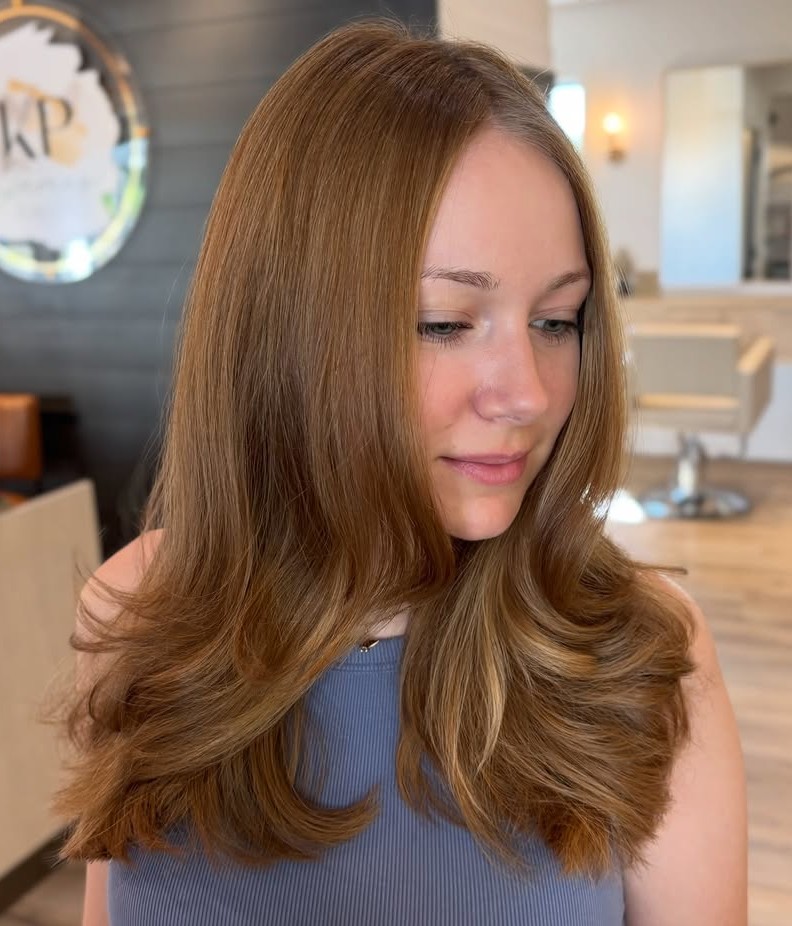
Face-framing layers are graduated sections of hair cut around the perimeter of your face, starting anywhere from cheekbone level down to the collarbone and blending into the rest of your length. Unlike all-over layers that reduce weight throughout the head, face-framing layers focus exclusively on the front pieces — the hair that falls forward when you wear it down. The effect is a soft contour that draws the eye to specific facial features while adding movement to what might otherwise be a flat, one-length cut.
The shortest piece in a face frame is the “starting point,” and this is the single most important measurement to communicate to your stylist. A starting point at cheekbone level draws attention to your eyes and upper face. One at jawline level emphasizes the lower face and chin. A collarbone starting point creates a subtler, more elongated frame that suits people who want the effect without a dramatic length difference between the front and back.
Face-Framing Layers and Curtain Bangs Are Not the Same Cut
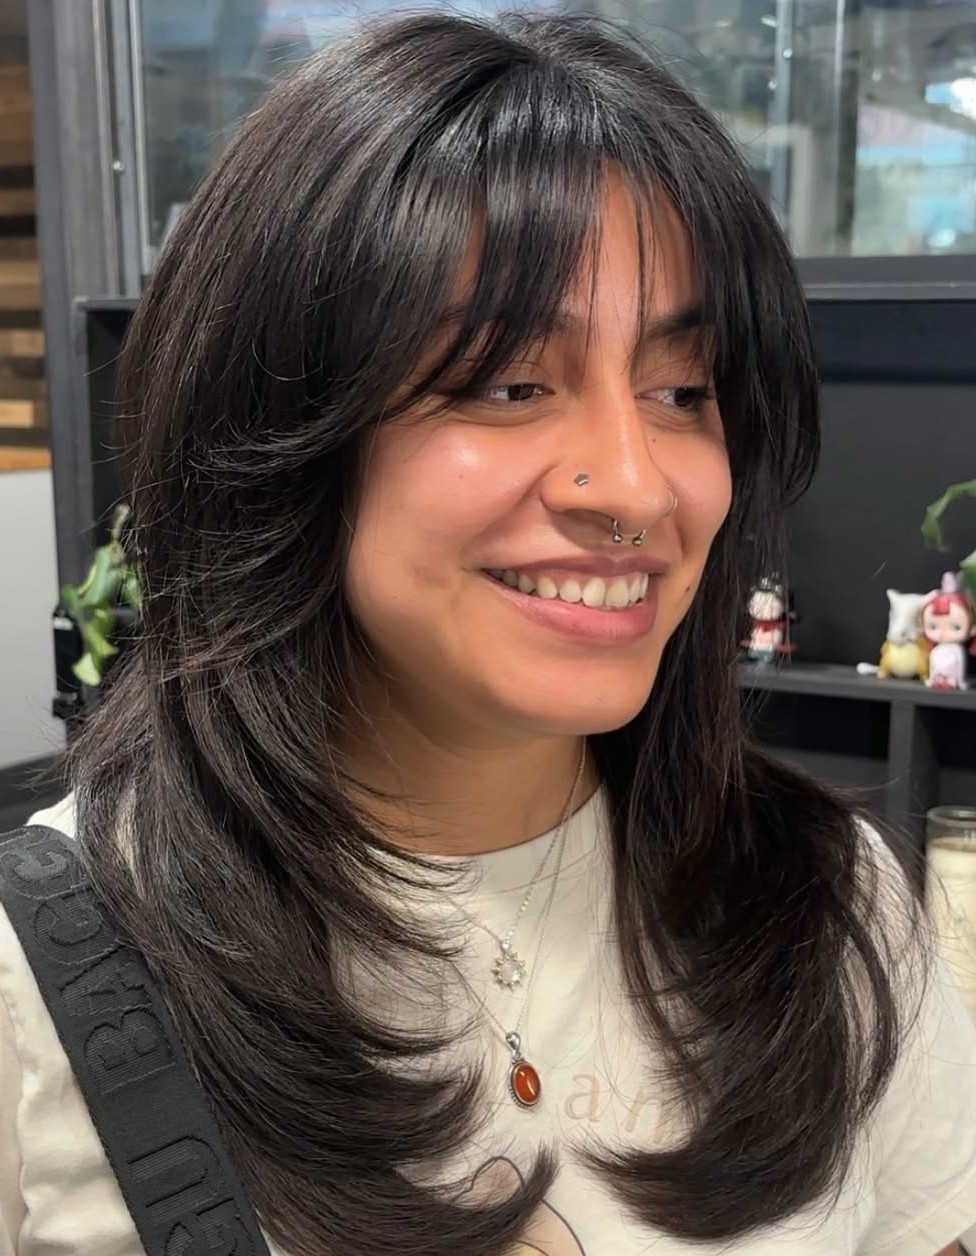
Curtain bangs are a type of fringe that typically starts at the bridge of the nose or eyebrow level and falls to the cheekbones, parted in the middle to create a split effect. Face-framing layers start lower — usually at or below the cheekbones — and extend further down toward the jawline or beyond. You can have face-framing layers without any bangs at all, and you can have curtain bangs without layers through the rest of your hair. When combined, curtain bangs become the shortest tier in a multi-level face frame, but they serve different functions: bangs cover the forehead, while face-framing layers sculpt the sides.
If you want both, tell your stylist: “I’d like curtain bangs as the shortest piece, blending into face-framing layers that extend to my jawline.” If you only want the layers, specify: “No bangs — just face-framing pieces starting at my cheekbones.”
Face-Framing Layers by Face Shape
Your face shape determines where the layers should start, how steeply they should angle, and whether you need the layers to add width, create length, or soften angles. The table below provides a quick overview, with detailed guidance for each shape following.
| Face Shape | Best Starting Point | Goal | Avoid |
|---|---|---|---|
| Oval | Cheekbone to chin — flexible | Highlight balanced proportions | Very short layers that add excess forehead volume |
| Round | Below the chin (1–2 inches past jawline) | Elongate the face vertically | Cheekbone-level layers that add width at the widest point |
| Square | Below the jawline, with soft texturized ends | Soften angular jaw and create movement | Blunt layers ending exactly at the jaw (emphasizes squareness) |
| Heart | Jawline level | Add fullness at the narrower lower face | Very short layers that accentuate forehead width |
| Oblong / Long | Cheekbone level | Add horizontal width, break vertical length | Long layers below the collarbone (further elongates) |
| Diamond | Chin to jawline | Balance prominent cheekbones with volume at jaw | Layers starting at cheekbone level (adds width at the widest point) |
Oval Faces Have the Most Flexibility
Oval faces are roughly 1.5 times longer than they are wide, with a gently rounded hairline and a jaw slightly narrower than the cheekbones. This balanced shape works with nearly any layer starting point, so the decision comes down to which features you want to highlight. Starting at cheekbone level draws the eye to your eyes and upper face. Starting at chin level emphasizes a defined jawline. A longer frame starting below the collarbone creates an understated, low-contrast effect that works well with one-length cuts or lobs.
What to tell your stylist: “I’d like face-framing layers starting at [cheekbone/chin/collarbone]. Keep the graduation gradual — I don’t want a dramatic difference between the shortest piece and my length.” If you’re unsure, ask your stylist to start longer and go shorter in stages.
Round Faces Need Layers That Start Below the Chin
Round faces are nearly equal in width and length, with full cheeks and a soft jawline. The goal with face-framing layers on a round face is to create vertical lines that visually stretch the face downward. Layers that start at cheekbone level are the most common mistake — they land at the widest part of a round face and add horizontal emphasis, making the face appear wider. Instead, the shortest face-framing piece should fall 1–2 inches below the jawline, drawing the eye downward past the fullest part of the cheeks.
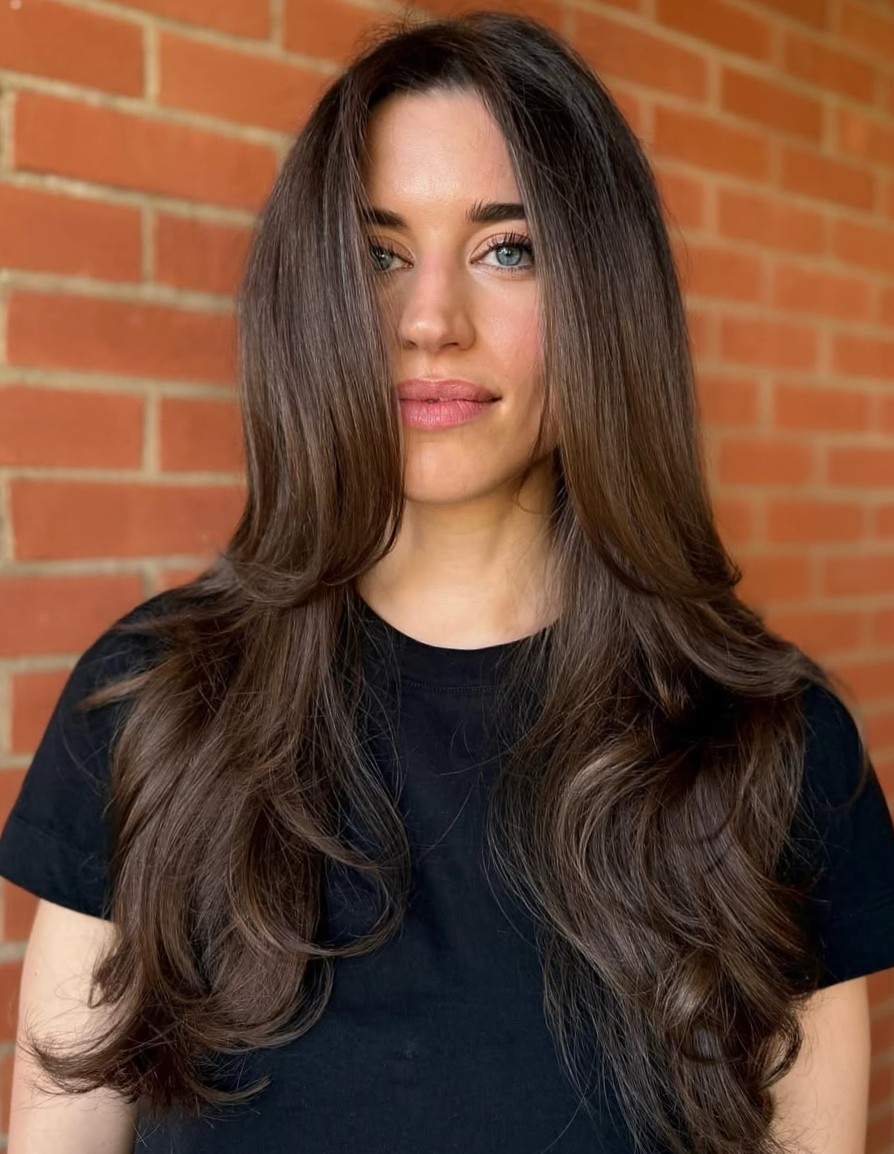
A deep side part (roughly 70/30) adds asymmetry that further breaks up roundness. If you’re combining face-framing layers with an overall layered cut, keep the volume at the crown rather than the sides — side volume adds width, which works against elongation.
What to tell your stylist: “I want the face-framing pieces to start below my jaw — about here [point to the spot, roughly 1–2 inches past your jawline]. I’d like them to angle down gradually, not a steep drop. Can we do a deep side part to add some asymmetry?”
Square Faces Benefit from Soft, Textured Layers
Square faces have a strong, horizontal jawline that’s roughly the same width as the forehead and cheekbones. The jaw is angular rather than rounded, and the face appears wider at the bottom than oval or heart shapes. Face-framing layers on square faces should soften those strong horizontal lines rather than echoing them. The worst choice is a blunt-ended layer that terminates exactly at jaw level — this creates a hard horizontal line that reinforces the jaw’s angularity.
Ask your stylist to start the layers just below the jawline and use point cutting or slide cutting on the ends to create a feathered, wispy texture rather than a clean line. Layers that curve slightly inward at the ends (achieved with a round brush during blow-drying) are particularly effective because the curve breaks the jaw’s straight line visually. A side part works better than a center part here, as the diagonal of the part line adds an angle that contrasts with the jaw’s horizontal emphasis.
What to tell your stylist: “I want layers starting just below my jaw, but with soft ends — can you point cut or slide cut so they’re not blunt? I’m trying to soften my jawline, not highlight it.”
Heart-Shaped Faces Need Volume at the Jawline
Heart-shaped faces are widest at the forehead and cheekbones, tapering to a narrower chin. The face-framing strategy here is the opposite of a round face: instead of minimizing width, you’re adding it — specifically at the lower face to balance the broader forehead. Layers starting at jawline level create fullness right where the face is narrowest, visually widening the lower third.
Avoid very short face-framing pieces that start at the temples or high cheekbones — these draw the eye to the already-wide upper face and make the forehead appear even broader. If you want curtain bangs combined with your layers, keep them wispy and side-swept rather than heavy and blunt, which adds weight across the forehead.
What to tell your stylist: “I’d like face-framing layers starting at my jawline to add fullness around my chin. Keep the top lighter — I don’t want heavy layers near my temples or forehead area. Can we style the front pieces to flip outward slightly at jaw level?”
Oblong Faces Need Width at the Cheekbones
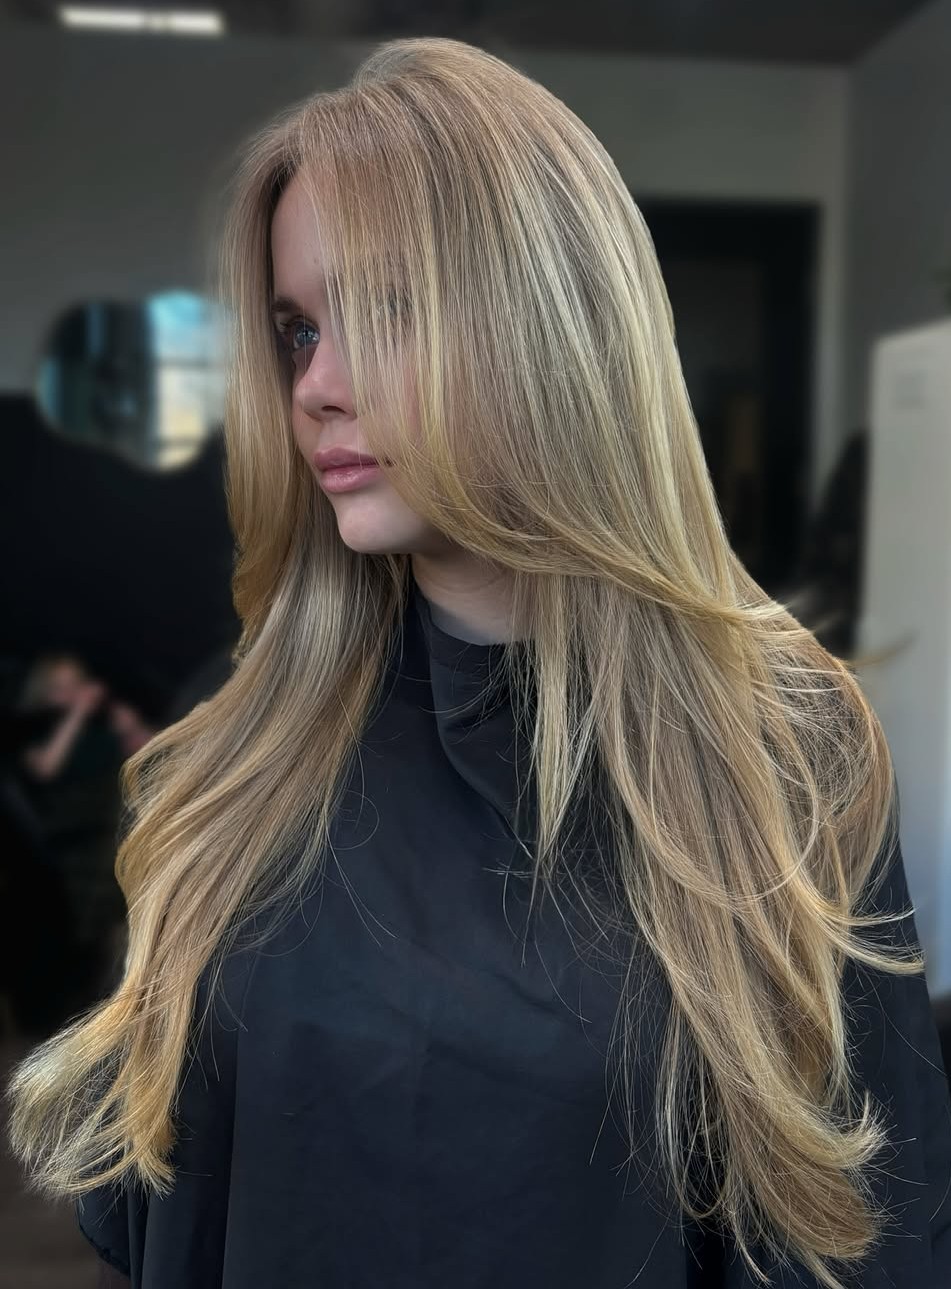
Oblong (or long) faces are noticeably longer than they are wide, with a tall forehead and an extended chin area. The face shape can look narrow, and the goal is to add horizontal width while breaking the vertical line. Face-framing layers starting at cheekbone level accomplish both — they add visual width at the midpoint of the face and create a horizontal interruption that shortens the overall appearance of length.
Styling matters as much as the cut for oblong faces. Layers that are curled or waved outward at cheekbone level push width to the sides, which is exactly what this face shape needs. Flat, straight layers that hang vertically won’t produce the widening effect — they’ll just fall close to the face and maintain the narrow silhouette. If your hair is naturally straight, discuss with your stylist whether a round brush blowout or a large-barrel curl on the front pieces would achieve the necessary width.
What to tell your stylist: “I want face-framing layers starting at cheekbone level to add width. Can we keep them at a medium length and avoid going too long? I’d also like some guidance on styling them outward so they don’t fall flat against my face.”
Diamond Faces Should Frame Below the Cheekbones
Diamond faces have a narrow forehead and jawline with wide, prominent cheekbones. The widest part of the face is at the cheekbone line, and both the forehead and chin taper to narrow points. Face-framing layers on diamond faces need to avoid the cheekbone zone — adding volume there amplifies the face’s widest point. Instead, start layers at chin level or lower, which adds fullness to the narrow jawline and balances the prominent cheekbones.
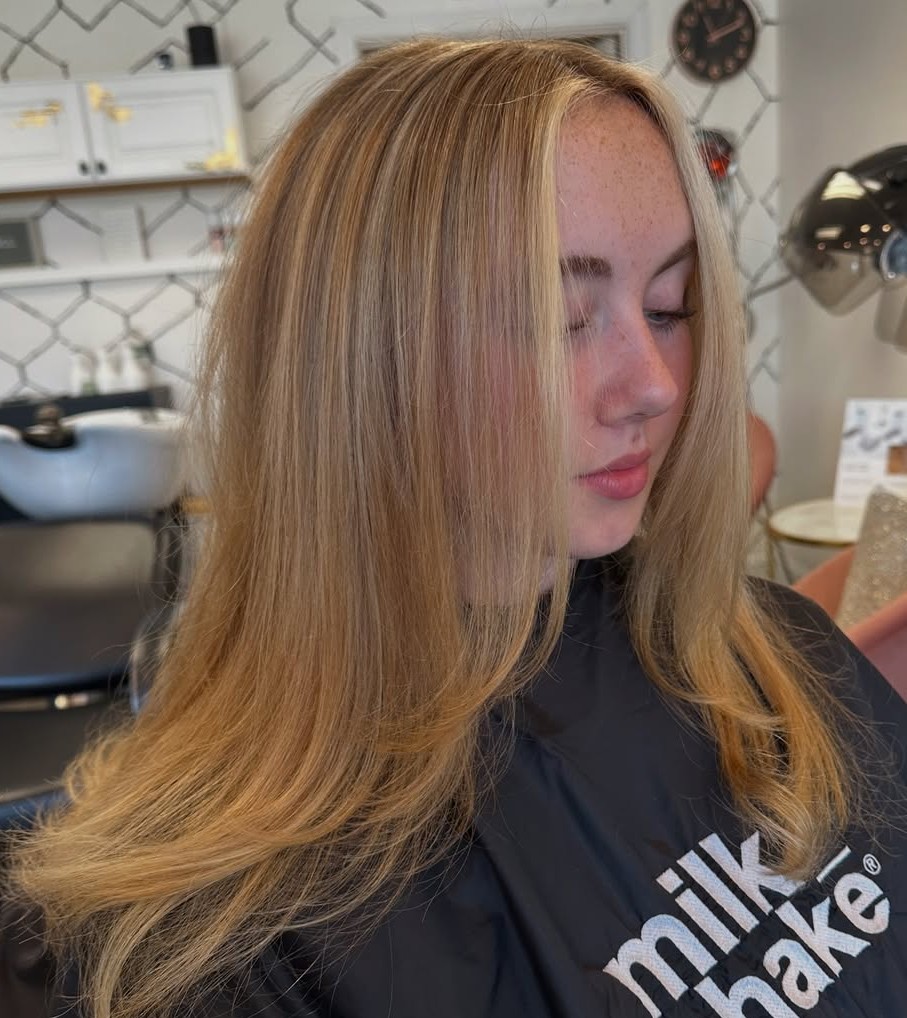
Side-swept styling also helps diamond faces because it adds volume across the forehead — another narrow area. If you’re open to it, pairing chin-level face-framing layers with long, soft curtain bangs can simultaneously widen the forehead and the jaw, bringing the face’s proportions closer to an oval silhouette.
What to tell your stylist: “My cheekbones are my widest point, so I’d like layers starting at my chin or lower — nothing hitting right at the cheekbones. Can we add a side-swept element to give a little more fullness at the forehead too?”
Cutting Techniques Your Stylist Might Use
When you ask for face-framing layers, your stylist will choose a cutting technique based on your hair texture and the finish you want. Knowing these terms helps you understand what’s happening in the chair and ask informed follow-up questions.
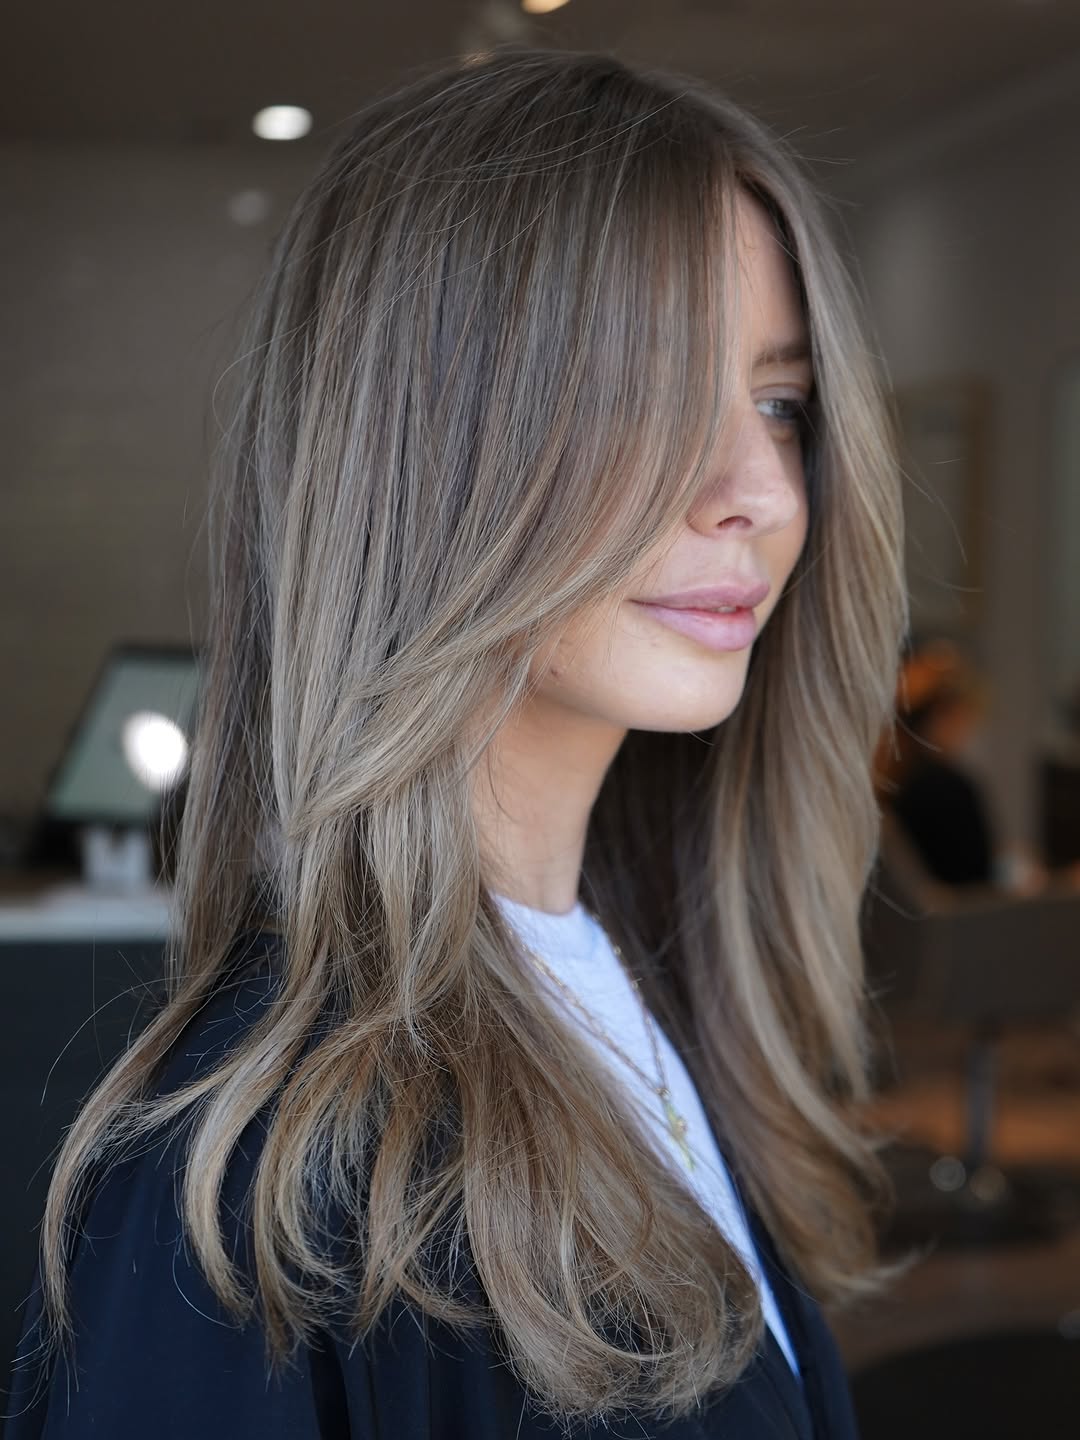
Point cutting involves holding the shears vertically and snipping into the ends of each layer to create a textured, slightly jagged finish rather than a blunt line. This is the standard technique for softening face-framing ends on most hair types. Slide cutting is a more specialized approach where the stylist glides open shears down the hair shaft to taper weight and length simultaneously — it creates a feathered, graduated effect that blends seamlessly. Stylists who work with shags and modern wolf cuts often default to slide cutting for face-framing pieces. Razor cutting uses a straight razor to shave through sections, producing wispy, airy ends with almost no weight. It works well on medium-to-thick hair but can leave fine hair looking sparse at the ends.
Stylist tip: If you have wavy or curly hair, ask your stylist to cut your face-framing layers while your hair is dry. Wet cutting doesn’t account for curl shrinkage, and you could end up with layers that sit several inches shorter than you wanted once your hair springs back to its natural pattern.
How to Prepare for Your Salon Consultation
A reference photo is the single most effective communication tool in a hair consultation — more effective than verbal descriptions alone. Search for images that match your hair texture and approximate length, not just the face-framing style you like. A photo of sleek, straight layers on fine hair won’t translate directly if your hair is thick and wavy. Save 3–5 photos that show different angles of the effect you want, and point out specifically what you like in each one: “I like the starting point in this photo,” or “I like the texture at the ends in this one.”
Beyond photos, prepare these details before your appointment:
- Your starting point preference: Cheekbone, jawline, chin, or collarbone — or “I’m not sure, can we discuss based on my face shape?”
- Your part: Center, side, or deep side? The part affects where the layers fall and how much of the face they actually frame.
- Texture at the ends: Blunt, point-cut (slightly textured), or wispy? This determines the finishing technique.
- Features you want to highlight or downplay: “I want to draw attention to my cheekbones” or “I’d like to soften my jawline.” This gives your stylist a clear goal.
If you’re not sure what face shape you have, ask your stylist at the start of the consultation. Most professionals can identify your face shape in seconds and will recommend layer placement based on that assessment.
Maintenance and Styling Expectations
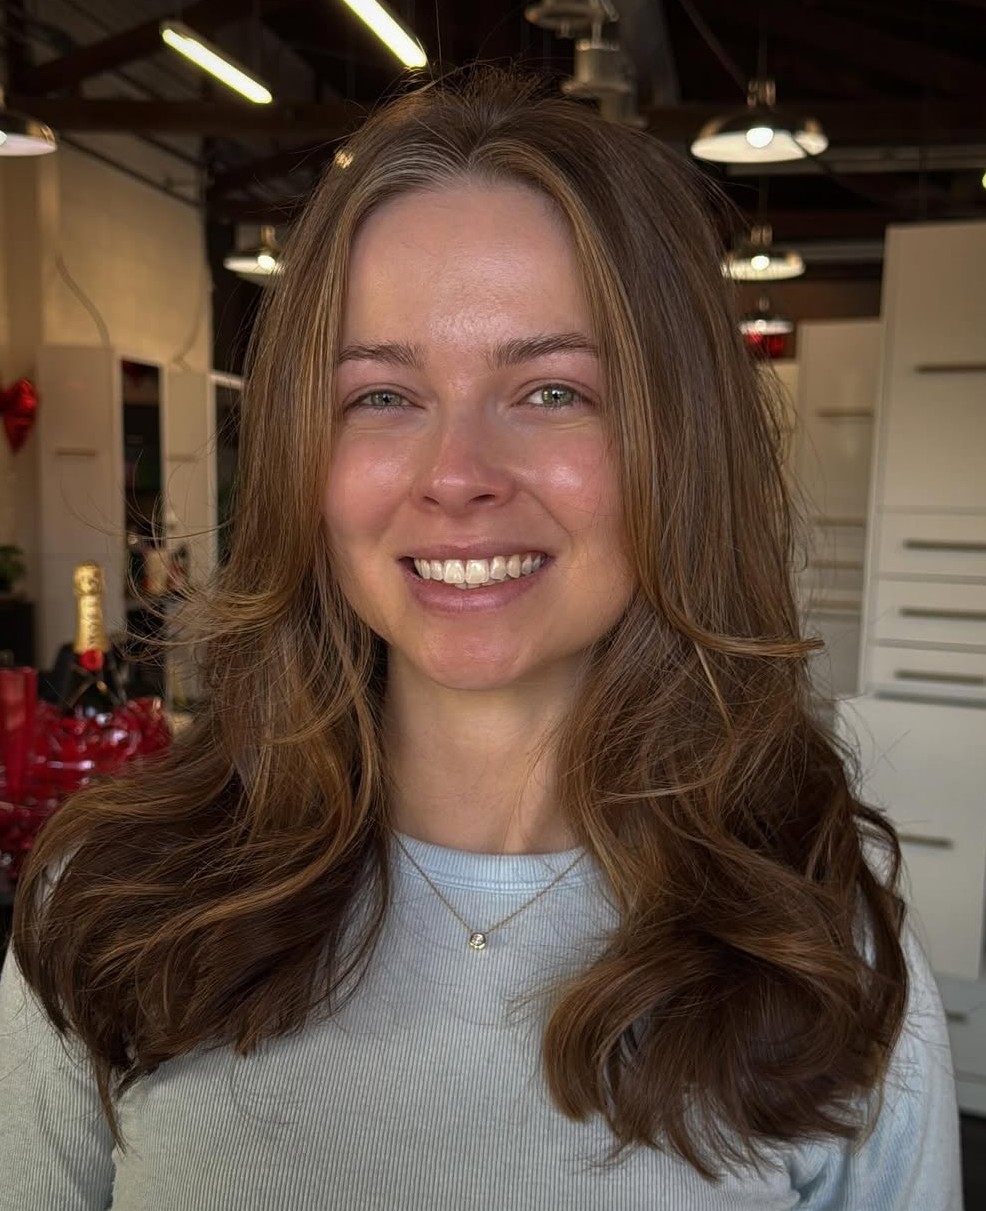
Face-framing layers are among the lowest-maintenance layered cuts because they involve a relatively small amount of hair. That said, they do need upkeep to keep the shape intentional rather than grown-out.
| Factor | Expectation |
|---|---|
| Trim frequency | Every 8–12 weeks for subtle layers; every 6–8 weeks if your shortest piece is at cheekbone level or above |
| Daily styling time | 2–5 minutes with a round brush, or zero if you style with product and air dry |
| Key products | Lightweight texturizing spray for movement; smoothing cream for straight styles; curl cream if wavy or curly |
| Grow-out behavior | Forgiving — layers blend into the length gradually and rarely look awkward during the grow-out phase |
| Updos and ponytails | The front pieces naturally fall out of updos, creating a soft frame. This is a feature, not a flaw — many people specifically request face-framing layers for this reason |
Styling direction matters for achieving the face-shape effect you want. Round and square faces benefit from layers styled slightly away from the face to open up the features. Heart-shaped faces look best when the jawline layers flip outward to add width. Oblong faces need the cheekbone layers pushed outward with volume — flat layers defeat the purpose. A round brush during blow-drying is the simplest tool for controlling direction.
FAQ
Can I Get Face-Framing Layers on Short Hair?
Yes, but the options narrow. On a bob, face-framing layers can start at cheekbone level and blend into the perimeter within a short distance. On a pixie, the front pieces essentially become the face frame by default. The shorter the hair, the less dramatic the layering difference will be — expect a 1–2 inch variation between the shortest layer and the overall length, compared to 4–6 inches on longer hair.
Do Face-Framing Layers Work on Curly Hair?
Absolutely, but insist on dry cutting. Curly hair shrinks 25–50% when it dries, depending on your curl pattern, and a stylist cutting wet curly hair can’t predict where the layers will actually land. The face-framing effect is the same — contour and movement around the face — but the starting point needs to account for shrinkage. For 3a–3b curls, plan for your layers to sit about 2 inches higher than where they’re cut wet.
How Are Face-Framing Layers Different from Regular Layers?
Regular (or all-over) layers remove weight throughout the head — top, sides, and back. Face-framing layers are localized to the front sections only. You can have face-framing layers on an otherwise one-length cut, which gives you the contouring effect around your face while preserving thickness and weight through the rest of your hair. If your stylist adds all-over layers, the face-framing pieces will typically be the shortest tier in the overall layer structure.
What If I Don’t Know My Face Shape?
Pull your hair back, stand in front of a mirror, and trace the outline of your face with a dry-erase marker or lipstick (on the mirror, not your face). The shape that emerges — oval, round, square, heart, oblong, or diamond — is your starting point. If you’re still unsure, ask your stylist at the beginning of your appointment. This is a routine part of consultations and most professionals can identify your shape immediately.
Will Face-Framing Layers Make Thin Hair Look Thinner?
Not if they’re cut correctly. Because face-framing layers only affect the front pieces, they remove far less weight than all-over layers. Ask your stylist to use point cutting rather than razor cutting — razor cutting removes too much bulk from fine strands and can leave the ends looking transparent. Keep the shortest layer no higher than chin level on fine hair, and avoid heavy texturizing that thins out already-sparse sections.
How Do I Ask for Face-Framing Layers If I Also Want Curtain Bangs?
Specify both as separate elements with a blending instruction: “I’d like curtain bangs starting at [nose bridge/eyebrow level], blending into face-framing layers that extend to my [jawline/chin/collarbone].” The curtain bangs become the shortest piece, and the face-framing layers graduate down from there. Bring a reference photo showing this specific combination, since the transition between bangs and layers is the detail most likely to be misinterpreted without a visual.
How Long Does the Appointment Take?
If you’re only adding face-framing layers to an existing cut (no other changes), expect 15–30 minutes. If it’s part of a full haircut with all-over layers, blowout, and styling, plan for 45–90 minutes depending on your hair length and thickness. The consultation at the start — where you discuss placement, starting point, and technique — typically adds 5–10 minutes and is worth every second.
Hair results vary based on your natural hair type, texture, density, and condition. Always consult with a licensed hairstylist before making significant changes, especially with chemical treatments or dramatic length changes. Photos may show styled results that require professional tools and products to replicate.