
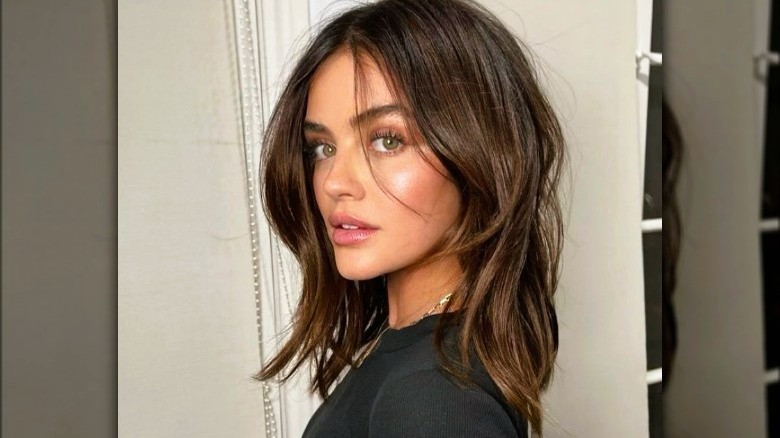
What a midi cut actually is, who it flatters, and how to ask for one that works with your hair type and face shape
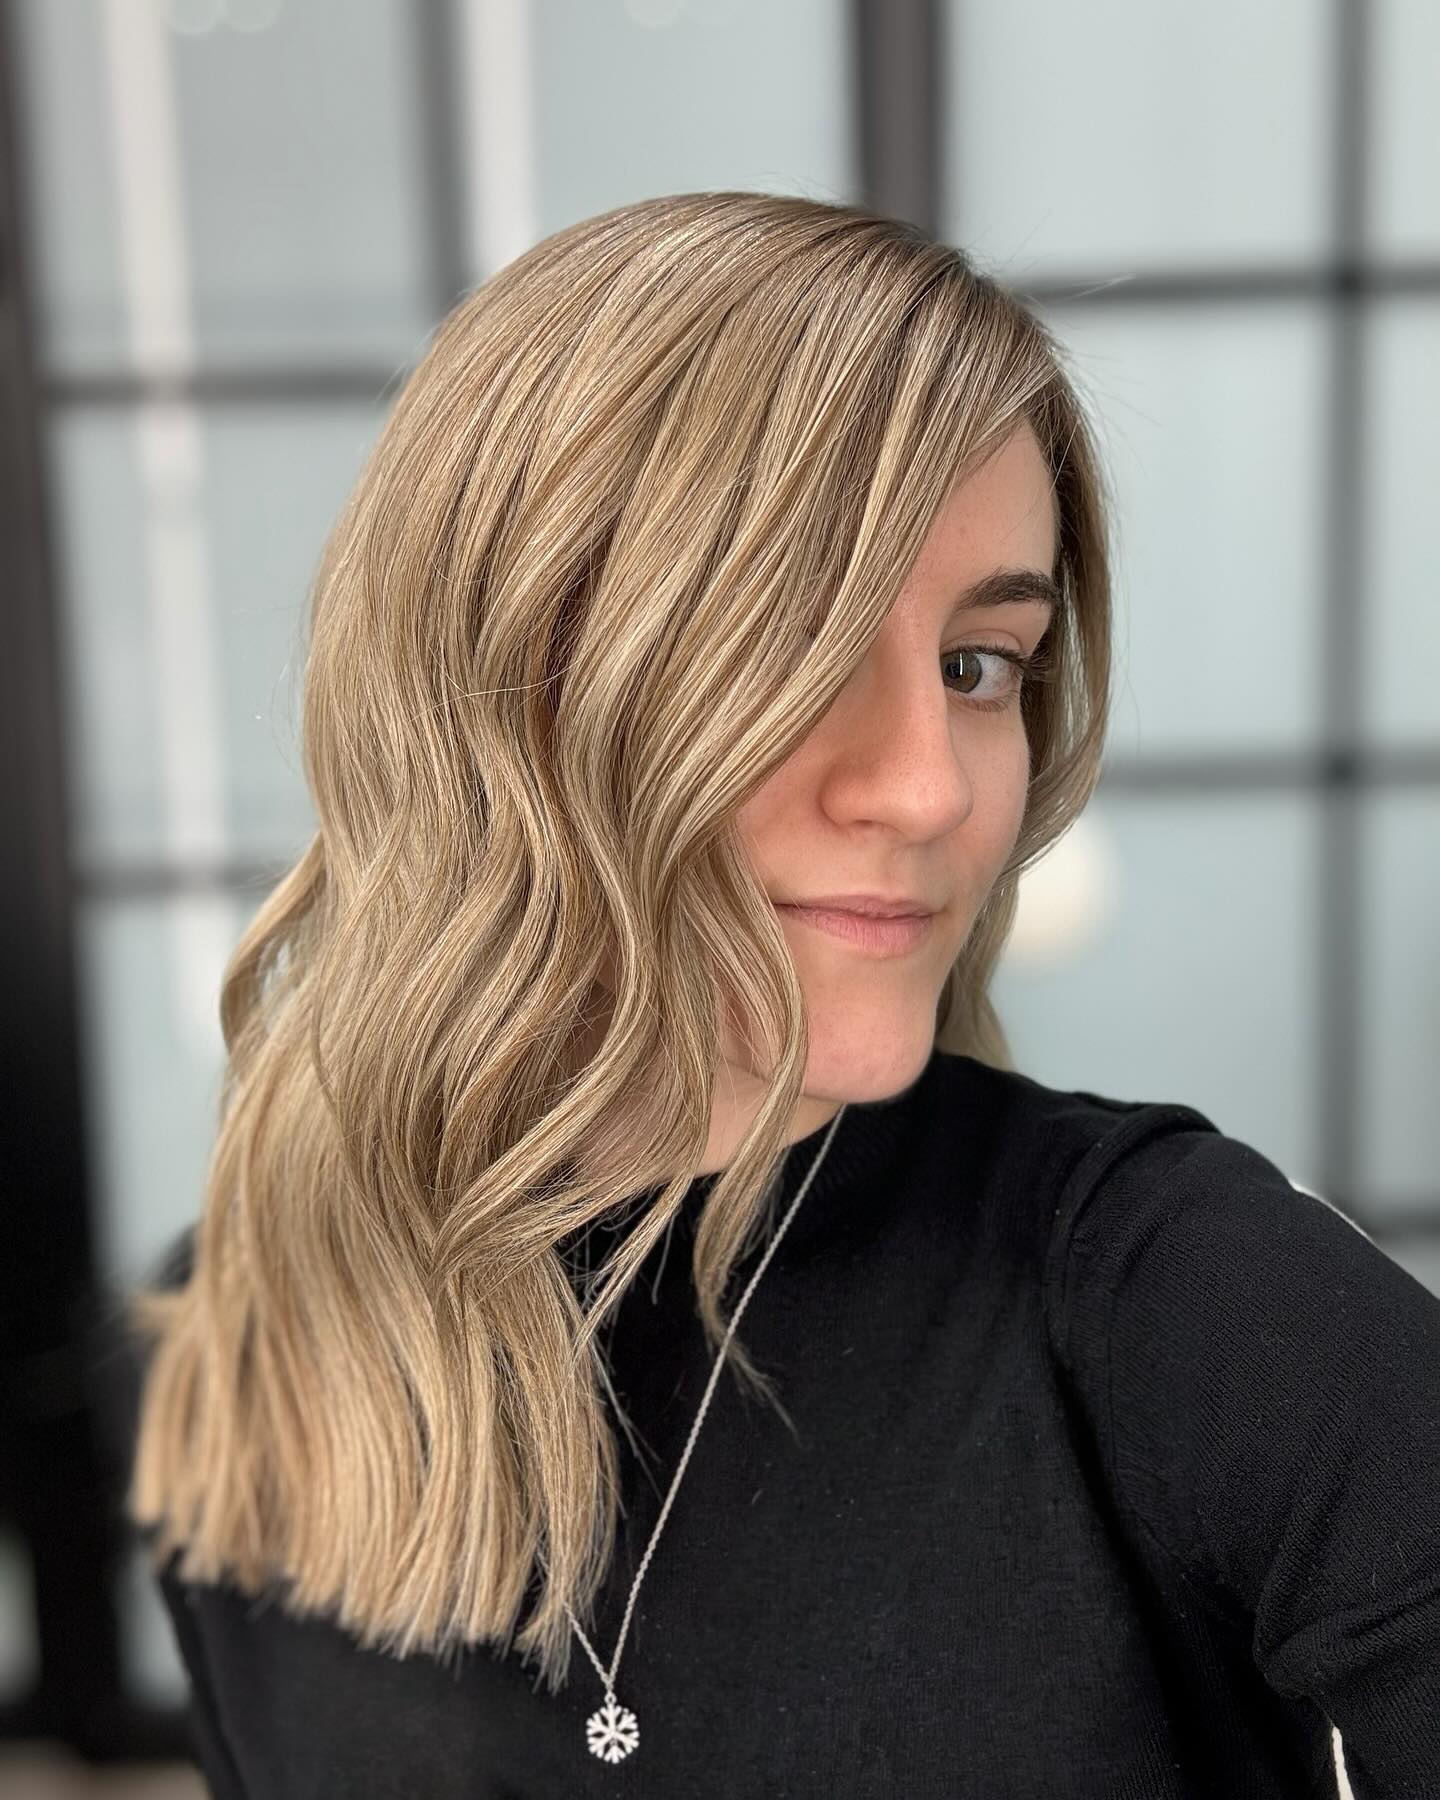
A midi cut falls between the collarbone and the upper chest — longer than a lob, shorter than mid-back hair — and it has become one of the most requested lengths in salons heading into 2026. Unlike a bob or pixie that defines itself by a sharp structural silhouette, the midi is defined by its zone: that specific 3–4 inch stretch below the collarbone where hair has enough weight to behave but not enough length to feel heavy. The reason everyone seems to want it right now is practical — it’s the only length that genuinely works for ponytails, half-up styles, loose waves, and straight blowouts without any of them feeling forced.
This guide covers: how a midi cut differs from a lob or standard medium-length haircut, which midi variations suit each face shape and hair texture, the layering and styling approaches that make or break this length, what to say at the salon, and the realistic maintenance schedule so you know exactly what you’re signing up for.
What a Midi Cut Actually Is (and What It Isn’t)
The term “midi” borrows from fashion — midi skirts and dresses hit between the knee and the ankle, and the hair equivalent occupies the same in-between territory. A midi cut sits at or just below the collarbone and stops before reaching the mid-chest. That sounds like a small window, but the difference between collarbone-grazing and chest-skimming changes how the cut moves, how it falls around your face, and how much daily effort it requires.
Stylists often hear clients ask for a “midi” when they actually mean a lob, or request a lob when they want something longer than what a lob delivers. The confusion is understandable — the boundaries between mid-length terms are blurry in everyday conversation. But in the salon, specificity matters. If you ask for “shoulder length,” your stylist may cut to the top of the shoulder, which bounces up into lob territory once it’s dry. If you ask for “medium length” without a reference photo, you could end up anywhere from chin to mid-chest.
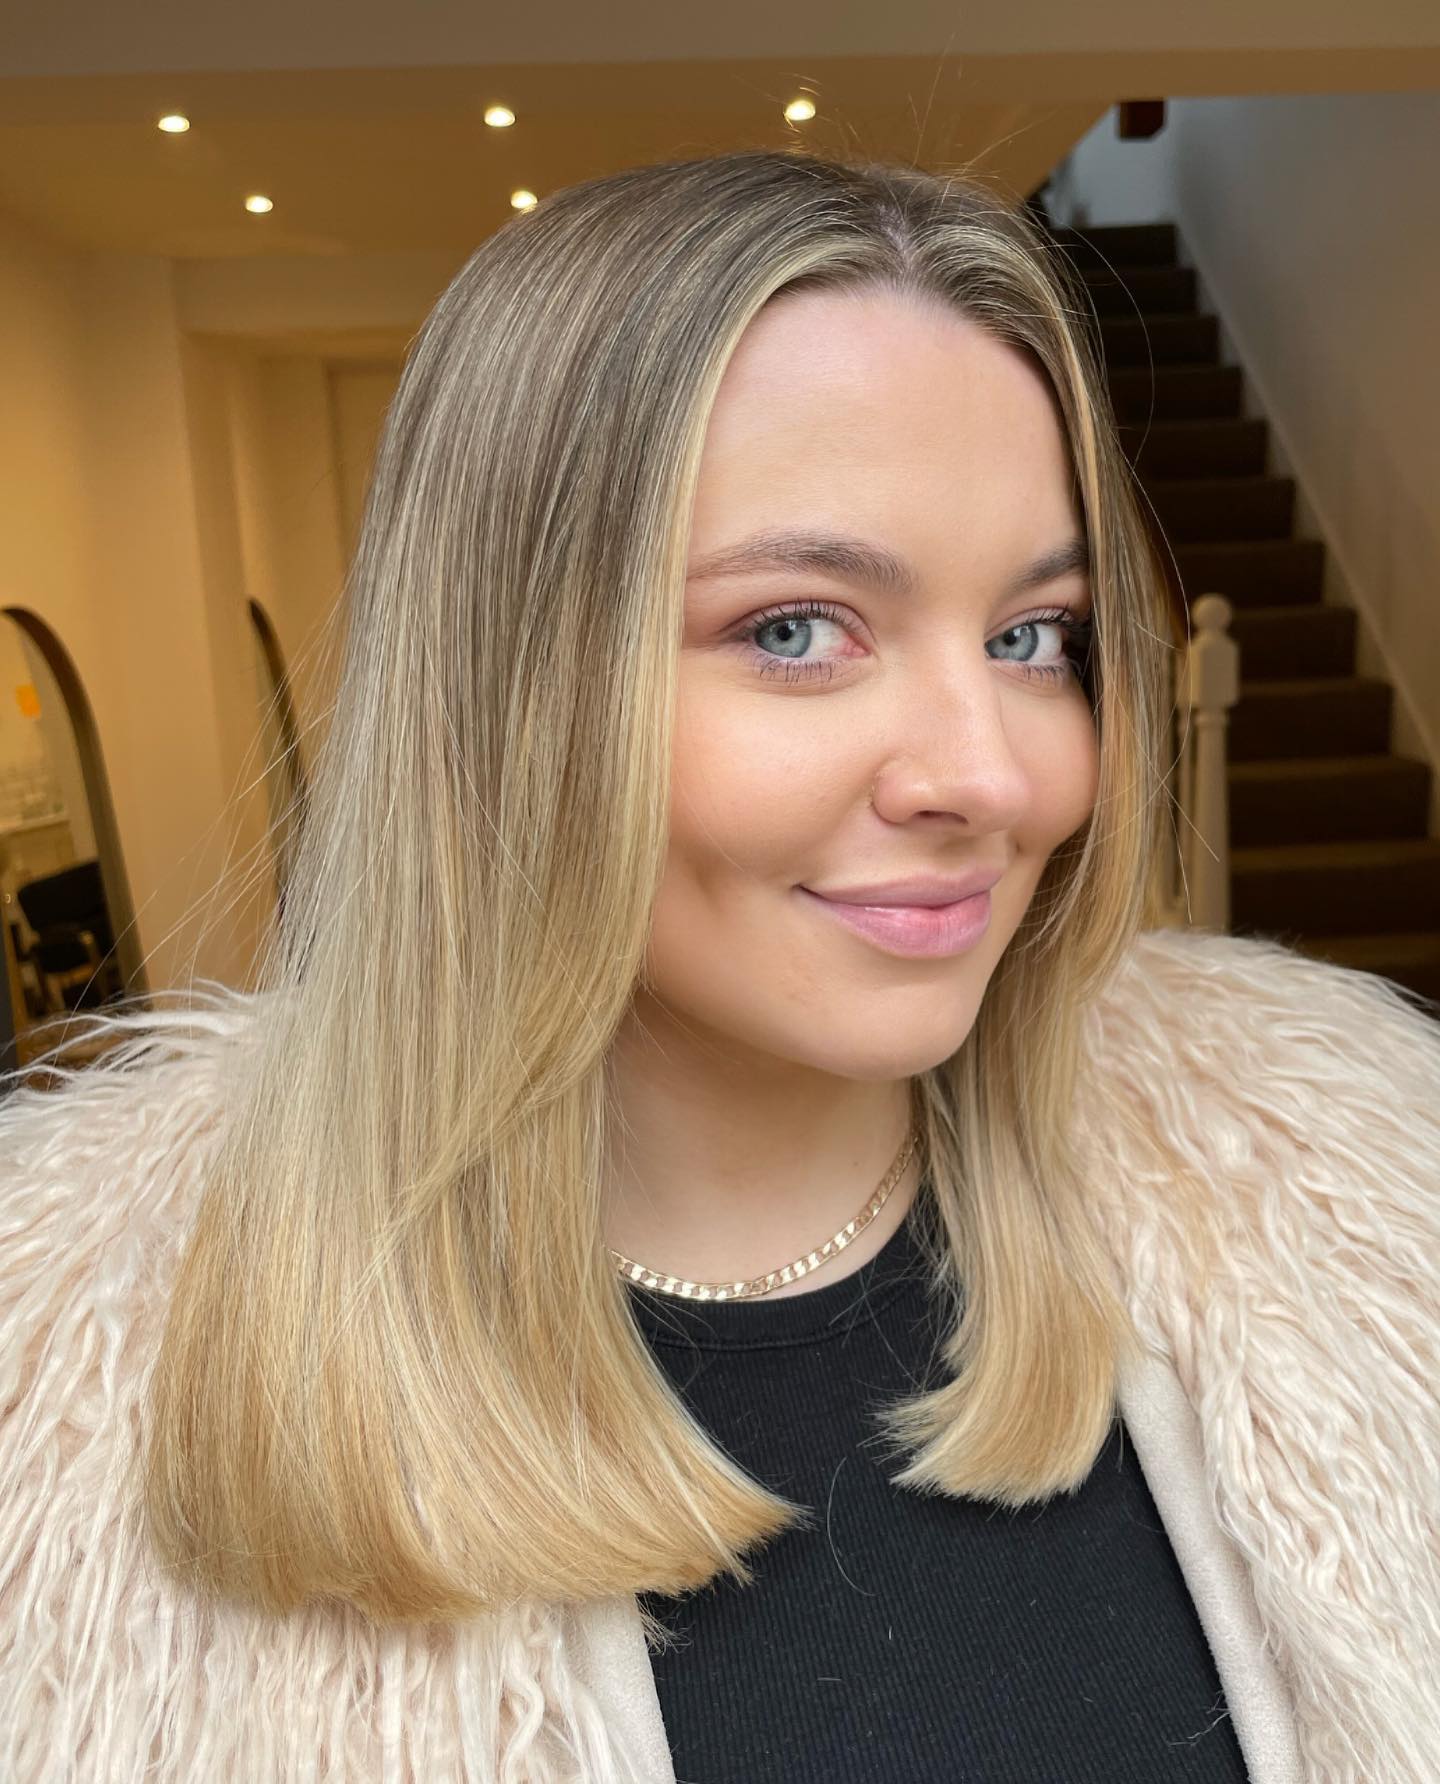
The Midi Sits in a Specific Zone Between a Lob and Long Hair
| Cut | Length Range | Defining Feature | Ponytail? |
|---|---|---|---|
| Bob | Chin to jaw | Sharp structure; shape comes from the cut itself | No (or very short nub) |
| Lob (long bob) | Jaw to collarbone | Extended bob silhouette; still feels “short” | Barely — short pieces fall out |
| Midi cut | Collarbone to upper chest | In-between zone; weight creates natural movement | Yes — low ponytails, half-up styles, buns |
| Long hair | Mid-chest and below | Length is the statement; gravity does most of the work | Yes — full range of updos |
The midi’s real advantage over a lob is functionality. At collarbone length and below, you can pull hair back into a proper low bun or ponytail without short pieces escaping at the nape — something that frustrates many lob owners. And unlike long hair, a midi cut doesn’t weigh itself flat at the roots or take 30 minutes to blow-dry.
Why the Midi Cut Took Over in 2025–2026
The midi isn’t a new invention — stylists have been cutting hair to this length for decades. What changed is how the industry and social media started treating it as an intentional style rather than an awkward growing-out phase. For years, collarbone-to-chest length was where bobs went to die: the “in-between” stage clients endured on the way to long hair. It didn’t have a name, and no one asked for it on purpose.
That shifted around 2024–2025, when the post-pandemic bob wave started growing out en masse. Millions of women who had chopped their hair during lockdown were now sitting in stylists’ chairs at that in-between length — and many of them realized they actually liked it there. Social media gave the length a vocabulary: “midi cut,” “midi flick,” “midi bombshell.” Once it had a name, it became a deliberate choice.
The timing also aligns with a broader trend toward low-effort, high-payoff styling. The midi is arguably the lowest-maintenance length that still looks intentional. It doesn’t need the frequent trims a bob demands to maintain its structure, and it doesn’t require the elaborate layering that long hair needs to avoid looking flat. Stylists describe the current direction as “elevated ease” — cuts that look like they styled themselves because the shape is engineered into the cut itself.
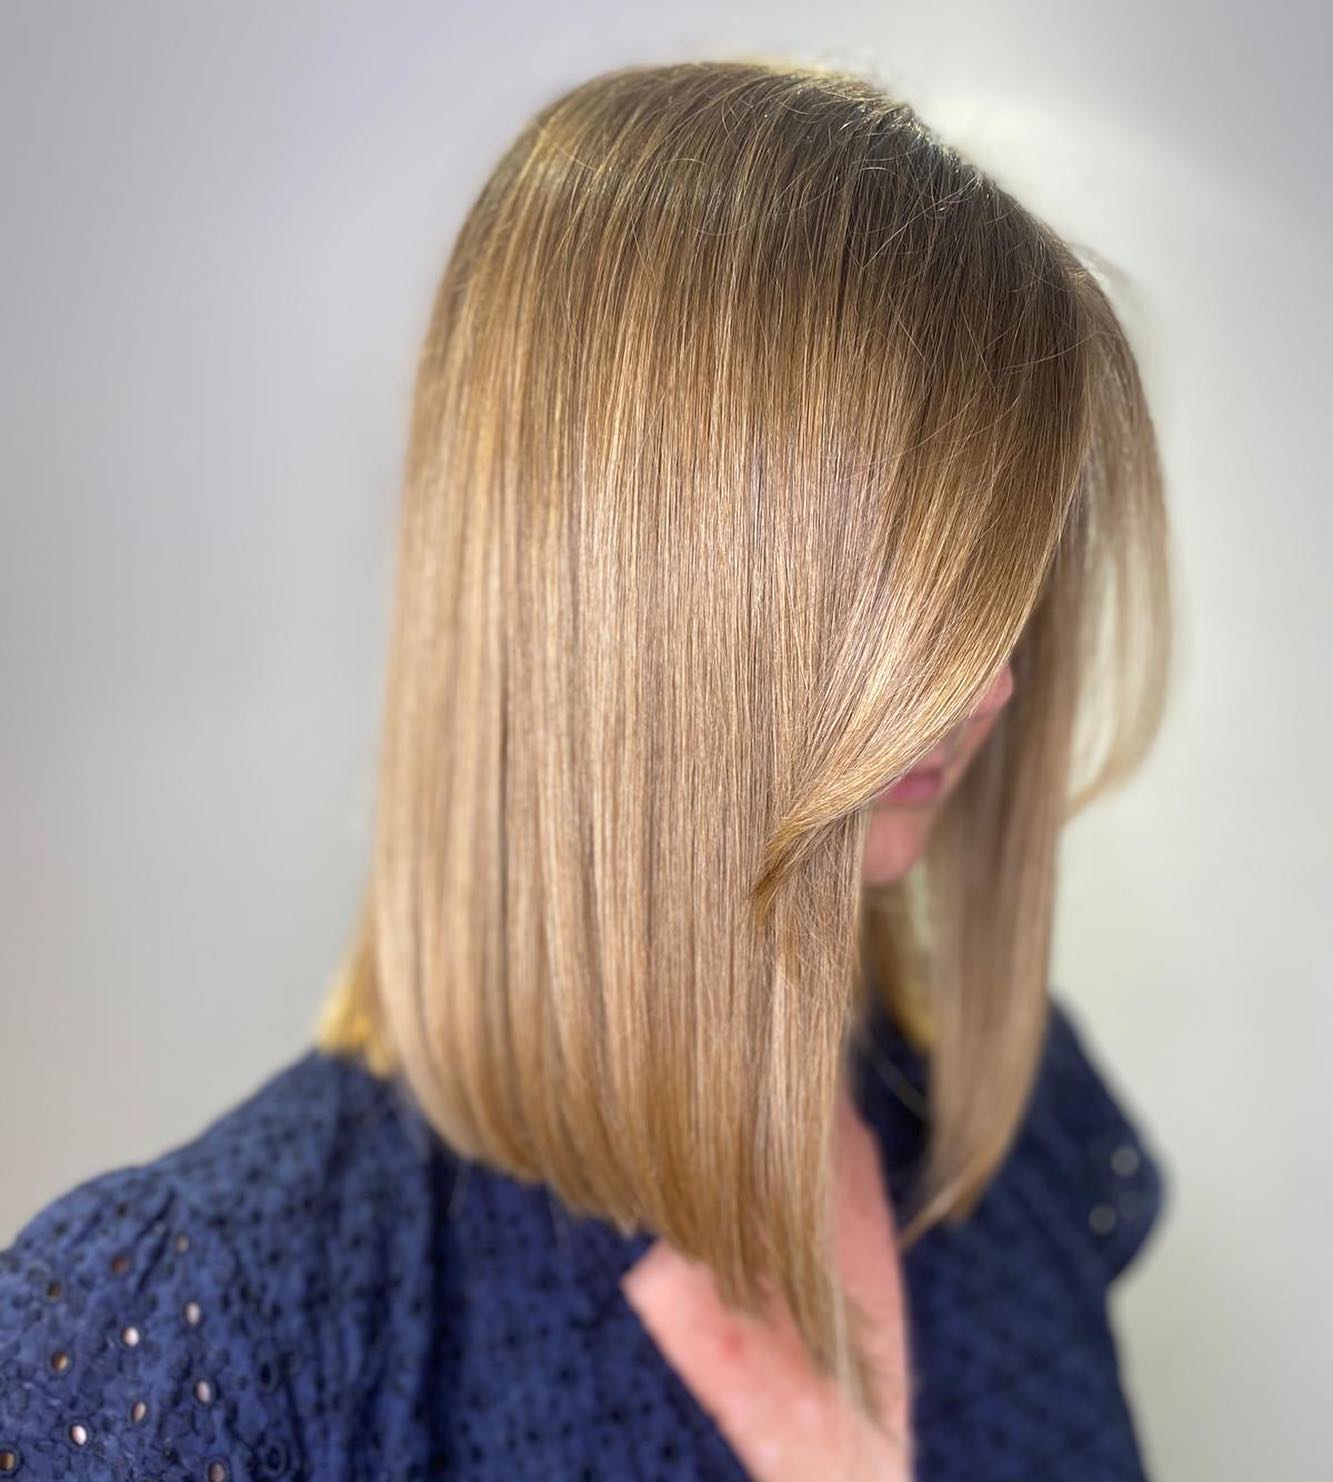
Face Shape Guide: How to Customize a Midi Cut to Your Proportions
Every face shape can wear a midi cut, but the layering approach, part direction, and length micro-adjustments make the difference between a cut that sharpens your features and one that works against them. The midi’s collarbone-to-chest zone naturally draws attention to the jaw, neck, and shoulders — which is flattering for most proportions, but some shapes benefit from specific tweaks.
| Face Shape | Best Midi Approach | What to Avoid |
|---|---|---|
| Oval | Almost anything works. Blunt ends, layered ends, face-framing, curtain bangs — the balanced proportions give you freedom. A center part emphasizes symmetry. | Heavy, full bangs that hide the forehead and eliminate the balanced proportions you already have. |
| Round | A slightly longer midi (closer to the chest than the collarbone) with face-framing layers that start below the chin. A deep side part creates a diagonal line that elongates. | Blunt, one-length midi with a center part — places the weight line at the widest part of the face, adding visual width. |
| Square | Soft, graduated layers around the jaw and collarbone that break up strong horizontal lines. Curtain bangs brushing the cheekbones soften angular features. | Blunt, jaw-length layers or a straight-across fringe — both emphasize the squareness of the jawline. |
| Heart | Layers and volume concentrated at and below the jaw to balance a wider forehead and narrower chin. Side-swept bangs redirect attention from the forehead. | Excessive volume at the crown with no layers below — top-heavy styling accentuates the forehead-to-chin taper. |
| Oblong | A collarbone-grazing midi (shorter end of the range) with width-building layers and soft bangs. The horizontal line of the bangs shortens the face visually. | A longer midi with no bangs, center-parted and flat — adds vertical length to a face that’s already elongated. |
| Diamond | Chin-to-collarbone face-framing layers that add fullness at the jaw, balancing narrow forehead and chin against wider cheekbones. Side parts work well. | Slicked-back styles or anything that exposes both the narrow forehead and chin simultaneously. |
If you’re not sure about your face shape, try this quick check: pull all your hair back, look straight into a mirror, and trace the outline of your face with a dry-erase marker or lipstick on the glass. The shape left on the mirror gives you a clearer picture than trying to assess it with your hair down. For a more detailed breakdown, our guide to determining your face shape walks through the measurement method stylists use.
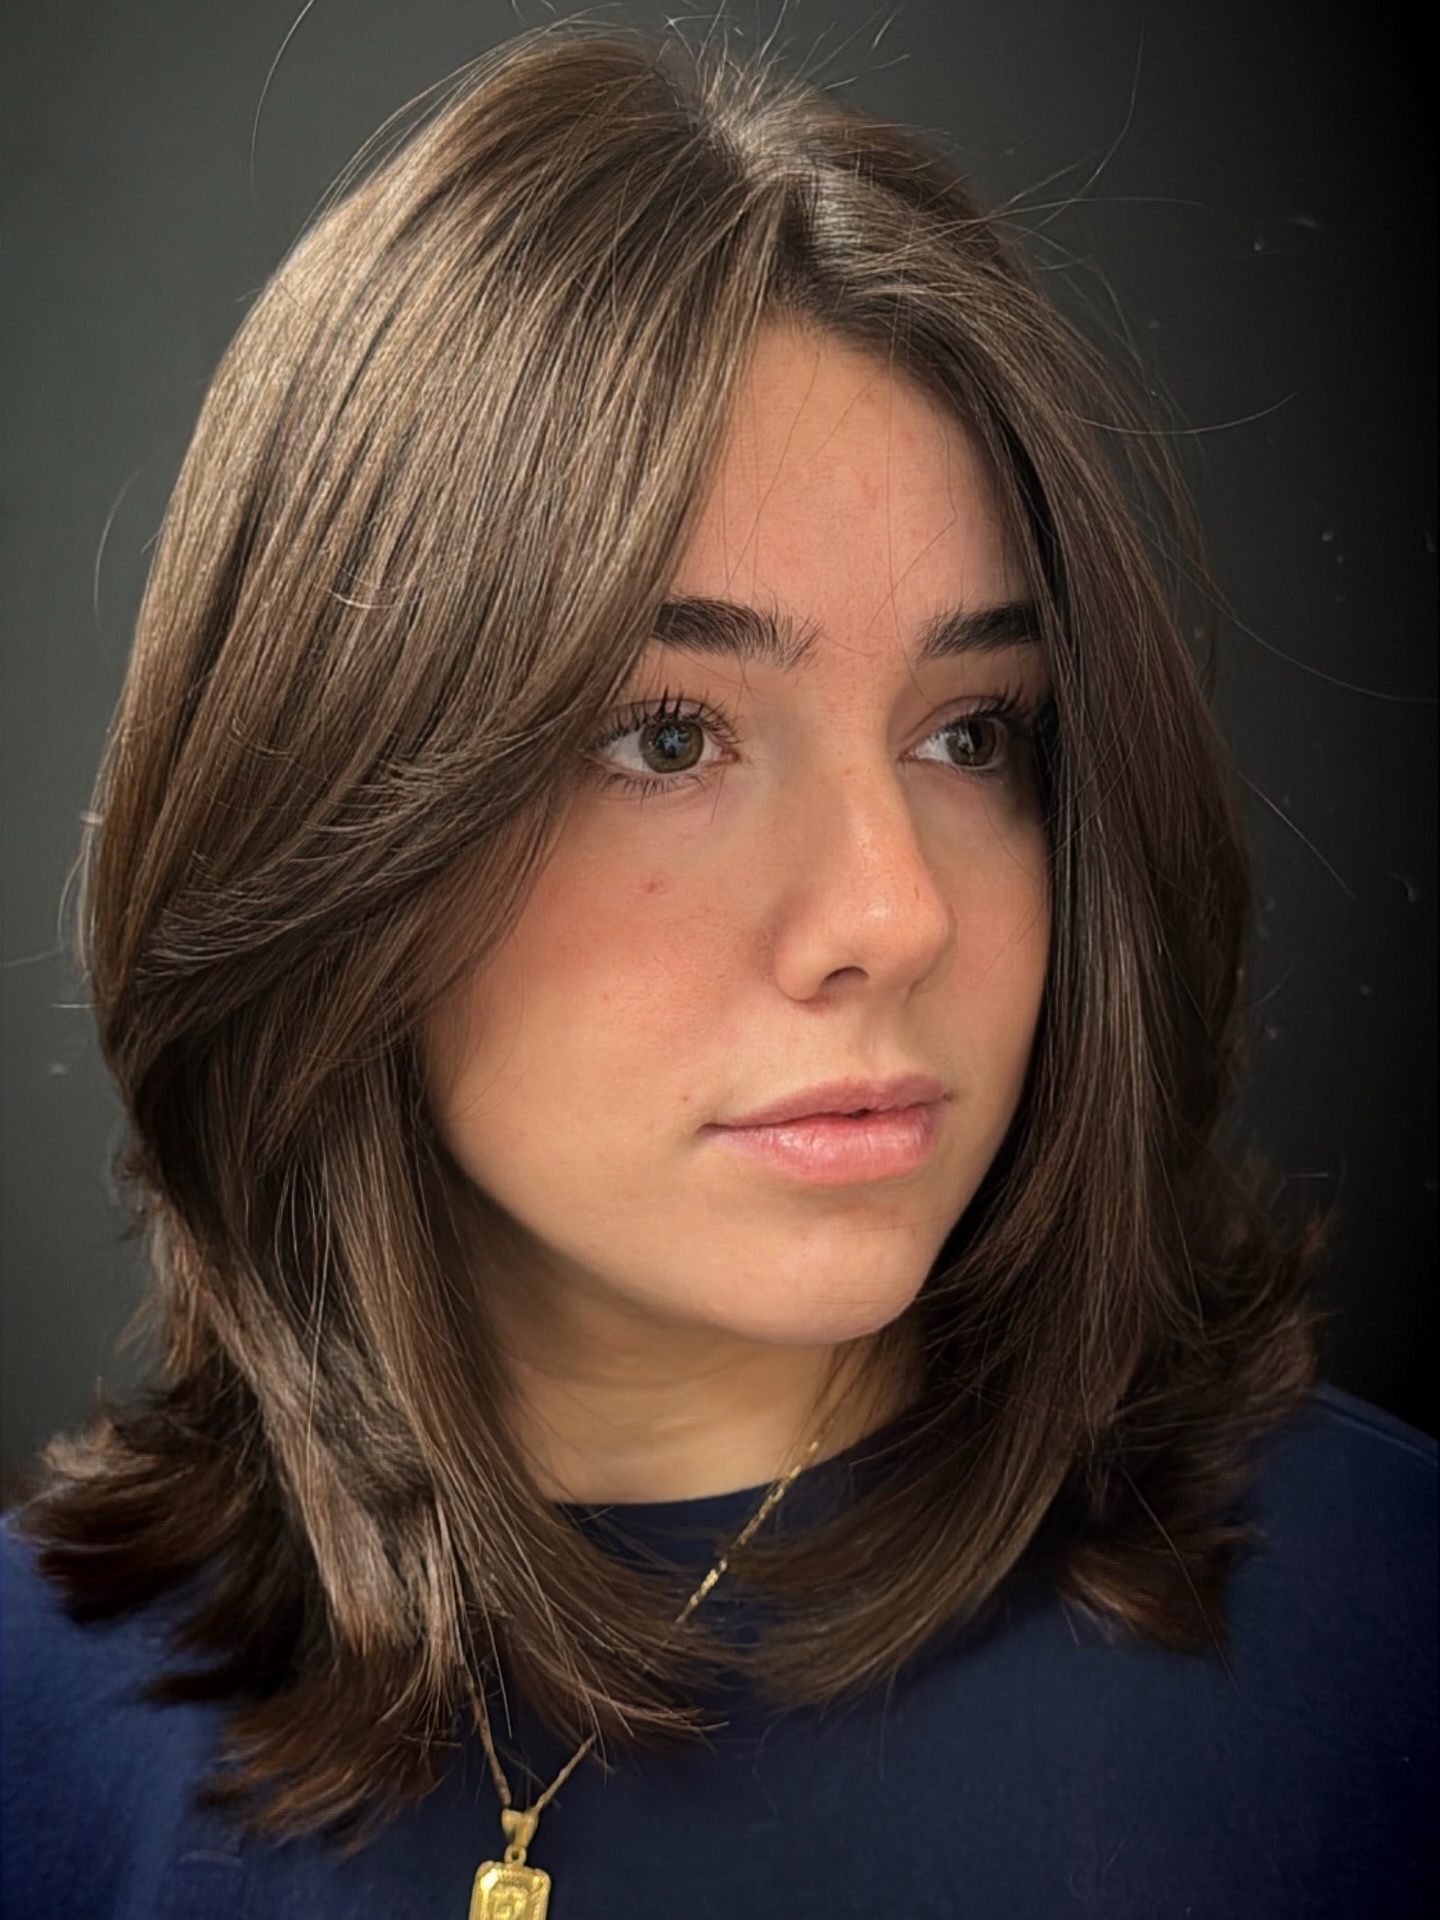
Midi Cut Variations by Hair Texture
The same midi length looks and behaves completely differently on straight, wavy, curly, and coily hair. A one-size-fits-all approach at this length is how people end up with a cut that photographs beautifully in the salon and deflates by day two. The key is matching the layering technique and internal shaping to what your hair naturally wants to do.
Straight Hair Holds a Blunt Midi Best
Straight hair at midi length wants clean geometry. A blunt or very slightly textured perimeter line gives straight hair its sharpest, most polished appearance. Internal layers — light ones placed mid-shaft, not visible from the outside — prevent the cut from looking like a flat sheet without disrupting the clean outline. If your straight hair is also fine, ask your stylist for point cutting at the ends rather than razor cutting, which can thin the perimeter and make fine hair look wispy instead of deliberate.
Styling tip: a smoothing serum applied to damp mid-lengths before blow-drying with a paddle brush is usually all straight midi hair needs. On days you want more movement, a single pass with a 1.25-inch curling iron on alternating sections (curling toward and away from the face) creates that “lived-in bend” that keeps a blunt midi from looking stiff.
Wavy Hair Benefits from Long, Graduated Layers
Wavy textures (type 2A–2C) are the midi cut’s natural partner. The wave pattern creates built-in movement, and the collarbone-to-chest length has enough weight to prevent frizz-driven pouf without flattening the wave. Long layers — where the shortest layer starts no higher than chin level — remove bulk at the ends while keeping the wave pattern intact from root to tip.
A common mistake on wavy hair is over-layering at this length. Short layers near the crown can create an unintentional “triangle” shape as the waves expand. If your stylist suggests layers starting above the ear, push back — at midi length, layers work best when they’re subtle and graduated. A texturizing spray on air-dried waves is usually enough to define the pattern without a diffuser.
Curly and Coily Hair Needs Dry Cutting and Length Allowance
Curly hair (type 3A–4C) shrinks significantly when it dries — anywhere from 25% to 50% depending on curl tightness. If your stylist cuts a midi length on wet curly hair, it may bounce up to lob or even bob territory once dry. Always request a dry cut or ask your stylist to cut at least 2–3 inches longer than your target length to account for shrinkage.
Layering on curly hair at midi length should focus on shaping the overall silhouette rather than creating distinct visible layers. Techniques like the Rezo cut or DevaCut prioritize the curl’s spring pattern and cut each curl individually, which prevents the pyramid shape that traditional layering can create on curls. Communicate your desired dry length, not your desired wet length — this is the single most important instruction for curly-haired clients at any length.
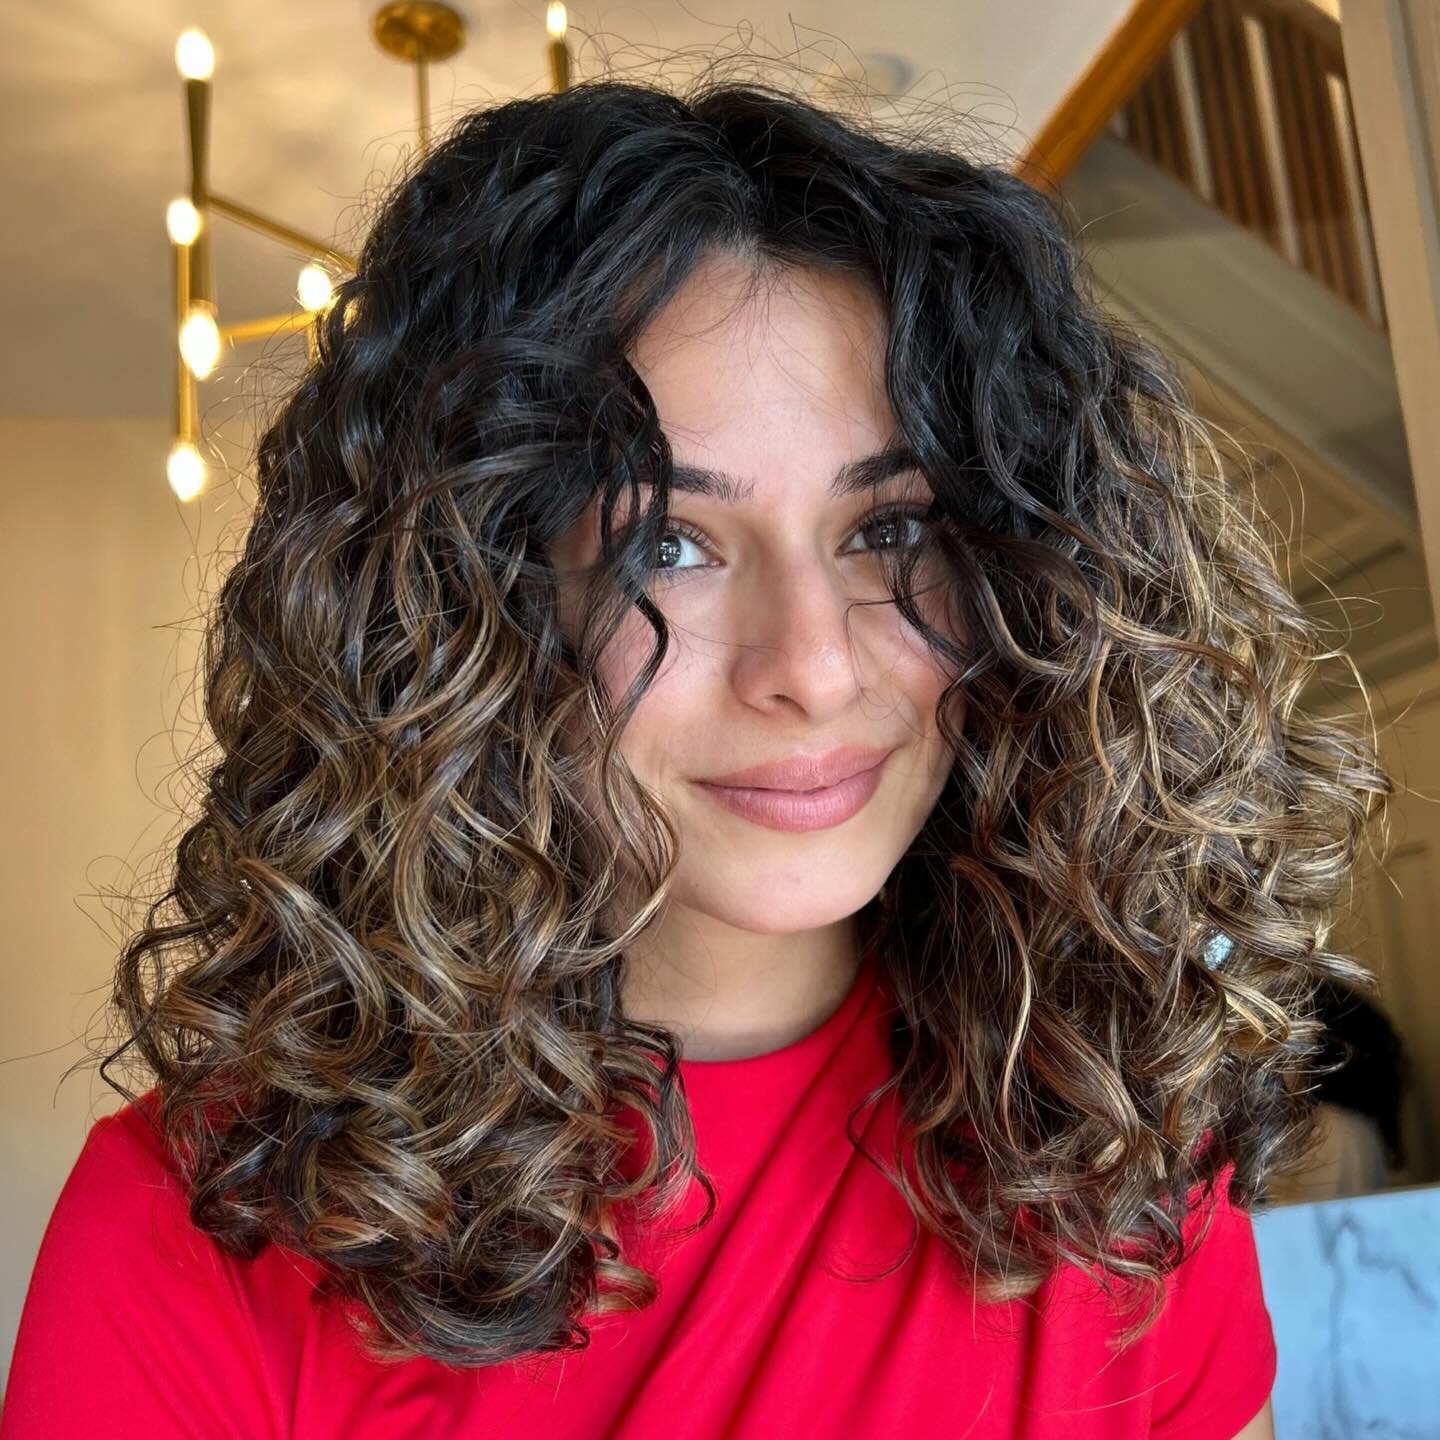
The Midi Bombshell: 2026’s Most Requested Variation
The “midi bombshell” emerged as one of the most-searched midi variations in early 2026. It’s a specific styling approach rather than a distinct cut structure: collarbone-to-just-below length with soft, bouncy volume, rounded ends (think gentle inward curl at the tips), and face-framing layers that flutter when you move. The look channels old-Hollywood blowout energy translated into a wearable, everyday shape.
Achieving the bombshell effect requires either a round-brush blowout or large hot rollers. The key tool is a medium-to-large barrel round brush (1.5–2 inches) used to direct the ends inward and build volume at the root. Overworking the ends is the most common styling mistake — the goal is a soft curve, not a defined curl. A lightweight volumizing mousse at the roots before blow-drying, followed by a flexible-hold hairspray to finish, gives the shape enough hold to last through an evening without looking stiff or crunchy.
Not every hair texture gets the same bombshell result. Naturally straight hair needs the most effort (setting with hot rollers after blow-drying helps the shape hold). Wavy hair takes to it easily — rough-drying with a round brush at the ends is often sufficient. On curly hair, the bombshell effect is more about elongation and defining curl clusters with a diffuser than recreating the classic round-brush blowout.
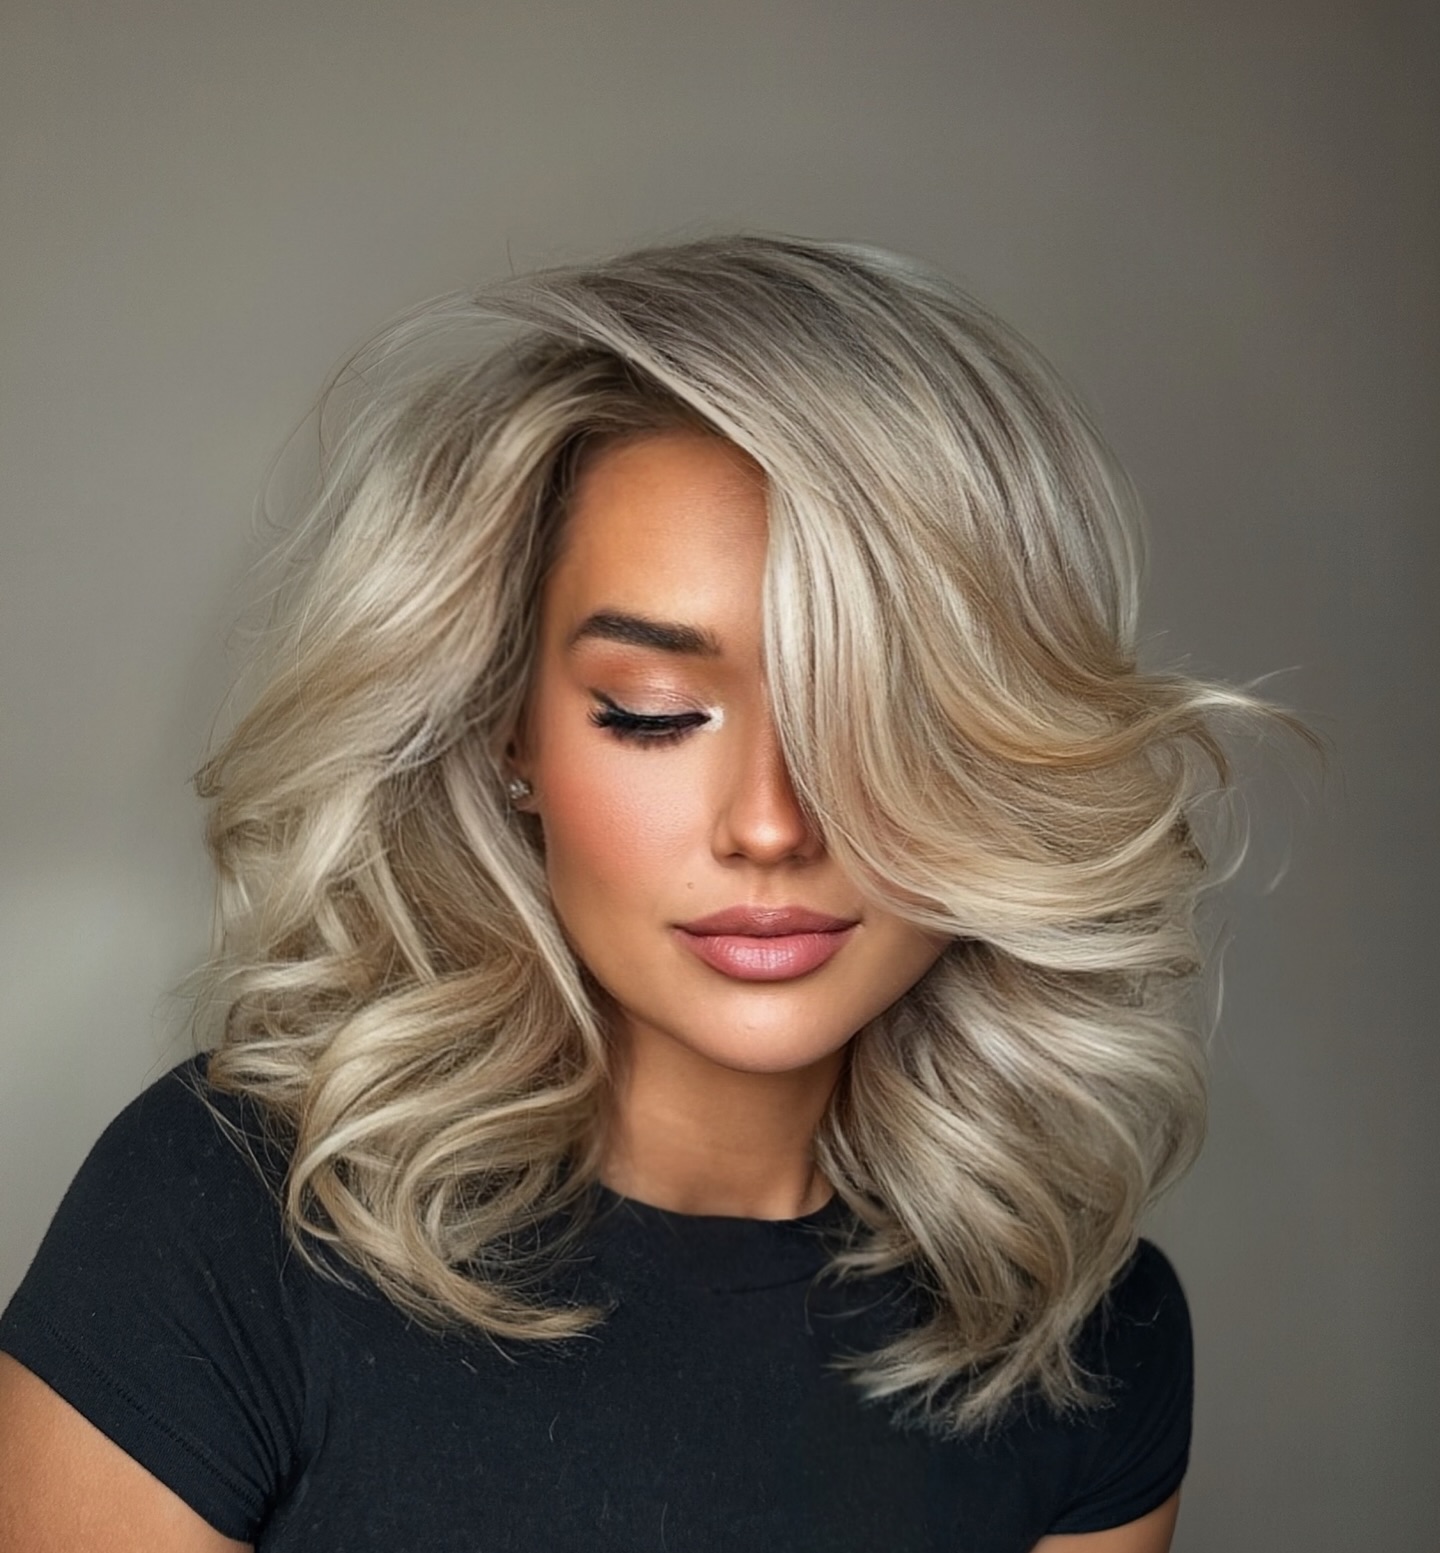
What to Tell Your Stylist When Requesting a Midi Cut
Salon communication is where midi cuts most often go wrong. The term “midi” is still newer to many stylists — some associate it immediately with a specific look, while others may not use the term at all. Bringing a clear description plus reference photos eliminates most miscommunication.
Start with the length anchor: “I want the hair to fall at my collarbone” or “about two inches below my collarbone.” Use your own body as the reference, not an abstract length measurement. Hair that hits at the same inch measurement on two different people can look completely different depending on torso length and shoulder width.
Then describe the ends and layering:
“I want the perimeter to look [blunt and clean / slightly textured / soft and graduated]. For layers, I’d like them to start at [chin level / collarbone level / no layers, just the length]. I [do / don’t] want face-framing pieces, and if so, the shortest piece should hit at [cheekbone / jaw / chin].”
Three reference photos from different angles is the sweet spot — more than five tends to confuse rather than clarify, especially if the photos show conflicting approaches. Point out what you like in each photo: “I like the length here,” “I like how the layers start here,” “I like the way the front pieces frame the face in this one.” This helps your stylist understand your priorities rather than trying to replicate a single image exactly.

Maintenance Reality: Trims, Styling Time, and Cost
One of the midi cut’s biggest selling points is its forgiving grow-out. Unlike a bob that loses its structural shape within weeks of missing a trim, or a pixie that enters an awkward phase by week four, a midi cut transitions gracefully as it grows. The length slowly extends toward mid-chest without an obvious “it needs a cut” moment.
| Factor | Midi Cut Details |
|---|---|
| Trim frequency | Every 8–12 weeks to maintain the shape. If you have bangs or face-framing layers, those may need a trim every 4–6 weeks separately. |
| Daily styling time | 5–15 minutes depending on texture. Wavy and curly textures can air-dry with a styling product; straight hair may need a quick blow-dry or iron pass. |
| Key products | Heat protectant spray, texturizing spray or lightweight mousse, smoothing serum for the ends. Curly textures add a curl cream or leave-in conditioner. |
| Salon appointment time | 45–60 minutes for cut and blowout. Add 1–3 hours if color is involved. |
| Grow-out behavior | Graceful — the length transitions naturally to long hair without an awkward phase. Layered midis blend slightly faster than blunt midis. |
| Annual maintenance cost | 4–5 trims per year at $50–$100 each (varies by metro area), totaling roughly $200–$500 for cut-only maintenance. |
The honest limitation with a midi cut: if your hair is very fine and flat, this length can look limp without intentional layering and daily volumizing effort. The weight of midi-length hair on fine strands pulls volume out at the roots, and without layers or texturizing product, the result can read as “unfinished” rather than “effortless.” If you have fine hair and want the midi length, discuss internal layering and root-lifting techniques with your stylist before committing — or try starting with a slightly shorter midi (right at the collarbone) where the hair doesn’t weigh itself down as much.
Colors That Work Best at Midi Length
Midi length is one of the most color-friendly zones because there’s enough surface area to show dimension without the maintenance burden of very long colored hair. Balayage and face-framing highlights are particularly effective at midi length — the hand-painted gradient has room to transition naturally, and the movement of the cut catches light through the color variation.
Warm tones like copper, caramel, and honey blonde have surged alongside the midi trend in 2026, and the pairing isn’t accidental. These tones emphasize the soft, natural-looking movement that defines the midi aesthetic. Cooler tones — ash blonde, mushroom brown, icy platinum — work best on midis with cleaner, blunter perimeters where the sleekness of the cut matches the precision of the color.
If you’re coloring a midi cut for the first time, the lowest-maintenance option is a balayage or lived-in color technique that doesn’t create a harsh root line. Because the midi’s grow-out is already forgiving, pairing it with a low-maintenance color technique means you can stretch your salon visits even further.
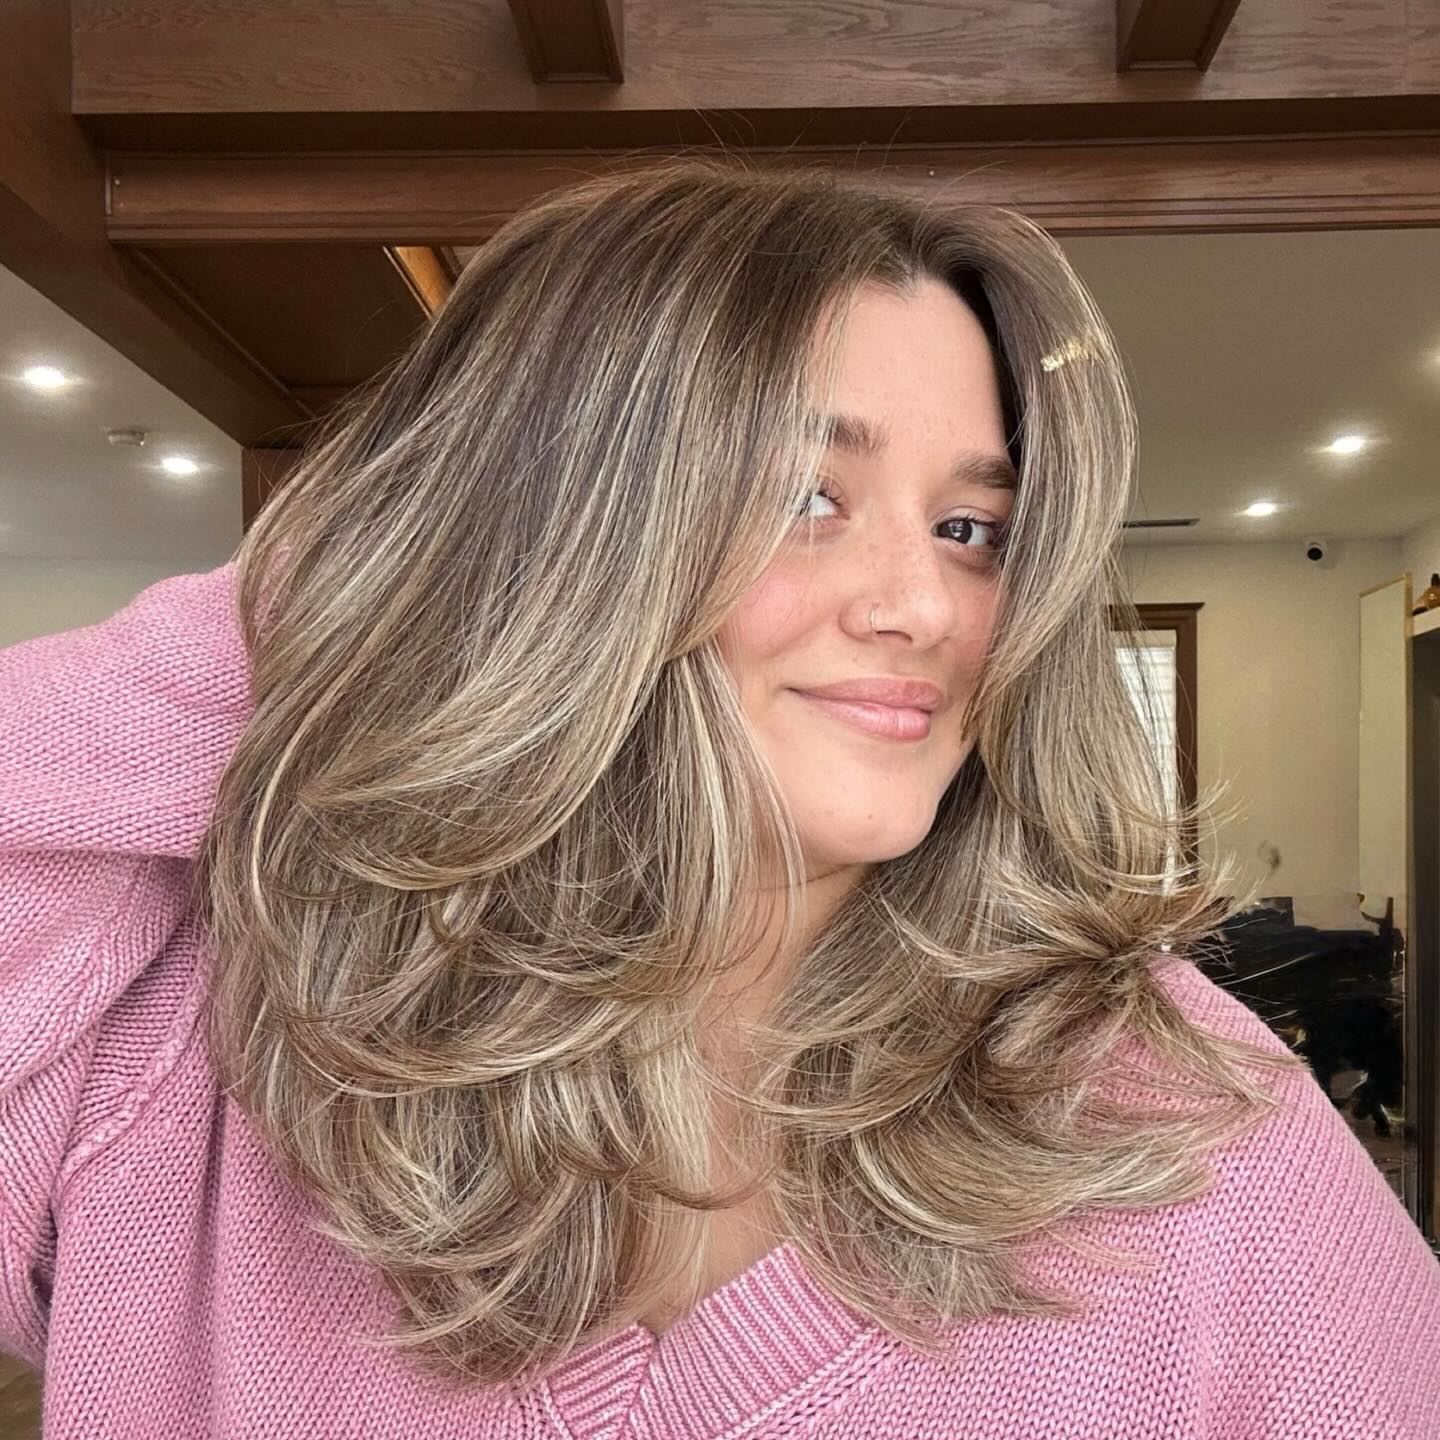
Styling a Midi Cut: Three Approaches for Different Days
The midi’s real-world appeal is that it doesn’t lock you into one look. The same cut can be styled three completely different ways depending on the day, and none of them require more than 15 minutes.
The Air-Dried Wave Takes Under Five Minutes
Scrunch a golf-ball-sized amount of texturizing mousse into towel-dried hair from mid-shaft to ends. Flip your part to the opposite side while it’s still damp (this builds root volume as it dries). Leave it alone. On wavy-to-curly textures, this produces a defined, beachy wave with zero heat. On straight hair, it creates a subtle bend — not a full wave, but enough to look intentional rather than limp.
The Polished Blowout Takes 10–15 Minutes
Apply a heat protectant to damp hair, then rough-dry to about 80% using a blow-dryer on medium heat. Switch to a round brush (1.5-inch barrel for more curve, 2-inch for a straighter finish) and dry in sections, directing the ends under. Finish with a dime-sized amount of smoothing serum warmed between your palms and pressed through the mid-lengths and ends. The midi length makes this significantly faster than a long-hair blowout — there’s simply less hair to work through.
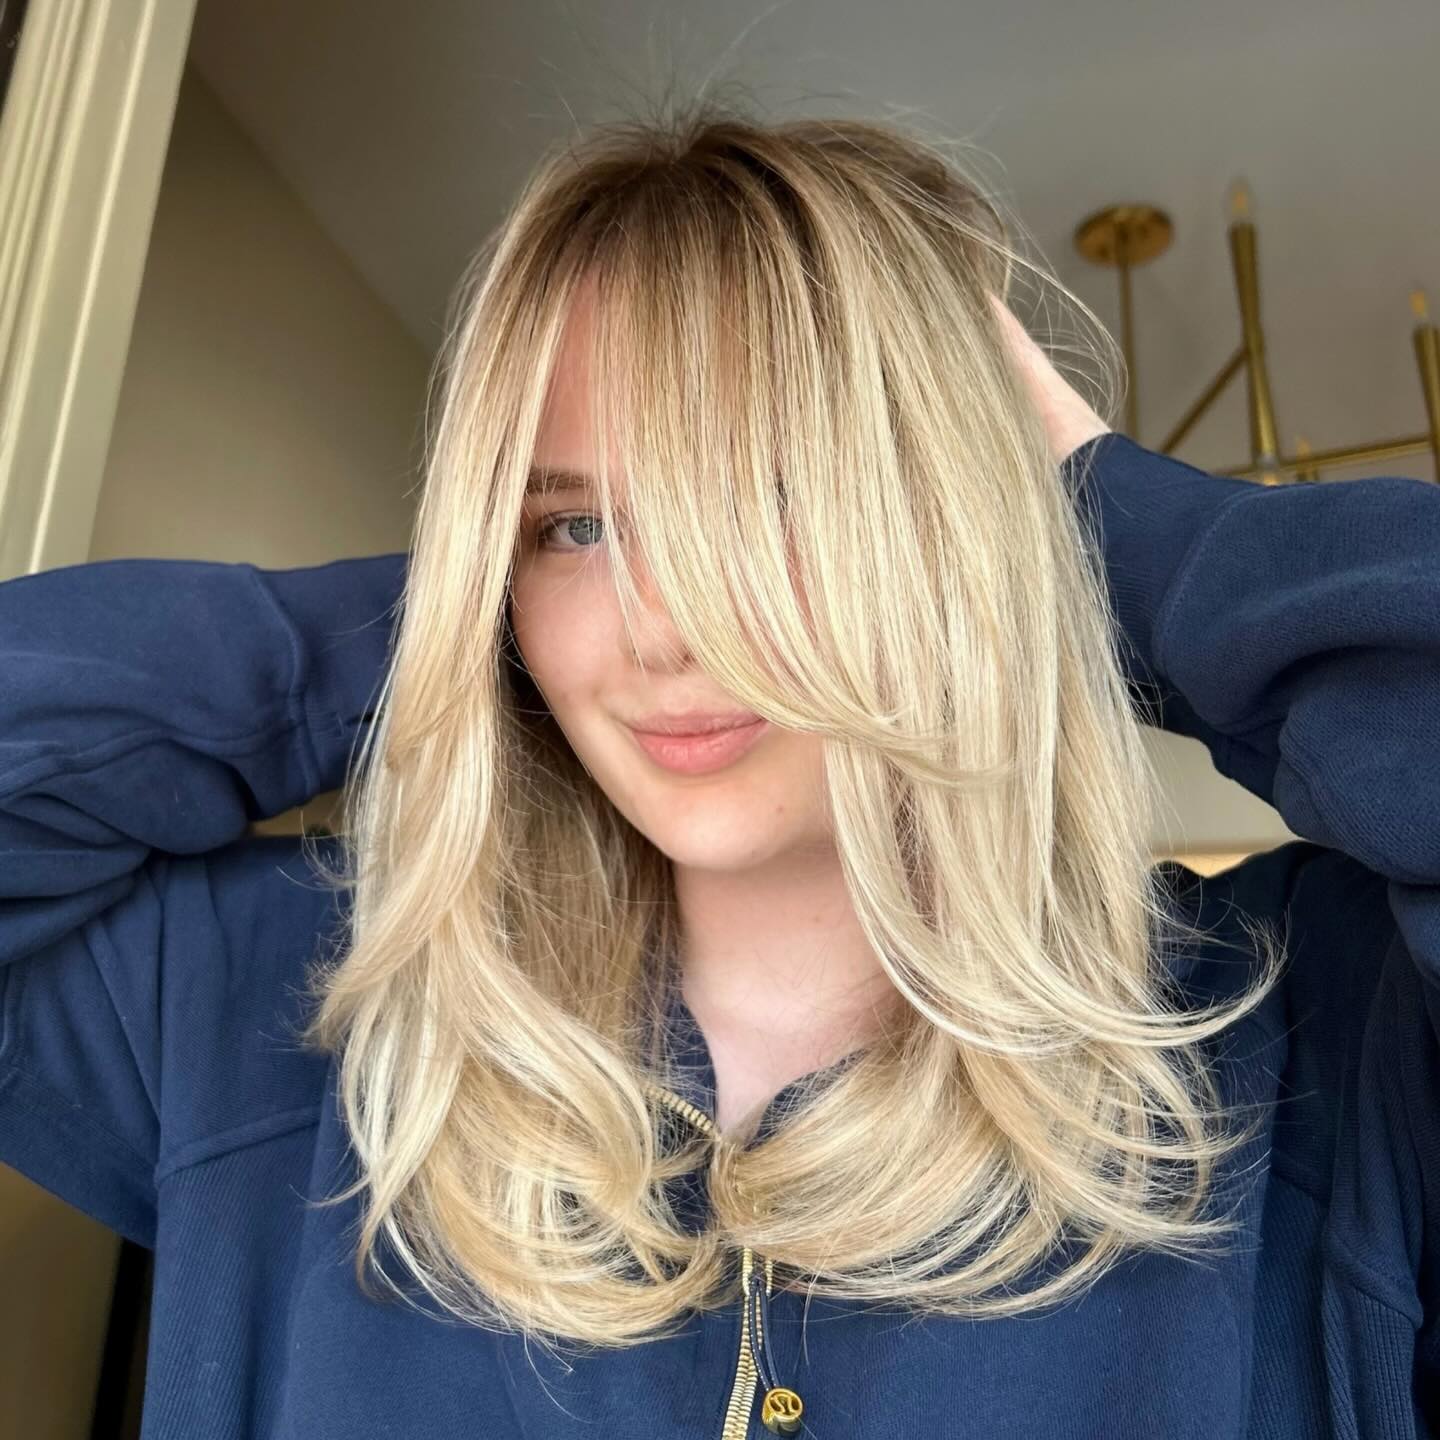
The Half-Up Style Works for Day-to-Night Transitions
Gather the top third of your hair from temple to temple and secure with a claw clip, barrette, or elastic. The remaining midi length hangs freely at the back and sides, creating a balanced, face-opening look. This is where the midi outperforms a lob — there’s enough length in the “down” portion to look deliberate rather than scraggly. A few face-framing pieces pulled out of the clip soften the style.
Frequently Asked Questions
Is a Midi Cut the Same as a Lob?
No. A lob (long bob) typically falls between the jaw and collarbone and retains a bob’s structured silhouette. A midi cut sits below the collarbone — generally 2–4 inches longer than a lob — and has a softer, less geometric shape. The functional difference is that a midi allows for ponytails and buns that a lob can’t accommodate without pieces falling out.
Can I Get a Midi Cut If My Hair Is Very Thin?
Yes, but with modifications. Very thin hair at midi length can look flat and sparse if cut all one length. Ask your stylist for subtle internal layers and a very slightly textured (not razor-cut) perimeter to create the illusion of density. Starting at the shorter end of the midi range — right at the collarbone — keeps more volume than a longer midi, which gravity pulls flat. A lightweight volumizing mousse applied to damp roots before blow-drying makes the biggest difference on thin midi hair.
How Long Does It Take to Grow a Bob into a Midi Cut?
Hair grows roughly half an inch per month on average. From a chin-length bob, reaching collarbone length takes approximately 6–8 months; reaching the lower end of midi territory (upper chest) takes 8–12 months. During the growing-out phase, scheduling light trims every 10–12 weeks to shape the ends and remove split ends helps the transition look intentional rather than neglected. Your stylist can gradually introduce face-framing layers during this period to give the growing-out length some shape.
Will a Midi Cut Work with Bangs?
Absolutely — bangs are one of the most popular midi cut pairings. Curtain bangs that part at the center and taper toward the cheekbones are the most versatile option because they grow out gracefully and blend into face-framing layers. Full, blunt bangs also work but require separate trims every 3–4 weeks and daily styling to look sharp. Bottleneck bangs — narrow at the center of the forehead and wider toward the temples — are a newer variation that adds face-framing dimension without the high-maintenance commitment of a full fringe.
How Do I Keep a Midi Cut from Looking “Boring” or “Default”?
The “boring mid-length” problem almost always comes from two things: no layering and no face-framing. A blunt, one-length midi with a center part and no texture is the generic haircut that stylists sometimes call the “nothing cut” — it’s what you get when you haven’t made any decisions about your hair. Fix it by adding either face-framing layers (shortest piece at jaw or cheekbone level), internal texture (ask for point cutting through the interior), or a styling element like a defined wave or polished blowout finish. Even a simple change from a center part to a deep side part can transform a flat midi into something with structure.
Does the Midi Cut Require Heat Styling Every Day?
Not if the cut is properly shaped. A well-cut midi on wavy or curly hair needs minimal heat — air-drying with a curl cream or texturizing spray is usually sufficient. Straight hair benefits from occasional heat styling for the polished blowout effect, but a rough air-dry with the right product still produces a wearable result. If you’re styling with heat, always apply a heat protectant spray before using any hot tool — building a simple hair care routine around your cut’s needs prevents long-term heat damage that degrades the shape over time.
What’s the Difference Between a Midi Cut, a Midi Flick, and a Midi Bombshell?
The “midi cut” is the base haircut — collarbone-to-upper-chest length. The “midi flick” is a styling variation where the ends are flipped outward (rather than curled under) using a round brush or flat iron, creating a retro, ’60s-inspired kick. The “midi bombshell” is a volumized, bouncy styling approach with rounded, inward-curling ends and root lift — think classic Hollywood blowout at midi length. All three start with the same cut; the difference is in how you style it on any given day.
Is a Midi Cut High Maintenance for Colored Hair?
Midi length is actually one of the easier lengths to maintain color on. There’s less surface area than long hair (meaning less product, less processing time, and lower cost per session), and the length is short enough that damaged ends can be trimmed without losing the overall shape. If you’re balayaging a midi, you can typically stretch color appointments to every 12–16 weeks because the hand-painted technique doesn’t leave a visible root line. Single-process color needs touch-ups every 4–6 weeks regardless of length.
Hair results vary based on your natural hair type, texture, density, and condition. Always consult with a licensed hairstylist before making significant changes, especially with chemical treatments or dramatic length changes. Photos may show styled results that require professional tools and products to replicate.