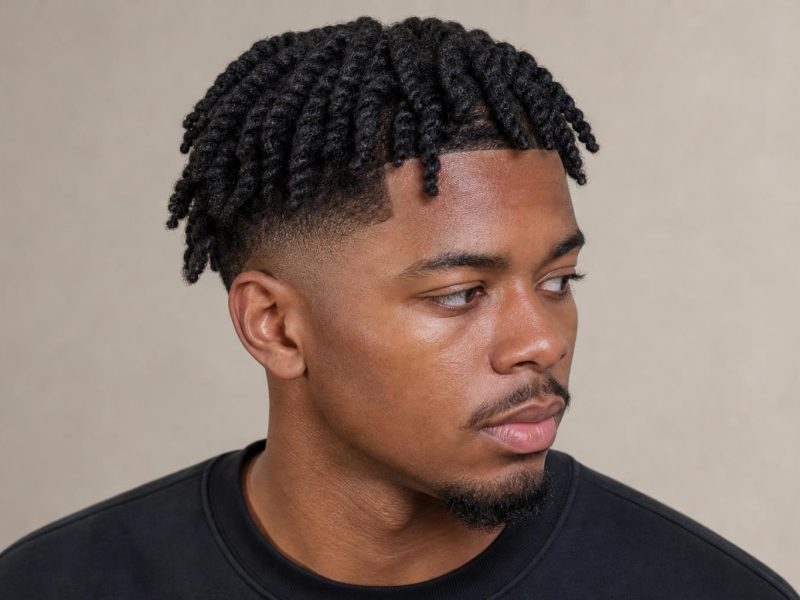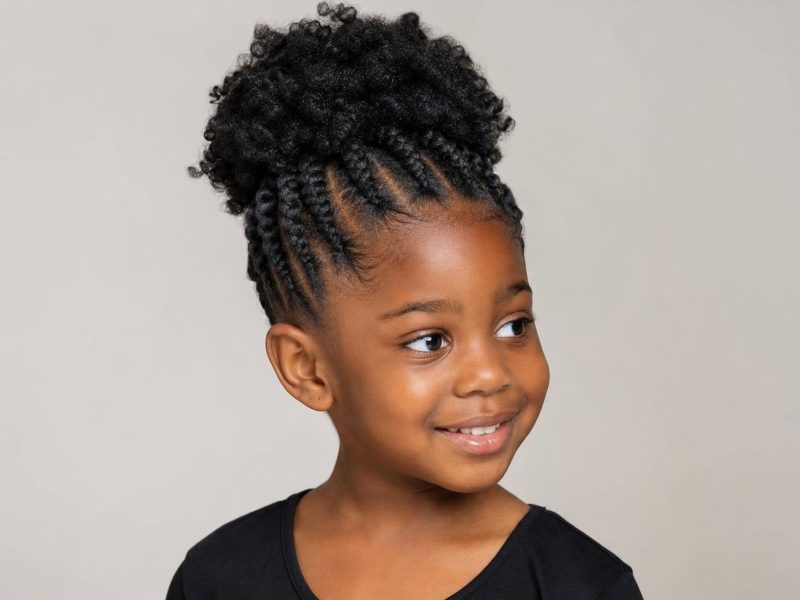
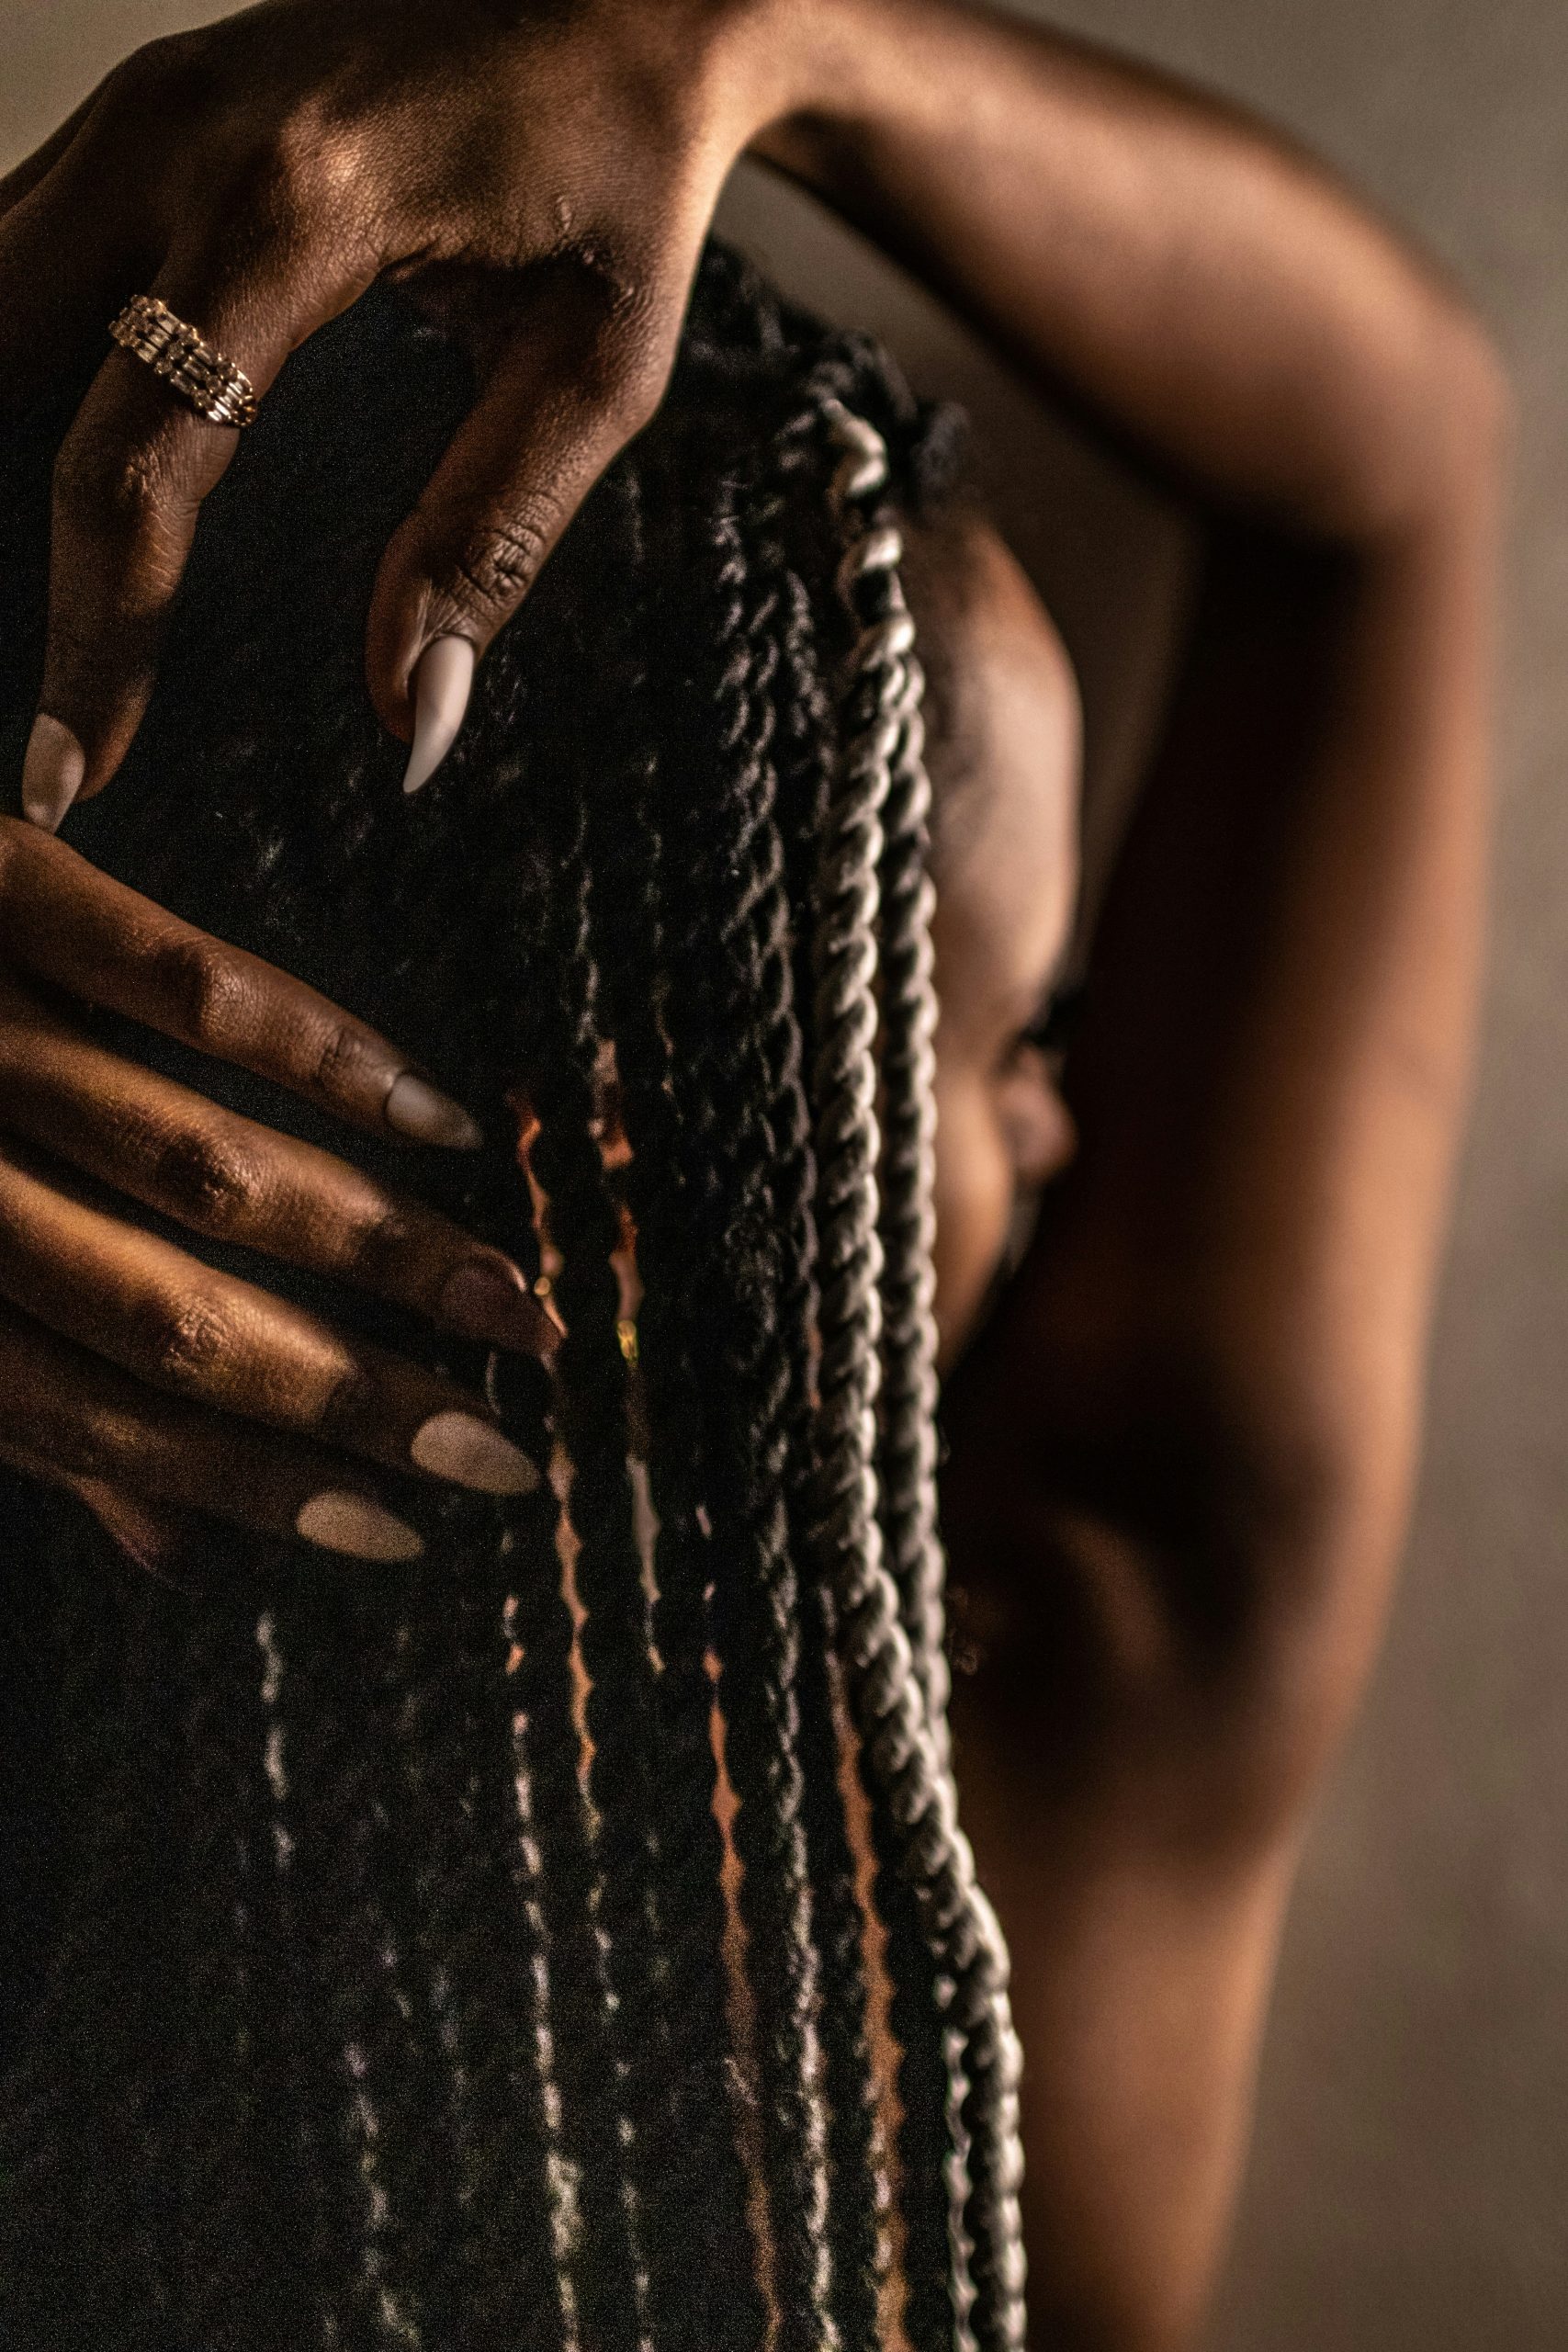

Coi Leray braids pair jumbo knotless sections with roller-set curly ends and polished laid edges, making them one of the few protective styles that looks as deliberately designed as it feels comfortable to wear.
These 30 coi leray braids styles cover the full range from classic natural black installations to color variations in honey blonde, burgundy, and high-contrast two-tone combinations, with length options from bob-length to waist-length and styling alternatives including half-up buns and space bun updos. Each entry includes the structural choices that affect the final result, who the variation works best for, and what to tell your braider so the consultation produces an installation that matches your reference. The bubble braid and coi leray braids share a voluminous, statement-making quality, but the knotless foundation and roller-set ends of coi leray braids produce a different texture at the scalp and tip that is specific to the style.
Entries 1 through 10 cover classic installations, entries 11 through 20 explore color and accessory variations, and entries 21 through 30 cover length and styling options. Face shape guidance, braider communication, a maintenance table, and a limiting section follow the gallery.
| Factor | Details |
|---|---|
| What they are | Jumbo knotless box braids with curly or kinky ends, named after rapper Coi Leray who popularized the look in 2021 |
| Best for | Type 3b-4c natural hair; also done fully with extension braiding hair on any hair type including relaxed |
| Install time | 2-6 hours depending on section count and length; 10-12 sections at shoulder length averages 3-4 hours |
| Duration | 4-8 weeks with scalp care and nighttime protection; most stylists recommend removal at 6 weeks |
| Avoid if | Active scalp conditions, visible edge thinning from previous tension styles, or natural hair under 2 inches in length |
Classic Coi Leray Braid Styles
The signature look has three defining variables: jumbo section size (typically 10-14 braids across the full head), a knotless braid foundation that distributes scalp tension over the first few inches of each braid rather than concentrating it at a single pull point, and curly or kinky ends created by setting braiding hair on perm rods or flexi rods in hot water before the install begins. The parting pattern, whether grid, diagonal, or staggered, changes the visible scalp lines between sections and affects how the style holds up visually over a 6-8 week wear period. This section covers the structural choices that define the baseline coi leray braid and the variations that distinguish one classic installation from another.
1. Classic Jumbo Knotless with Kinky Coil Ends
The knotless technique feeds braiding hair into the braid gradually from the root rather than anchoring it with a pre-looped knot at the scalp, which means the tension distributes across the first 1-2 inches of each braid instead of pressing against a single scalp point. Eight to twelve sections is the standard count for the classic installation; fewer sections increase the visual impact of each braid, while more sections push the look toward traditional box braids with less open scalp showing between parts. Kinky coil ends set on small perm rods (3/8 inch) before installation give this variation the tight, defined spirals that photograph most distinctly as the signature coi leray silhouette.
2. Shoulder-Length Coi Leray with Laid Edges
Heart-shaped and oval faces get the most proportional result from shoulder-length installations because the braid ends frame the face and fall toward the collarbone, creating vertical movement that elongates the face rather than widening it at temple level. Laying the edges with a water-based edge control gel and pressing them flat with a soft boar-bristle brush before the braids are installed is what gives the style its characteristic clean-hairline look. Apply the gel to damp rather than dry edges and press with the brush immediately, then hold with a scarf for 5-10 minutes while the gel sets so the edge pattern stays put throughout the wear period.
3. Short Jaw-Length Coi Leray on Type 4 Natural Hair
On 4a and 4b natural hair with 3-4 inches of natural length, a jaw-length installation anchors well and uses a moderate amount of braiding hair per braid, making this version the most manageable option for a first-time coi leray install. The shorter length means the braid ends carry less weight, which reduces the cumulative scalp load over a full wear period and makes this the gentlest choice for anyone with fine or recovering edges. Coily ends at this length add texture without the volume that medium and long installations produce, keeping the overall silhouette compact and practical for active daily wear.
4. Waist-Length Coi Leray with Roller-Set Ends
Wrap braiding hair sections loosely around flexi rods in hot water and let them cool and dry completely before the install begins; putting rods in before they are fully set produces ends that straighten within the first two weeks of wear. At waist length, the braid weight is significant across a full wear period, so sleeping with a large satin bonnet or wrapping the ends loosely in a satin scarf each night protects both the curl definition and the braid structure at the lower half. A roller size of 5/8 to 3/4 inch produces the loose, voluminous coil that scales proportionally to waist-length braids without making the ends look undersized relative to the braid body.
5. Coi Leray with Zigzag Parting Between Sections
A zigzag or staggered parting pattern between braid sections reduces the straight scalp lines that grid parting creates, which keeps the style looking neat longer as the natural hair grows out and widens the parted lines in weeks 5 through 8. This pattern takes 20-30 additional minutes to complete compared to a standard horizontal row approach, since each section boundary needs to be measured against the previous one to maintain consistent section sizes throughout the installation. The payoff is that the parts look intentional rather than widened at the 6-week mark, which means the style photographs as cleanly at the end of the wear period as it does at installation day.
6. Natural Black with Defined Spiral Ends
Black braiding hair blended with 4b or 4c natural hair creates the most seamless color match and is the easiest starting point for anyone doing coi leray braids for the first time, since no color comparison or tone-matching is needed at the consultation. The spiral definition at the ends is controlled by rod size: smaller rods (3/8 inch) produce tight, bouncy spirals that spring with movement; larger flexi rods (5/8 inch) produce a looser, more open coil that reads as more relaxed and requires less upkeep. Refresh the ends at weeks 3-4 by misting with a water-glycerin mix and re-rolling on the same rod size used at installation, then air-drying fully before removing the rods.
7. Coi Leray with Angled Front Sections
Ask your braider for “two front braids that angle toward one side rather than falling straight down, with the rest of the sections in a standard grid,” which creates a side-sweeping frame for the face without requiring a different install for the full head. The angled front sections can be worn forward for a diagonal frame effect, pinned back as part of a half-up style, or tucked behind the ear to open the face entirely. This variation suits round faces particularly well because the diagonal direction of the front braids creates asymmetry at face level rather than a symmetrical frame that emphasizes facial width at the widest point.
8. Extra-Jumbo Coi Leray with Six Sections
Unlike standard installations that use 10-14 sections, a six-section version creates oversized, statement-making individual braids that read as a sculptural choice rather than a background texture. The larger section size requires more braiding hair per braid and holds its shape for 4-6 weeks before root growth begins to soften the section definition, making the wear window slightly shorter than a higher-section-count installation. The end curls on a six-section version tend to be looser and more spread at the braid tip, which suits the oversized braid body and keeps the proportions balanced between the thick braid and the end volume.
9. Coi Leray with Two-Strand Twist Foundation at Root
Starting each braid with a two-strand twist at the scalp before transitioning to a three-strand knotless braid at approximately an inch below the root produces a subtle texture difference at the scalp that softens the braid’s start and looks most distinctive on styles with very large sections where the root transition is clearly visible. The twist foundation requires the natural hair to have enough texture to grip without slipping before the extension hair feeds in, making this technique best suited to type 3c and above. From the transition point through to the roller-set ends, the braid structure follows standard knotless technique.
10. Grid-Parted Coi Leray with Polished Edges
Square and oblong faces with defined bone structure get a clean, proportional result from grid parting because the geometric regularity of perfectly square sections adds structure that suits angular face shapes rather than fighting their natural geometry. A precise grid requires a rat-tail comb, good lighting, and careful measurement through the sectioning process; every section slightly off-square becomes visible once the braids are installed because the jumbo size makes each part line prominent. Finish with a water-based edge control product rather than a wax-heavy pomade to keep the hairline definition sharp without the residue buildup that heavier products leave at the braid’s root after two to three weeks of wear.
Color and Accessory Variations
Color is where coi leray braids diverge most dramatically from standard protective styles. Because the braiding hair rather than the natural hair carries the color in most installations, every tonal combination is available regardless of the client’s natural hair color, and there is no bleaching or chemical processing involved. The entries in this section cover single-color departures from natural black, multi-tone blends, and bead or cuff accessories that change the style’s look without altering the underlying braid structure. Pop smoke braids and coi leray braids share a jumbo knotless foundation but diverge sharply on color: pop smoke braids typically use natural or jet black, while coi leray braids are defined in part by their color range.
11. Honey Blonde Coi Leray Braids
Honey blonde braiding hair with warm gold undertones catches light at different angles and reads as dimensional without requiring highlights or color blending, which is part of what makes it one of the most photographically effective color choices for this style. Mixing 2-3 strands of a deeper caramel or medium brown braiding hair into the honey blonde sections at intervals throughout the installation adds depth that prevents the color from reading as flat across the full head. This color works especially well alongside warm skin undertones, where the golden tones of the braids echo the warmth in the complexion rather than contrasting against it.
12. Coi Leray with Gold and Wood Beads
Type 4 hair holds beads at the braid ends without additional securing because the textured end grips the bead interior on its own; looser curl patterns at the ends (type 3b-3c texture) may need a small clear elastic just below the bead to prevent sliding. Scatter beads at every third or fourth braid throughout the installation rather than adorning every braid, which maintains the lightweight feel of the original style and prevents the ends from becoming noticeably heavier on one side of the head than the other. Wooden beads are the lightest accessory option; acrylic and heavier resin beads add meaningful weight at the ends, which accumulates at the scalp junction over an 8-week wear period.
13. Two-Tone Black and Burgundy Coi Leray
Alternating natural black and burgundy braiding hair sections in a deliberate pattern, every other braid or burgundy clustered at the perimeter with black at the interior, produces a controlled contrast that photographs clearly at each braid rather than blending into a muddied midtone. Use this deliberately alternating arrangement rather than mixing both colors randomly within a single braid, since the jumbo section size is large enough to carry each color as a distinct statement. Burgundy braiding hair shifts from a deep plum toward a warmer reddish-brown as it ages through a wear period, so the color combination evolves naturally rather than staying static.
14. Ombre Brown to Blonde Coi Leray
Pre-made ombre braiding hair packs handle basic blending, but a more precise result comes from buying dark root hair and light end hair separately and combining them during the feed-in process so the braider can place the transition point exactly where the braid exits the braid body and meets the curly end section. At medium shoulder length, placing the ombre transition just above the shoulder keeps the lighter ends fully visible rather than partially hidden behind the braid body when worn over the chest. Medium brown to champagne blonde is the most flexible ombre combination for coi leray braids because the contrast reads as a statement in photos but integrates naturally into most work and social environments.
15. Full Blonde Coi Leray Braids
All-blonde braiding hair in a coi leray installation reads as a single-color statement that changes appearance significantly depending on lighting, with warm gold coming forward in natural outdoor light and near-white platinum tones showing under studio ring lights or flash photography. Platinum or white-blonde braiding hair requires careful product selection at the edges because some edge control gels with dark tints leave a gray or darkened cast on very light braids at the hairline. A clear aloe vera-based gel or a light hold gel labeled “clear” avoids the discoloration issue and keeps the blonde hairline sections clean throughout the wear period.
16. Coi Leray with Gold Cuffs and Wire Rings
Tell your braider to complete the full installation without accessories, then add cuffs at home after the braids have settled for a day and the section positions are clear. Braids shift slightly from installation day as the tension relaxes, and placing cuffs before the style settles produces uneven spacing that is more visible at the root than at mid-braid. Gold cuffs positioned just above each braid’s exit point from the scalp create a jewelry-effect at the hairline that is most impactful for formal occasions; wire rings placed mid-braid add texture at a different height and combine naturally with the cuffs without competing for visual attention.
17. Burgundy Coi Leray on Medium Brown Natural Hair
Diamond and heart-shaped faces benefit from burgundy coi leray braids because the deep plum color draws attention to the upper face and temples, the widest points of these face shapes, adding warmth and depth rather than exposing those areas with a lighter or neutral color. A warm-toned burgundy that leans red suits warm undertones in the skin; a cooler burgundy with visible blue or violet tones works better with cool or neutral undertones. Compare two or three burgundy braiding hair shades against the complexion in natural light before the appointment begins rather than choosing from artificial salon lighting.
18. Tri-Color Coi Leray with Copper Ends
Natural black braiding hair at the scalp, mid-tone warm brown through the braid body, and copper-toned hair at the roller-set ends creates a progression that reads like a balayage effect running through the braid structure. Unlike a standard two-tone ombre where a single transition point handles all the color work, the tri-color approach requires pre-planning the proportion of each braiding hair color before the install begins so the balance stays consistent across all sections. The copper at the braid ends adds warmth that becomes more prominent as the braids move, catching the light differently than the darker braid body above.
19. High-Contrast White and Black Coi Leray
Alternating white (or off-white) sections with natural black in a deliberate parting pattern produces a graphic editorial look that reads as an intentional design choice rather than a standard protective style. White braiding hair shows product residue and edge oil more readily than dark shades, so a clear edge gel at installation and avoiding heavy leave-in products along the part lines keeps the white sections clean longer. The visual contrast holds most strongly for 4-5 weeks before natural hair grow-out at the scalp begins to soften the clean section boundaries.
20. Coi Leray with Layered Mixed Accessories
Combining gold cuffs at the roots, wooden beads at mid-braid, and clear or pearlescent beads at the ends creates a three-zone accessory arrangement that builds visual interest from scalp to tip without any single accessory type dominating. Keep the metallic finish consistent across all hardware (all gold or all silver) while varying bead materials for texture contrast, which makes the mixed accessory look coordinated rather than random. Adding this level of accessory detail takes 30-45 additional minutes to complete at a salon appointment, or less time when done at home after the base installation is finished and fully settled.
Length and Styling Options
Length changes both the practical function and the visual weight of coi leray braids. Short installations minimize scalp load and installation time; long installations provide more styling versatility for updos and gathered styles but accumulate braid weight at the scalp junction over a multi-week wear period. Knotless braids at any length benefit from nighttime satin protection; for coi leray braids specifically, the curly ends at the braid tips are the most fragile part of the style and need covering each night to maintain their curl definition through the full wear period. This section covers the length range from chin to waist plus updo and half-up styling options that transform the same base installation into multiple distinct looks.
21. Chin-Length Mini Coi Leray Braids
The knotless technique at chin length uses the least amount of braiding hair per braid of any installation length, which means the scalp carries the least weight and the style is the most appropriate choice for anyone with fine natural edges or a history of tension-related thinning at the perimeter. A chin-length install works best with the braids worn fully loose rather than gathered into an updo, since there are not enough braid inches at this length to gather cleanly without the ends showing above the elastic. Coily ends on chin-length braids add texture rather than volume, keeping the overall silhouette compact while maintaining the signature curly-end look.
22. Shoulder-Length Coi Leray with Loose Flexi-Rod Ends
Oval faces get the most balanced proportional result from shoulder-length coi leray braids because the braid ends fall just at or below the jawline, creating a natural face frame that neither shortens the visual face length nor dramatically elongates it the way waist-length braids can. Use a larger flexi rod (5/8 or 3/4 inch) for the end set on shoulder-length braids so the curl stays voluminous and loose rather than tight and compact; a tight end curl on a medium-length braid can look bottom-heavy relative to the braid body above it. This length also has the widest updo versatility since the braids are long enough to gather into a half-up arrangement but short enough that the full loose style still frames the face cleanly.
23. Bra-Strap Length Coi Leray on Dense Type 4 Hair
On dense type 4b and 4c natural hair, a bra-strap length installation works with the hair’s natural weight rather than against it, since the added braid length brings enough downward pull to lie flat against the back rather than projecting outward at the crown the way shorter installations can on high-volume textures. Tension management becomes particularly important at this length because the cumulative braid weight over 6-8 weeks is higher than at shorter lengths, and any unnecessary scalp tension at the root compounds over the full wear period. Ask specifically for “medium-tension knotless braids with no pulling at the scalp during the feed-in process, especially at the hairline and temples.”
24. Coi Leray Half-Up Top Knot
Gather the top half of the braids from approximately ear level and above into a high bun, securing with a cloth elastic rather than a rubber band to avoid stress at the gathering point where multiple braids compress against each other. The lower half of the braids remains loose, falling around the neck and shoulders and framing the sides of the face while keeping the style from reading as a fully contained updo. On medium-length installations, the loose lower sections are long enough to fall naturally past the shoulder rather than sticking outward from the elastic, which is what makes the half-up shape look intentional at that length.
25. Waist-Length Coi Leray with Bohemian Loose Ends
Leaving the final 3-4 inches of each braid as a loose, finger-separated section rather than a completed knotless tip creates a bohemian fringe effect at the braid ends without requiring a separate styling step or different braid structure. At waist length, the contrast between the tight braid body and the loose, spread end creates movement that is especially noticeable when the braids swing or catch light from the side. On 4b and 4c hair where the natural curl at the very end of the braid mixes with the synthetic extension, the loose section takes on a blended texture that looks different from either pure braiding hair or pure natural curl.
26. Coi Leray in a High Gathered Ponytail
Blonde and ombre color variations photograph most dramatically in a high ponytail because the lighter ends cluster at the gathered top and catch light from above, creating a halo of warm color around the ponytail base. Sweep all braids up to the crown and secure with a cloth elastic, then wrap a small piece of braiding hair matching the braid color around the elastic to conceal the band and create a seamless gathered look. At chin length, the braids gathered into a high ponytail produce a very short tail above the elastic rather than a ponytail with visible length; this styling option works best on shoulder-length and longer installations.
27. Short Bob-Length Coi Leray Braids
Tell your braider: “I want knotless braids with curly ends falling at just below the jaw, keeping the section count at 10-12 braids total, and rolling the ends on medium flexi rods set in hot water before you start the installation.” The bob-length coi leray is the most structured of the short options, with the braid ends landing at a specific horizontal line rather than tapering at varying lengths. Round and heart-shaped faces work well at this length because the braid ends create a defined visual frame at jawline level, which is a proportionally favorable position for both face shapes.
28. Waist-Length Coi Leray with Natural Knotless Taper
A well-executed knotless installation at waist length produces a naturally tapered end at each braid tip because the feed-in technique gradually thins the braid as it approaches the end rather than cutting off at a fixed point, unlike standard knot-start box braids that end with a more abrupt extension tip. The tapered finish looks most natural on type 3c-4b hair where the natural curl at the very end of the braid blends with the curl from the roller-set extension, producing a seamlessly mixed end rather than a visible junction between natural hair and braiding hair. End taper also reduces the weight at the very tip, which matters meaningfully over a 6-8 week wear period at this length.
29. Coi Leray Space Buns Updo
Part the braids from ear to ear with a horizontal section running from the front hairline to the nape, gather the front half into a bun pinned at the left temple and the back half into a bun pinned at the right, so the two buns sit at opposite heights rather than directly beside each other. Tuck the braid ends inside each bun rather than letting them trail, securing with pins rather than a second elastic, which keeps each bun rounded and voluminous rather than collapsing flat at the sides. This styling option requires medium-length or longer installations; at chin length, the braids cannot gather into a full bun shape without the ends sitting above the elastic band.
30. Coi Leray with Diagonal Parting Pattern
Heart and oval faces suit a diagonal parting pattern because the angled section lines create a sense of movement across the face at forehead and temple level that softens the symmetrical width of those features, whereas a strict horizontal row creates a more static, layered look with less visual directional interest. Each row in a diagonal pattern angles from the front hairline down toward the nape at a consistent angle, which requires careful measurement at each new section to keep the angle consistent throughout rather than drifting back toward horizontal. The overall result gives each braid a slightly different drop angle, producing movement in the install that is noticeable both from the front and in profile.
Coi Leray Braids by Face Shape

The variables that change meaningfully by face shape are section count, braid length, parting pattern, and edge styling approach. Identifying which adjustment addresses your actual proportional goal before the braider consultation saves time and produces a more specific brief than simply requesting “coi leray braids.” A face shape reference helps confirm your category before the appointment if you are uncertain.
| Face Shape | Best Section Count | Best Length | Parting and Edge Notes |
|---|---|---|---|
| Oval | 10-14 sections | Any length works; shoulder to bra strap most proportional | Grid or diagonal parting both flattering; laid or natural edges equally suitable |
| Round | 10-12 sections | Shoulder and longer; chin length shortens visual face length further | Diagonal or angled front sections; avoid a fully center-parted symmetrical placement |
| Heart | 12-14 sections; slightly smaller sections at the temples | Shoulder to medium; ends draw the eye toward the jaw and collarbone | Diagonal parting; full edge lay at the hairline to soften the wider upper face |
| Square | 10-12 sections | Medium to long; braid weight softens the jaw area visually as the braids fall | Grid parting with slightly curved edge styling rather than a hard straight perimeter line |
| Oblong | 12-16 sections; slightly wider sections at the sides to add volume | Chin to shoulder; avoids adding visual length to an already long face shape | Horizontal parting rows that add visual width; side volume from wider temple sections |
| Diamond | 10-12 sections | Any length; fuller end curls add width at the chin and jaw | Avoid fully slicked-back edges that expose a narrow forehead; use a soft natural edge or light fringe |
What to Tell Your Braider
The phrase “coi leray braids” communicates the general style to most professional braiders, but the specific variables that affect your result need to be stated explicitly at the consultation: section count, braid length, whether you want the ends set on rods or left as straight extensions, and your preferred parting pattern. A braider cannot determine these from the style name alone, and the difference between 10 sections and 16 sections or between shoulder length and waist length produces meaningfully different installs.
Stylist tip: Bring two photos to the consultation rather than one. Bring a photo showing the braid body and parting pattern you want, and a separate photo showing the end texture and curl type you want. Different photographers capture these elements in different proportions, and a single reference image that shows one clearly often obscures the other. Showing both eliminates the most common source of installation-day miscommunication.
For scalp comfort, tell your braider: “I want medium to low tension throughout, especially at the hairline and temples.” If you have a history of edge thinning or previous tension damage, add: “Please use slightly more extension hair at the perimeter sections to reduce the pull at the roots there.” Most experienced braiders will adjust without pushback, and specifying this at the start of the appointment is considerably more effective than addressing it after the first few braids are in.
Stylist tip: Purchase your own braiding hair before the appointment rather than relying on the salon’s stock, particularly if you have a specific color in mind. Professional braiding supply retailers carry a wider color range than most salon inventory, and buying 6-8 packs of the same shade ensures the color stays consistent from the front hairline braids to the last section at the nape. Compare braiding hair to your target color under natural daylight rather than store or salon lighting before committing to a pack.
Maintenance for Coi Leray Braids
Most of the active maintenance for coi leray braids happens at the scalp and edges rather than at the braid body. The braids themselves are self-contained once installed; the natural hair underneath and the perimeter edges need consistent attention to stay healthy through the wear period. Protective hairstyles protect natural hair when properly maintained and cause damage when neglected, and the 4-8 week timeline of coi leray braids gives scalp conditions enough time to develop into a real problem if the maintenance steps are skipped.
| Task | Frequency | How and What to Use |
|---|---|---|
| Scalp moisturizing | Every 3-4 days | Light oil (jojoba or sweet almond) in a pointed applicator bottle, applied along the part lines only; avoid heavy butters that accumulate at the scalp and cause buildup |
| Edge care | Daily or as needed | Water-based edge gel with a soft brush; apply lightly enough that no white residue is visible at the hairline after the gel dries |
| Curl end refresh | Weeks 3-4 and as needed | Mist with water-glycerin mix; re-roll on the same rod size used at installation; allow to air-dry or diffuse fully before removing rods |
| Scalp wash | Every 2 weeks | Diluted shampoo in an applicator bottle, applied along the part lines only; massage with fingertip pads (not nails); rinse thoroughly; dry braids fully before sleeping |
| Nighttime protection | Every night | Large satin bonnet for short and medium lengths; satin scarf wrapped loosely around the ends for waist-length braids to protect the curl from friction |
| Take-down timing | Weeks 6-8 (8-week maximum) | Remove at the first sign of significant root matting or new-growth tangling; waiting past 8 weeks increases shed hair accumulation inside the braid and substantially extends detangling time at removal |
When Coi Leray Braids Are Not the Right Next Step
Coi leray braids work best when installed on a healthy scalp and hair foundation. There are real situations where the style is not the most appropriate choice, and installing over an existing issue typically makes that issue harder to address.
- Active scalp conditions (dandruff, seborrheic dermatitis, scalp psoriasis): Braiding over an inflamed scalp traps product residue and dead skin cells under the braid for up to 8 weeks, worsening the condition and causing discomfort throughout the wear period. Treat the scalp condition with medicated shampoo or a dermatologist consultation first, then install once the scalp is clear and comfortable.
- Visible edge thinning from previous tension styles: If the hairline is already showing sparse or receding areas at the temples from prior protective styles installed with high tension, continuing with a new braided install maintains the conditions that caused the damage. Low-manipulation styles, wigs, or wearing natural hair loose give the follicles the recovery time they need before another braided install is appropriate.
- Severely damaged or breaking natural hair: Natural hair breaking at the scalp junction from heat damage or chemical overlap cannot support braid weight safely. A protein treatment followed by 4-6 weeks of low-manipulation styling builds enough structural integrity in the hair shaft to anchor an installation without increasing the breakage rate.
- Natural hair under 2 inches in length: The knotless feed-in technique requires at least 2 inches of natural hair to anchor the extension hair properly at the root; shorter hair produces braids that tend to shift or slip within the first week. A knot-start box braid can work on shorter natural hair, but that is a different style that produces a different result.
FAQ
What Are Coi Leray Braids?
Coi Leray braids are jumbo knotless box braids with curly or kinky ends, named after the rapper who wore them as a signature look from 2021 onward. The knotless technique anchors each braid without a pre-looped knot at the scalp, distributing tension more evenly at the root than traditional knot-start box braids. The curly ends are created by setting braiding hair on perm rods or flexi rods in hot water before installation begins, producing a defined spiral or coil that is separate from the natural hair’s own curl pattern.
How Long Do Coi Leray Braids Last?
Coi Leray braids last 4-8 weeks with proper scalp care and nighttime protection, though most experienced braiders recommend the 6-week mark as the target removal point rather than the maximum. The curly ends typically begin to loosen or frizz before the braid body loses structural integrity, and refreshing the ends at weeks 3-4 with a mist-and-re-roll extends the look of the style without reinstalling. Removing the braids before 8 weeks also makes the detangling process at take-down considerably more manageable, since shed hair inside the braid accumulates over time and becomes harder to remove the longer the braids remain.
Can You Wash Your Hair with Coi Leray Braids?
Yes, and washing the scalp every two weeks is recommended, not optional, for a healthy wear period. The correct method is to apply diluted shampoo along the part lines using a pointed applicator bottle, massage the scalp with fingertip pads rather than nails, and rinse thoroughly before allowing the braids to air-dry or blow-dry on low heat. Braids left wet and covered overnight develop a musty smell from trapped moisture; fully dry braids before putting on a bonnet or sleeping.
Do Coi Leray Braids Damage Your Edges?
Coi Leray braids do not damage edges when installed with appropriate tension, maintained consistently, and removed within the 6-8 week window. The damage risk is highest at the hairline perimeter, where braids installed with high tension or pulled too tightly during the feed-in process apply consistent pressure to the follicle. The knotless technique specifically addresses this compared to traditional box braids, and requesting low to medium tension explicitly at the hairline during the consultation further reduces the risk on what is typically the most tension-sensitive area of any braid install.
What Hair Type Works Best for Coi Leray Braids?
Type 3b through 4c natural hair with at least 2 inches of length is the most common starting point because the natural texture anchors the feed-in process well and blends with kinky braiding hair. The style is also done on relaxed hair and textures outside this range by cornrowing the natural hair flat first and installing the braids over the braided base; in this method, the curly look at the ends comes entirely from the extension braiding hair rather than the natural curl. The signature end curl is always created from the braiding hair on perm or flexi rods, so natural curl pattern is not a requirement for achieving the look.
How Much Do Coi Leray Braids Cost?
Professional coi leray braid installation typically costs between $150 and $350 for labor, depending on braid length, section count, and the braider’s experience level and location. This price generally covers the braider’s time but not the braiding hair itself, which adds $30-60 for 6-8 packs in the color and texture needed. The 6-8 week wear life makes the per-week cost of coi leray braids competitive with most natural hair and protective styles that require maintenance every 2-4 weeks.
Whether you choose a classic natural black installation with kinky spiral ends, a color variation in honey blonde or burgundy ombre, or an accessorized version with gold cuffs and layered beads, coi leray braids give natural and textured hair a structured, low-daily-effort protective style that holds through weeks rather than days. Bring the reference photos from this collection to your braider consultation, specify your section count and tension preferences before the install begins, and follow the scalp and edge care routine throughout the wear period to get the most out of the installation.
Hair results vary based on your natural hair type, texture, density, and condition. Always consult with a licensed hairstylist before making significant changes, especially with chemical treatments or dramatic length changes. Photos may show styled results that require professional tools and products to replicate.