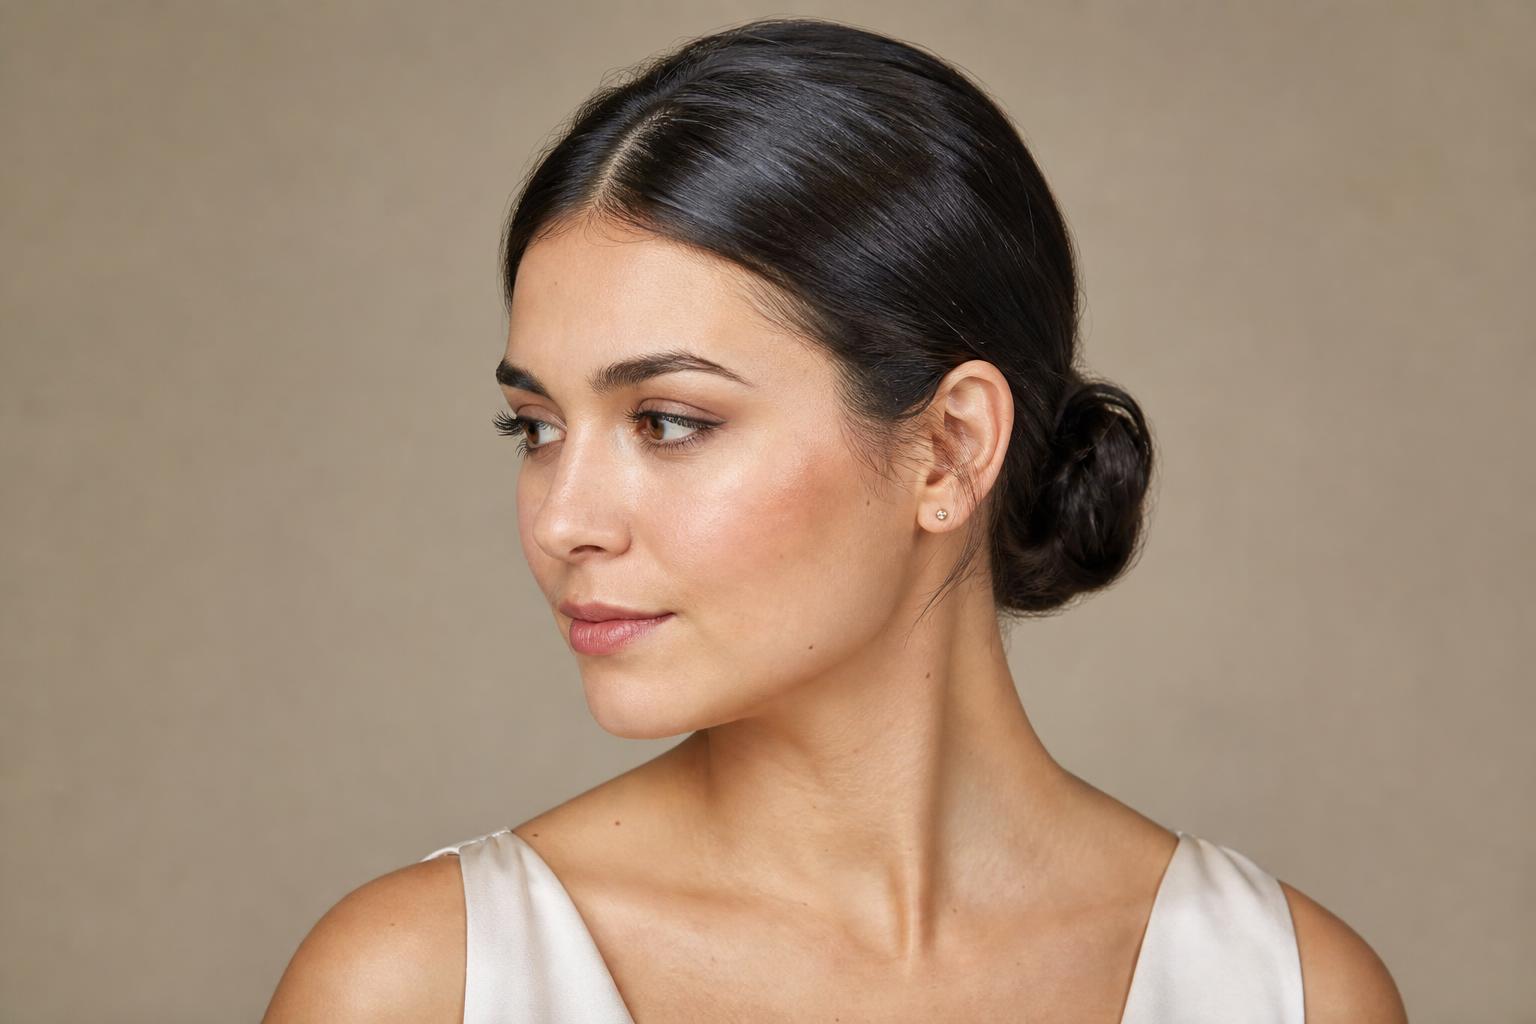
A sleek bun should be held up by the elastic and the pins, not by the skin of your scalp.
If your forehead feels tight or your eyebrows lift when you finish, the bun is wrong no matter how smooth it looks. The polish in a sleek bun comes from product laid flat against the hair and from brushing in one consistent direction, and neither of those requires pulling. Tension is what makes the style hurt, and over months of repetition it is also what thins the hairline.
This guide covers the tension test that tells you when to start over, which product actually holds your texture, the five steps from damp hair to finished bun, where to place the bun for your face shape, how often the style is safe to repeat, and how to get the gel back out afterward.
The Elastic Holds the Bun, Not Your Scalp
Most people build a sleek bun backwards. They pull the hair as tight as their arms allow, secure it under that tension, and rely on the strain to keep everything smooth. What actually keeps it smooth is a product film sitting on the outer layer of hair and a firm elastic doing the structural work. Once the elastic is in, the scalp tension serves no purpose at all, which means you can gather the hair snugly and still leave the skin relaxed.
The check takes three seconds. With the ponytail secured but before you wrap the bun, slide two fingertips flat under the hair right at the hairline. If they slip under without effort, the tension is right. If you have to push, or if the skin at your temples has visibly lifted, take the elastic out and redo it, because that is the tension that leaves you with a headache by noon and a receding hairline by next year.
Stylist tip: Tilt your chin up toward the ceiling while you gather the hair, then lower it once the elastic is in. Gathering with your head back builds in a small amount of slack at the nape, so the bun sits secure while your head is in a normal position.
Product Depends on Your Texture, Not on the Look You Want
Every tutorial reaches for the same jar of strong-hold gel, and on about half of all hair types that is the wrong call. Fine hair loads up and goes stringy. Coily hair needs more slip and more moisture than a firm gel provides on its own. Match the product to what your hair does when wet, and the sleekness arrives with far less work and far less flaking.
| Hair Type | Product to Reach For | Tool | What Goes Wrong Otherwise |
|---|---|---|---|
| Fine and straight | Light gel or a mousse-gel hybrid, on damp hair only | Boar bristle brush | Heavy gel separates fine hair into visible strands and shows scalp |
| Medium and straight to wavy | Medium-hold gel, plus a pea of pomade for the last pass | Boar bristle brush and a fine-tooth comb | Gel alone dries matte, so the bun looks flat rather than glossy |
| Thick and coarse | Firm-hold gel worked in sections, then a smoothing cream on top | Denman-style brush, then a bristle brush | One all-over application never reaches the underneath layers |
| Curly, type 3 | Leave-in conditioner first, then gel over the top while soaking wet | Wide-tooth comb, then a soft brush | Gel on dry curls sets frizz in place instead of smoothing it |
| Coily, type 4 | Moisturizer or leave-in, then edge control or a foaming wrap lotion | Soft boar brush and a satin scarf to set | Skipping the moisture step means the hold product is doing all the work and the hair snaps |
Tightly coiled hair usually needs to be stretched before it can lie flat, and that stretching step matters more than the hold product does. Banding, a blow-out on low heat with a comb attachment, or an overnight braid-out all get you there, and the sequencing is set out in our guide to stretching coily hair before you set it. Loosely textured hair that resists lying down can be smoothed with a flat iron on a low setting instead, though the plate width and temperature control on the tool make a real difference, as our guide to choosing a flat iron by spec explains.
The Five Steps From Damp Hair to Finished Bun
Work on damp hair rather than soaking or bone dry. Soaking hair dilutes the product and the bun slides loose as it dries; fully dry hair takes three times the product to lie flat. Towel-damp is the window where a small amount of product goes a long way.
Step 1: Prep the Hair Damp and Detangled
What you need: a spray bottle of water and a leave-in conditioner or light cream.
How: mist the hair until it is evenly damp all over, not wet in patches, then detangle fully from the ends upward before any hold product goes near it.
Common mistake: misting only the front. The back dries first and ends up rougher than the part everyone can see.
Step 2: Apply Product in Sections, Roots First
What you need: the gel or cream matched to your texture from the table above.
How: warm the product between your palms first so it spreads instead of clumping, then work it in four sections, front, both sides and the back, starting at the roots where you need the most control and pulling through to the ends.
Why: the roots decide whether the surface looks flat. Product concentrated on the lengths adds weight without adding smoothness.
Step 3: Brush in One Direction Toward the Bun
What you need: a boar bristle brush, or a soft brush and a fine-tooth comb.
How: brush from the hairline straight back over the curve of the skull toward the point where the bun will sit, using steady even strokes. Every stroke goes the same way, including the sides and the nape.
Common mistake: brushing hard. Pressure does not flatten hair, direction does, and hard brushing on damp hair snaps strands at the root.
Step 4: Secure the Ponytail Without Tension
What you need: a fabric-covered elastic that matches your hair color.
How: gather the hair with your chin lifted, wrap the elastic three times or as many as it takes to feel firm, then run the two-finger test at the hairline before going further.
Why: the elastic is the structure. Everything after this point is shaping, so this is the last moment where fixing the tension costs you nothing.
Step 5: Wrap, Pin and Set
What you need: four to eight bobby pins and a satin or silk scarf.
How: twist the ponytail into a rope, coil it around the base, and pin by pushing each pin down into the coil and then hooking it back under the elastic rather than jabbing it into the scalp. Tie the scarf over the whole head for five to ten minutes while the product sets.
Common mistake: pinning into the scalp. Pins should grip hair against hair; a pin resting against skin will work loose within an hour and leave a sore spot.
Bun Placement Changes Your Face More Than Sleekness Does
A sleek bun pulls every strand off the face, which means the shape of your face is fully on display and the only variable left is where the bun sits. Height changes the vertical line, and a center or side part changes the width across the forehead. Choose the placement first, then build to it.
| Face Shape | Best Placement | Part | Avoid |
|---|---|---|---|
| Round | High, at or just above the crown | Deep side part | A low nape bun with a center part, which widens the face further |
| Oval | Anywhere from crown to nape | Center or side, both work | Nothing structural; pick by outfit and occasion |
| Square | Mid-height, between crown and occipital bone | Soft side part with a slight sweep | A severe center part, which lines up with a strong jaw and doubles it |
| Heart | Low, at the nape | Center | A very high bun, which stretches an already narrow chin |
| Long or oblong | Low and wide, spread rather than coiled tight | Center, with a little softness at the temples | A tall bun on top, which adds vertical length |
| Diamond | Mid to low, with a fuller coil | Side part | A tiny knot high on the head, which narrows the forehead further |
Edges Are a Choice, Not a Requirement
Laid edges belong to a specific tradition and a specific technique, and they are entirely optional on a sleek bun. If you want them, separate a thin section at the hairline before you gather anything else, apply edge control with a soft toothbrush or edge brush in short swooping strokes, and tie a satin scarf over the finished shape for five to ten minutes to set it. Doing it after the bun is built almost never works, because the hair you need has already been pulled back.
The important limit is that edges are the most fragile hair on your head and the first to show tension damage. Working them daily with a stiff brush and firm product is its own risk, separate from the bun itself. Leaving the hairline soft and slightly undefined is a perfectly finished look, and the broader family of pulled-back natural styles in our collection of all-back styles for natural hair shows how much variation is available without touching the edges at all.
How Often a Sleek Bun Is Safe to Repeat
This is the part every tutorial leaves out. Sustained pulling at the follicle is the mechanism behind traction alopecia, and a review of its clinical and cultural patterns places tight buns and ponytails among the higher-risk practices, with the risk scaling to how hard the hair is pulled, how long the style stays in, and whether the hair has been chemically relaxed. The American Academy of Dermatology’s guidance on pulling hairstyles makes the same point in plainer terms: loose beats tight, and varied beats repeated.
Translated into a schedule, that means a sleek bun is a two-to-three-times-a-week style rather than a daily uniform, and it should come down at night rather than being slept in. Change the bun’s height between wears so the same follicles are not carrying the load every time. Watch for the early warnings: small bumps along the hairline, tenderness that lasts past taking the style out, short broken hairs standing up at the temples, or a hairline that has quietly moved back a few millimeters. Every one of those is reversible if you loosen up early and none of them is once the follicle scars.
Stylist tip: If you wear a bun most days for work, alternate the sleek version with a low, loosely gathered one that skips the gel entirely. The looser style photographs almost the same at conversational distance and gives the hairline three or four recovery days a week.
When a Sleek Bun Is Not the Right Style
Some hair simply will not give you this look on a given day, and forcing it does more harm than choosing something else. These are the situations where a different style is the better answer.
- Short face-framing layers or a grown-out fringe. Anything under about four inches will not reach the elastic, so it pops out within the hour. Pinning those pieces flat under tension is exactly the stress the hairline cannot afford; a half-up style or a low twist hides them better.
- Very fine or sparse density. A tight coil of fine hair reads as a small knot with a lot of visible scalp around it. A slightly loosened, spread bun over a hair donut gives the same polished line with more presence.
- Active shedding or a tender scalp. Any pulled-back style during a shedding phase concentrates loss at the hairline. Wear it down or in a loose braid until shedding settles.
- Within a week of a relaxer, keratin service or color. Chemically processed hair is at its most fragile immediately afterward, and tension plus fresh processing is the combination that causes breakage at the line.
- You want the polish with no product. That does not exist on most textures. A neat low bun without gel is a good style in its own right, and our roundup of simple styles sorted by how long they take has several that need nothing but an elastic.
Getting the Gel Back Out
Hold products are built to resist water, which is the whole point, and rinsing a bun under the shower rarely removes all of it. Residue left at the roots dulls the hair, flakes on the next wear, and gradually stops your conditioner from absorbing. The fix is a proper detangle before washing rather than a harder scrub during it.
Take the bun down, work a little conditioner or oil through the dry hair with your fingers to soften the product film, and comb it out from the ends up before the hair ever touches water. Then wash normally. Once or twice a month, or whenever the hair feels coated rather than dirty, swap in a clarifying shampoo that strips accumulated product, and follow it with a deep conditioner because clarifying removes your own oils along with the gel. Long hair holds more product than it looks like it does, which is worth knowing if you are also managing the weight issues covered in our guide to styling long hair.
FAQ
How Do I Get a Sleek Bun Without It Looking Crunchy?
Apply the gel to damp hair rather than dry, use less than you think, and let it dry fully before touching anything. Crunch comes from product sitting on the surface in a thick layer instead of coating each strand thinly, so a smaller amount spread through wet hair sets softer. If it still feels stiff once dry, smooth a drop of lightweight oil or serum over the outer surface with your palms to break the cast without disturbing the shape.
Can I Do a Sleek Bun on Short Hair?
You need roughly six inches of length from the crown to build a bun that holds, and shorter than that becomes a sleek knot or a pinned twist instead. Bob-length hair can work with the bun placed low at the nape, where the shortest layers have the least distance to travel, plus extra pins for the pieces that fall out. Below about four inches, a slicked-back style with no bun at all is the more reliable version of the same polished look.
Does a Sleek Bun Cause Hair Loss?
Tension causes hair loss, and a sleek bun only causes it if you build it under tension or wear it constantly. Traction alopecia develops from repeated pulling at the follicle over months, not from an occasional tight style, and it is reversible in its early stages. Keep the elastic snug rather than straining, vary the bun’s height, take it down at night, and treat hairline tenderness as a signal to stop rather than a normal part of the style.
What Kind of Elastic Should I Use for a Sleek Bun?
A fabric-covered elastic in a color close to your hair, not a metal-clasped band and not a rubber band. Metal clasps saw through hair at the point they sit, and bare rubber grips so hard it tears strands on removal. Wrap the elastic one turn fewer than feels maximally secure and let the pins take up the difference, since pins distribute their grip across the coil rather than clamping one spot.
How Do I Stop Flyaways on the Top of My Head?
Flyaways at the crown are usually broken short hairs rather than loose long ones, so they will not brush down no matter how much you smooth. Spray a boar bristle brush or a clean toothbrush with light hairspray and press the bristles flat against the surface rather than sweeping through. Doing it after the bun is finished and dry works better than before, because damp hair pops back up as it dries.
Can I Sleep in a Sleek Bun?
Take it down, but keep the hair protected. Sleeping in a secured bun means eight more hours of tension on the same follicles and adds pressure points wherever the pins press against the pillow. If you need the smoothness to survive to the morning, undo the elastic, wrap the hair loosely in a satin scarf or bonnet, and rebuild the bun in a few minutes when you wake up.
Why Does My Sleek Bun Loosen After a Few Hours?
Either the hair was too wet when you built it or the pins are anchored into the scalp rather than into hair. Product-heavy wet hair shrinks slightly as it dries, which loosens the elastic from the inside, so towel-damp is the right starting point. For the pins, each one should enter the coil, turn, and hook back under a band of hair, which locks it; a pin pushed straight in and left there works its way out with normal movement.
A sleek bun is a tension decision before it is a product decision. Match the hold product to your texture, brush in one direction, run two fingers under your hairline before you commit, and place the bun where it flatters your face rather than where the tutorial put it. Wear it a few times a week rather than daily and the style stays what it should be, which is a polished option rather than a slow cost to your hairline. More pulled-back and pinned variations sit in our hairstyles and updos collection if you want alternatives for the days in between.
Hair results vary based on your natural hair type, texture, density, and condition. Always consult with a licensed hairstylist before making significant changes, especially with chemical treatments or dramatic length changes. Photos may show styled results that require professional tools and products to replicate.