
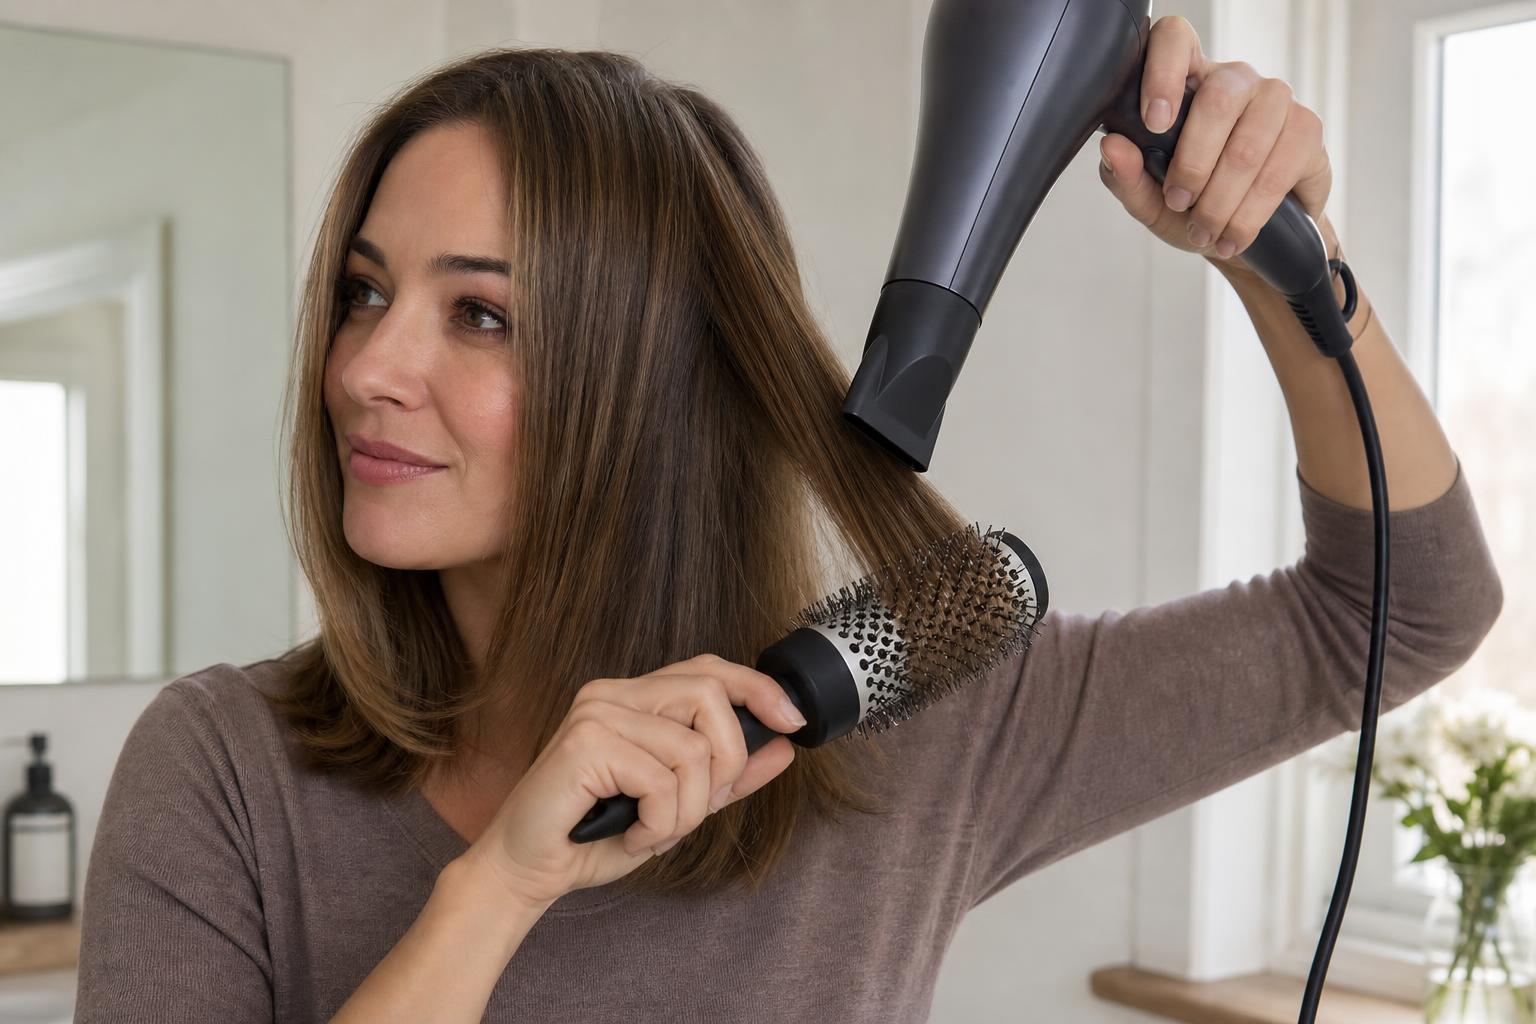
The gap between a home blow-dry and a salon blowout comes down to three things, and none of them is the dryer you own.
Rough dry to about 80 percent before a brush ever touches your hair, work in sections no wider than the barrel of your brush, and keep real tension on every pass. Those three habits produce more smoothness and lift than any upgrade in equipment, because a round brush cannot shape hair that is still wet and it cannot smooth a section it can only half grip. Most people start brushing far too early and work in sections twice as thick as they should.
This guide covers what to have on hand, how to pick a brush barrel that matches your length, the rough-dry stage everyone rushes, the sectioning map that keeps you organized, the pass-by-pass technique, and how to make the result survive past bedtime.
What You Need Before You Start
The kit is small, and two items in it do most of the work. A dryer with a concentrator nozzle is non-negotiable, since the nozzle is what turns scattered hot air into a directed stream you can aim along the hair shaft. Without it you are blowing air at the cuticle from every angle at once, which is a good description of how frizz happens.
- A round brush with a vented or ceramic barrel that heats up and helps set the shape, rather than a plastic paddle brush that only detangles.
- Four to six sectioning clips, ideally the flat metal kind that hold thick hair without slipping.
- A heat protectant matched to your tool, applied to damp hair, since a blowout means twenty minutes of sustained heat. The right way to apply heat protectant matters more here than for a quick touch-up.
- A volumizing mousse or blow-dry cream sized to your hair: roughly a golf ball of mousse for fine hair, a walnut of cream for thick hair.
- A finishing product, either a light oil for shine on thick hair or a flexible-hold spray for fine hair that drops fast.
Stylist tip: Warm the brush before each section by holding it in the dryer stream for two or three seconds while it is empty. A cold barrel absorbs heat from the hair instead of setting the shape into it, which is why the first section of a home blowout usually holds the worst.
Brush Size Should Match Your Length, Not Your Ambition
The single most common equipment mistake is buying a barrel that is too small. A narrow brush wraps hair too many times, which creates a curl rather than a smooth bend and makes the brush far more likely to tangle and lock at the root. Bigger barrels produce the sleek, slightly turned-under shape a blowout is supposed to have, and they get through a head of hair faster.
| Hair Length | Barrel Diameter | What It Gives You | Section Width |
|---|---|---|---|
| Pixie to ear length | 1 inch | Root lift and directional shape, no bend at the ends | 1 inch |
| Chin to jaw bob | 1.5 inches | A soft turn under with the length staying blunt | 1.5 inches |
| Lob to collarbone | 2 inches | Smooth body through the mid-lengths, gentle curve at the ends | 2 inches |
| Shoulder to mid-back | 2.5 inches | Sleek length with volume held at the crown | 2 to 2.5 inches |
| Waist length | 3 inches | Straightness with movement, fewest passes per section | 2.5 inches |
Match the section width to the barrel and you get a clean single wrap with every strand touching the bristles. Take a section wider than the barrel and the outer hair never contacts the brush at all, which is why one half of a section comes out glossy and the other half stays fluffy. Fine hair can go slightly narrower for extra lift; coarse or dense hair should stay at or below the widths above.
Rough Dry to 80 Percent Before the Brush Comes Out
Hair reshapes as its hydrogen bonds reform during drying, and those bonds set in whatever position the hair holds as the last of the water leaves. Brushing soaking-wet hair means you are shaping it during the stage where nothing sets, so you spend ten minutes achieving nothing and then run out of patience at the point where the work actually counts. The rough dry exists to get you to that point efficiently.
Apply product to damp hair, then dry with the nozzle on and your fingers doing the work, lifting at the roots and moving constantly. Aim for hair that feels cool and barely damp rather than fully dry, which is roughly 80 percent for most textures. You will know you are there when a section no longer feels cold to the back of your hand. For fine hair this takes three or four minutes; for dense curly hair it can take ten.
Rough drying upside down builds more root volume than any product, and it costs nothing. Flip forward, dry until the roots feel almost dry, then flip back and start sectioning. Hair that has been dried in the opposite direction to how it will fall stands up far better once it is brushed into place.
The Blowout, Step by Step
Work from the bottom of the head upward, one horizontal layer at a time. Everything above the section you are working on stays clipped out of the way, which sounds fussy for the first two attempts and then becomes the reason the whole thing takes twenty minutes instead of forty. The steps below assume shoulder-length hair and a 2-inch brush.
Step 1: Section Into Four Quadrants, Then Work in Horizontal Layers
What you need: Four to six clips and a tail comb or your fingers.
How: Part down the center from front to nape, then across from ear to ear, giving you four quadrants. Clip three up. Within the quadrant you are working, drop a horizontal layer about an inch deep and clip the rest back up.
Why: Horizontal layers mean each section lies flat against the head with nothing above it interfering, so the brush can get all the way to the root.
Common mistake: Grabbing vertical chunks at random, which leaves gaps and forces you to go back over dried hair with more heat.
Step 2: Pre-Dry the Root With the Nozzle Before Any Brushing
What you need: Dryer with the concentrator nozzle attached, medium heat and high speed.
How: Hold the section straight out from the head and blast the first inch of root for five seconds, moving the nozzle side to side.
Why: Roots hold more water than ends and dry slower, so pre-drying them evens out the moisture across the section and stops you overworking the ends while waiting for the base to catch up.
Common mistake: Holding the nozzle still, which overheats one spot and can scorch fine hair.
Step 3: Set the Brush at the Root and Pull With Tension
What you need: The round brush and steady grip.
How: Place the brush under the section at the root, lift the hair up and slightly back from the head, and pull the brush slowly down the length while the nozzle follows two inches behind it, angled downward along the shaft.
Why: Tension flattens the cuticle mechanically while heat sets it that way, and that combination is where the shine comes from. Airflow pointing down the shaft rather than up it is the other half of the equation.
Common mistake: Letting the brush drift loose halfway down. If the section feels slack, stop and start that pass again rather than finishing it.
Step 4: Roll Under at the Ends and Hold
What you need: Nothing extra, just patience for four or five seconds per section.
How: When the brush reaches the last two inches, roll it fully under so the ends wrap the barrel, hold the dryer on it for three seconds, then unwind slowly.
Why: That short hold is what creates the turned-under finish, and it is the visual signature that separates a blowout from straight dried hair.
Common mistake: Unwinding fast while the hair is still hot, which drops the shape before it has set.
Step 5: Cool the Section Before You Let It Go
What you need: The cool shot button, which most people have never used.
How: With the ends still wrapped around the barrel, hit the cool shot for three to five seconds, then release.
Why: Hydrogen bonds lock as hair cools, not while it is hot, so cooling the hair in the shape you want is what makes the result hold for days rather than hours. Skip this and the shape starts dropping before you finish the other side.
Common mistake: Cooling after you have already released the section, when the hair has fallen back into its natural position.
Three Details That Separate Salon Results From Home Results
Everything above is standard technique. These three details are where most home blowouts quietly lose to the salon version, and none of them requires better equipment.
The first is nozzle angle. Air should travel from root to tip, following the direction the cuticle lies in, which means the nozzle points down at roughly 45 degrees and never up into the section. Blowing against the cuticle lifts the scales and produces exactly the halo of frizz you spent twenty minutes trying to avoid.
The second is over-drying. Once a section is dry, more heat does not make it smoother, it just costs you moisture and shine. Stop the moment a section stops feeling cool, which usually happens sooner than you expect. This is the same principle behind picking a sensible temperature for a flat iron rather than defaulting to the highest setting.
The third is direction at the crown. Overdirecting means pulling a section forward or back past its natural fall while you dry it, and it is the whole trick behind crown volume. Dry the crown sections pulled straight up and slightly forward of where they will land, and they fall back into place with lift built in. Hair dried in the direction it already wants to lie has no reason to stand up.
Stylist tip: If your blowout looks great at the ends but flat on top, the fix is not more product at the root, it is drying the crown sections in the wrong direction on purpose. Root sprays cannot create lift that the drying direction removed.
Making It Last Past Day One
A well-set blowout on medium hair holds for three to four days, and the routine that gets you there starts the night you do it. Sleep with the hair loosely pinned on top of your head in a wide, soft coil rather than a tight ponytail, which keeps the crown lift and avoids a dent at the elastic. A silk or satin pillowcase reduces the friction that undoes smoothness overnight.
Dry shampoo goes in on day two, at the roots, before the hair looks oily rather than after. Applied preventively it absorbs oil as it arrives and keeps the volume, while applied late it mostly sits on top of grease and turns the roots gray and gritty. Two or three short bursts on the parting and crown is enough.
By day three most people need to reshape rather than rewash. Ten seconds per section with the round brush and dryer on medium, plus a cool shot, brings back the turn at the ends without another full blowout. Anyone whose blowout collapses within hours regardless of technique may be fighting hair that falls flat because of the cut itself, which no amount of drying technique can override.
When a Home Blowout Will Not Work
Some situations produce a poor result no matter how good the technique is, and knowing which one applies to you saves a frustrating hour.
- Very tight curl patterns from 3c to 4c need far more heat exposure to fully straighten, and doing that regularly risks permanent loosening of the pattern. Book a professional silk press instead, or embrace a diffused finish.
- Hair below the shoulder blades with only one arm free is a real limitation, since holding tension while operating a dryer on hair you cannot see becomes genuinely difficult. A blow-dry brush that combines both tools is a fair trade-off here.
- Freshly bleached hair in fragile condition should not take twenty minutes of directed heat. Rough dry to 90 percent, use a lower heat setting, and accept a softer result until the condition improves.
- Hair that is already dry when you start cannot be reshaped by a round brush, because there is no moisture for the bonds to reform around. Damp it down with a spray bottle first.
- Humidity above roughly 70 percent will pull moisture back into the hair within an hour, so on those days a heatless style set overnight holds up better than a blowout will.
What to Tell Your Stylist
If you want a cut that blows out easily, say so at the consultation, because it changes how a stylist builds the shape. Ask for “long internal layers that support a round brush, with the perimeter kept strong” and you get a cut with movement that still holds a blunt edge. Heavily texturized ends look effortless air-dried and fight you in a blowout, since there is no solid line for the brush to smooth against.
The other question worth asking is which direction your hair naturally grows at the crown. Most people have a whorl that pushes hair one way, and a stylist can show you in the mirror which side to overdirect from. Two minutes of that conversation at the chair saves you guessing every wash day.
It is also worth asking your stylist to talk you through one section while you watch in the mirror at the end of your appointment. Most are happy to, and seeing the brush angle and tension in person clarifies more than any written instruction can.
FAQ
How Long Should a Blowout Take at Home?
Twenty to thirty minutes for shoulder-length hair once you are practiced, including the rough dry. The first few attempts take longer, often close to an hour, largely because sectioning feels slow before it becomes automatic. If you are consistently past forty minutes, your sections are probably too wide, which means more passes per section.
Can I Get a Blowout With a Blow-Dry Brush Instead?
Yes, and for fine to medium hair the result is close enough that many people never go back to two separate tools. What you lose is tension control, since a hot air brush cannot grip as firmly as a round brush in your hand, so thick or coarse hair ends up smooth but with less root lift. The trade is speed and ease against the last 15 percent of polish.
Should I Blow Dry With Hot or Medium Heat?
Medium heat with high airspeed beats high heat with low airspeed for almost everyone. Airflow does the drying, while excess heat mostly does damage, and the sustained contact of a blowout means heat accumulates in a way a quick pass does not. Reserve the highest setting for coarse, healthy, unprocessed hair.
Why Does My Hair Go Frizzy Halfway Through?
Almost always because the earlier sections dried past the point of setting while you worked elsewhere, and dry hair blown at from multiple angles roughens up. Clip finished sections out of the airflow as you go rather than letting them hang loose. Nozzle angle is the other usual suspect, since air blown upward against the cuticle lifts it every time.
Do I Need Mousse If I Already Use Heat Protectant?
They do different jobs, and on fine hair you want both. Heat protectant limits damage, while mousse or a blow-dry cream gives the hair something to hold its shape with, which is what makes the result last past the first day. On thick or coarse hair you can often skip the mousse and use a cream that smooths instead.
How Often Is a Blowout Safe?
Once or twice a week is reasonable for healthy hair, and the goal is to make each one last rather than repeating them. Sustained heat two or three times a week starts showing up as roughness at the mid-lengths within a couple of months. If your hair is colored or previously bleached, keep it to once a week and lower the heat.
Can I Blow Dry Curly Hair Straight Without Ruining the Curl?
Occasionally, yes, though the risk of heat training the pattern loose rises with frequency and temperature. Use a heat protectant rated for high heat, keep the dryer on medium, and limit it to once or twice a month rather than weekly. Any curl that fails to return after a wash is a warning sign to stop.
Getting a blowout at home right is mostly about restraint: dry more before you brush, take smaller sections than feel necessary, and stop applying heat sooner than instinct suggests. Buy the brush size that matches your length rather than the one that promises the most curl, and use the cool shot on every single section. The rest is repetition, and by the fourth attempt the whole thing takes half as long as the first, with far less of your styling tool collection needed than the tutorials suggest.
Hair results vary based on your natural hair type, texture, density, and condition. Always consult with a licensed hairstylist before making significant changes, especially with chemical treatments or dramatic length changes. Photos may show styled results that require professional tools and products to replicate.