

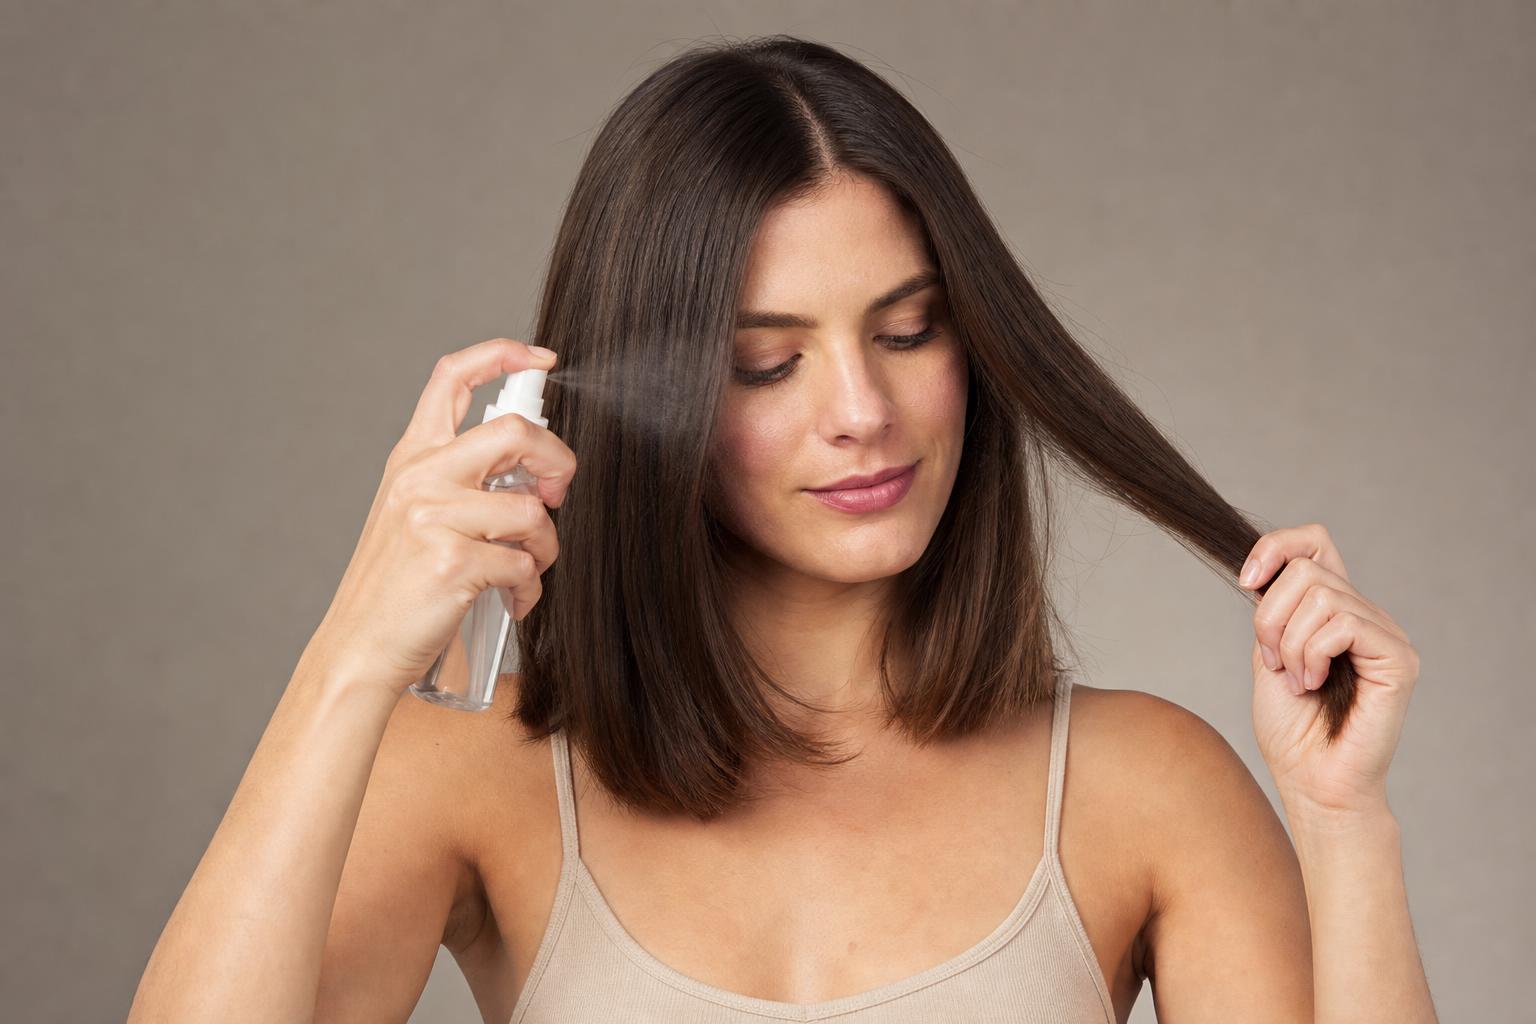
Heat protectant reduces heat damage rather than preventing it, and how you apply it changes the result more than which bottle you buy.
Apply it to towel-dried hair before you blow-dry, and to fully dry hair before a flat iron or curling iron touches it. Work in four sections minimum, use more product than feels necessary, and let a spray dry completely before applying heat. Those four habits separate hair that holds up under regular styling from hair that frays at the ends by month six, and almost nobody gets all four right.
This guide covers what heat physically does to a strand, how the protective film works and where its limits are, which format suits your tool and texture, a step-by-step application method with the mistakes that cancel each step out, and the situations where no protectant is going to save you.
What Heat Actually Does to a Strand
Three separate kinds of damage happen at once when a hot tool passes over hair. The cuticle scales expand and contract with each heating cycle until their edges lift and eventually separate from the fiber. The thin lipid layer that makes hair water-repellent breaks down, so the strand starts absorbing water it cannot hold onto. Inside the cortex, keratin and lipids deplete, which produces the dryness and brittleness that show up long after the styling session itself.
A 2026 study in the journal Molecules modeled this by running a flat iron at 200 degrees Celsius over hair for 84 heating cycles, roughly a year of regular use, and documented exactly that sequence: cuticle edge lifting and delamination, loss of the hydrophobic surface layer, and internal protein depletion leading to breakage and dullness. The temperature matters enormously here, which is why choosing the right iron temperature for your hair type is the decision that comes before any product choice.
How a Heat Protectant Works and Where It Stops
A heat protectant coats the strand with a thin film, usually built on silicones such as dimethicone or cyclomethicone, sometimes combined with hydrolyzed proteins or plant oils. That film does three measurable things: it slows how quickly heat conducts into the fiber, it holds moisture inside the strand so water does not flash off, and it cuts the friction between the hair and the metal plate, which is a bigger source of mechanical damage than most people realize.
What it does not do is make heat styling safe. In the Molecules research above, an advanced protective film improved tensile strength under thermal stress by 6.58 percent and reduced frizz by 39.33 percent, which is a real and useful improvement, and a long way from immunity. Treat a protectant as something that buys you more styling sessions before damage becomes visible, not as a permission slip for daily ironing at maximum heat.
Stylist tip: Products advertising protection up to 450 degrees Fahrenheit are stating the temperature at which the formula itself stays stable, not the temperature at which your hair does. Almost no one needs 450 degrees, and the number on the bottle is not a recommendation.
Spray, Cream, or Serum Depends on Your Tool and Your Texture
The three formats are not interchangeable, and using the wrong one is the most common reason people conclude that heat protectant does not work for them. A cream on fine hair before a flat iron leaves a residue that scorches. A light spray on coarse curly hair before a blow-dry evaporates before it does anything useful. Match the format to the tool first, then adjust for your texture.
| Format | Best Tool | Best Hair Type | How Much |
|---|---|---|---|
| Spray | Flat iron, curling iron, wand | Fine to medium, oily-prone roots | 3 to 6 spritzes per section, held a hand’s width away |
| Cream or lotion | Blow-dryer with a round brush | Medium to thick, dry or frizz-prone | A coin-sized amount for shoulder length, doubled for long hair |
| Serum or oil blend | Blow-dryer, diffuser | Coarse, curly, coily, chemically treated | 2 to 4 drops through the mid-lengths and ends only |
| Leave-in with heat claim | Blow-dryer at low heat, air-drying | All types, as a light daily layer | Enough to dampen the lengths, not the scalp |
One combination worth knowing: a cream at the blow-dry stage followed by a light spray before the iron gives better results on thick hair than doubling up on either. The cream handles the long, lower-temperature exposure of drying, and the spray handles the brief, very hot contact of the plates without adding weight.
How to Apply Heat Protectant Properly
Application is where most of the protection is won or lost. The product has to reach every strand that will meet the tool, which means the underneath layers as much as the top, and it has to be at the right moisture level when the heat arrives. Three steps, in this order, every time.
Step 1: Match Your Hair’s Wetness to Your Tool
What you need: A towel and thirty seconds of patience.
How: For blow-drying, squeeze the hair with a microfiber towel until it stops dripping, then apply a cream or serum to damp hair. For a flat iron, curling iron, or wand, your hair must be completely dry before you apply a spray, and the spray itself must dry before the plates touch it.
Why: Soaking wet hair dilutes the formula so the film never forms properly. Water trapped under an iron flash-boils inside the strand, which blows the cuticle open from the inside.
Common mistake: Treating a sizzle as a sign the product is working. A sizzle means there is water in the hair and you are steaming it, and that single sound accounts for a large share of the damage people blame on their iron.
Step 2: Section Before You Spray, Not After
What you need: Four sectioning clips, minimum. Six on thick or long hair.
How: Part the hair down the middle and again from ear to ear, clip the top sections away, and apply to each section as you take it down. Spray or spread the product along the mid-lengths and ends, then comb through with a wide-tooth comb so it reaches every strand.
Why: Spraying over the top of loose hair coats the outer layer and leaves everything underneath unprotected, and the underneath layers are the ones that take the most passes with an iron.
Common mistake: Combing before applying rather than after. Distribution is the entire point, and a comb pulled through untreated hair does nothing to move the product where it needs to be.
Step 3: Use More Than Feels Right, and Keep It Off the Roots
What you need: The amounts in the table above, measured rather than guessed.
How: Concentrate the product from about ear level down to the ends, where the hair is oldest and takes the most heat. Skip the first inch at the scalp entirely, since roots rarely meet a hot plate and product there causes limpness and buildup.
Why: Under-application is far more common than over-application. A film needs enough material to be continuous, and a patchy film protects patchily.
Common mistake: Rationing an expensive product across a full head. If the bottle lasts you six months of frequent styling, you are using too little of it.
Stylist tip: Apply your spray, then dry your hands and do something else for two minutes before picking up the iron. That pause is the single easiest upgrade to your routine, and it eliminates the wet-hair sizzle entirely.
Mistakes That Cancel Out Your Heat Protectant
Even correctly applied product gets undone by a handful of habits. These come up constantly in the chair, and each one is fixable without buying anything.
- Going over the same section repeatedly. Four slow passes at a lower temperature does more damage than one confident pass at a slightly higher one, because total heat exposure is what counts.
- Layering protectant over yesterday’s product. Silicone films build up, and a thick uneven layer conducts heat unpredictably. Wash before a styling session rather than adding to a three-day-old base.
- Using a protectant that contains alcohol as the first ingredient. It evaporates fast and leaves the hair drier than it started, which is common in cheap sprays marketed as lightweight.
- Ironing hair that is already brittle. On hair with existing damage, protectant improves the feel without restoring strength, and the ends keep fraying regardless, which is a split end problem that only cutting resolves.
- Skipping it on the blow-dryer. A dryer held close on high heat reaches temperatures comparable to a low iron setting, and this is the tool people most often use bare.
What a Heat Protectant Cannot Do
Being clear about the limits keeps you from making decisions that a bottle was never going to cover. Four things fall outside what any formula can deliver.
It cannot reverse damage that has already happened, because a lifted or delaminated cuticle does not lie back down. It cannot make daily flat ironing sustainable on fine or bleached hair, where the cumulative exposure outruns any film. It cannot protect hair that is wet, since the water inside the strand is the problem rather than the surface. And it cannot compensate for a tool running hotter than its dial claims, which is common on inexpensive irons and worth testing before you trust a number.
If you are styling most days, the more effective change is reducing how often heat touches your hair at all. Overnight setting methods produce a similar finish with no thermal exposure, and the five approaches compared in the heatless curls guide cover most hair lengths and textures. Cutting from five heat days a week to two does more for your ends over a year than any upgrade in product.
What to Tell Your Stylist
Stylists can read heat damage instantly from the way ends behave under tension, so describe your routine in numbers rather than impressions. How many days a week you use heat, which tools, and roughly what temperature setting gives them everything they need to advise you.
Worth asking at the chair: which format they would put you on given your texture, whether your current protectant is building up, and what temperature they use on your hair when they style it in the salon. That last question is the useful one, because most people set their iron far above what a professional would choose for the same hair. If the answer surprises you, it is also a signal to check whether your hair is sitting on the wrong side of the protein and moisture balance, since brittle hair reads as heat damage and is often something else.
FAQ
Do I Need Heat Protectant for Blow-Drying?
Yes, and this is the step most people skip. A blow-dryer held a few inches from the hair on a high setting delivers meaningful heat over several minutes, which is a longer exposure than a flat iron pass even if the peak temperature is lower. Use a cream or serum on damp hair, and keep the nozzle moving and at least six inches away.
Can I Use Hair Oil as a Heat Protectant?
Most oils are not designed for it and some make things worse. Oils with low smoke points can degrade under a hot tool, and an oil layer conducts heat into the strand rather than insulating it. Argan and grapeseed hold up better than coconut or olive, but a formulated protectant with silicones outperforms all of them for iron work.
How Long Does Heat Protectant Last on Hair?
Until the next wash for silicone-based products, though the meaningful protection applies to the styling session you applied it for. Reapplying on day two before touching up a few pieces is fine and sensible. What you should not do is build layer on layer across a week of dry styling, since the film thickens unevenly and holds heat.
Is Heat Protectant Necessary for Curly Hair Under a Diffuser?
Yes, at the low and medium settings most people diffuse on, though a lightweight serum or leave-in is enough. Curly and coily textures already have a more fragile cuticle at the bends of each curl, so friction reduction matters as much as thermal insulation. Apply to soaking wet hair alongside your styling cream rather than as a separate dry step.
Does Heat Protectant Cause Buildup?
Silicone-based formulas can, particularly on fine or low porosity hair and particularly if you are washing infrequently. The symptom is hair that feels coated and refuses to hold a style. A clarifying shampoo every three to four weeks clears it, and matching your washing frequency to your texture keeps it from accumulating in the first place.
Should I Use Heat Protectant Every Single Time?
Every time a hot tool touches your hair, including quick touch-ups on a few face-framing pieces. Damage is cumulative, and the two-minute touch-up done four mornings a week adds up to more total heat exposure than one full styling session. Keep a small spray in your bag if the touch-ups happen away from home.
Using heat protectant properly is mostly about sequencing rather than shopping: right format for the tool, right moisture level for the hair, sectioned application, and enough product to form a continuous film. Pick the format from the table that matches your main tool, apply it in four sections at your next blow-dry, and give the spray two minutes to dry before any iron comes near it.
Hair results vary based on your natural hair type, texture, density, and condition. Always consult with a licensed hairstylist before making significant changes, especially with chemical treatments or dramatic length changes. Photos may show styled results that require professional tools and products to replicate.

1 response