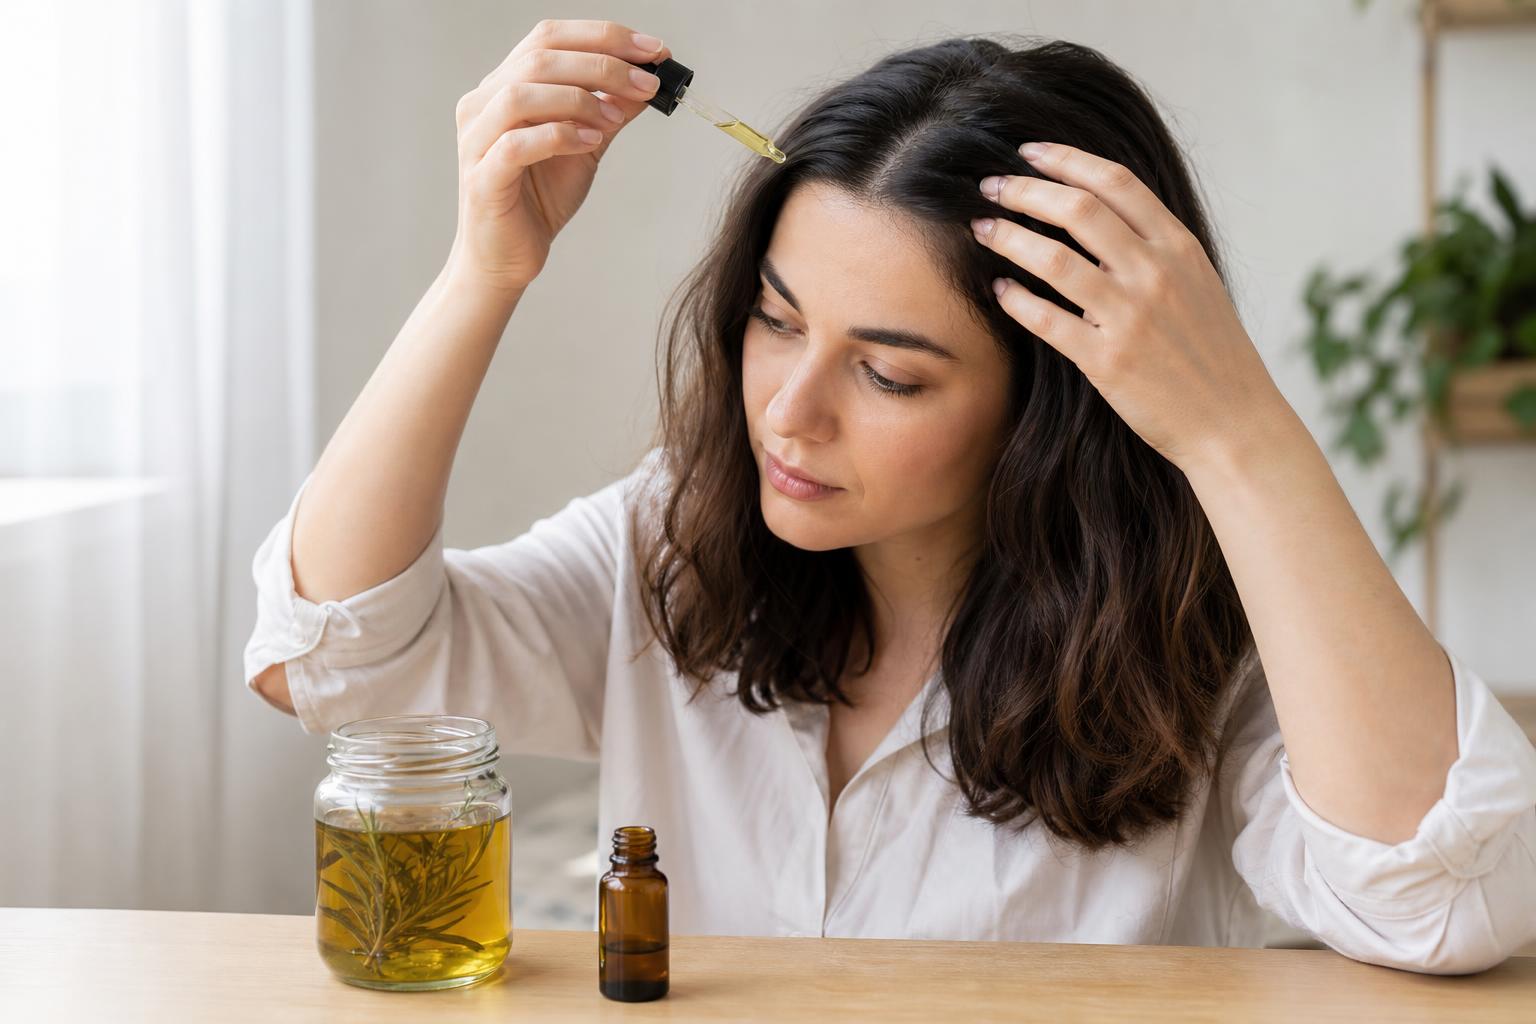
Homemade rosemary oil is safe and simple when you use dried rosemary and low heat, but the version you make in a jar is not the same strength as the oil used in hair growth research.
To make rosemary oil for hair, fill a clean, dry jar with half a cup of dried rosemary leaves and one cup of a carrier oil such as jojoba or sweet almond, warm it gently below a simmer for two to three hours, then strain it into a dark bottle and use it within three months. That gives you an infused oil. If you want the concentration used in the 2015 hair growth trial, the faster route is to blend store-bought rosemary essential oil into a carrier at 3 to 6 drops per tablespoon.
This guide walks through both recipes step by step, explains why fresh rosemary is the one ingredient to leave out, compares carrier oils by how long they keep, and covers storage, spoilage signs and a quick rosemary water recipe. For what the research says about results and how to massage the oil into your scalp, see our full guide to rosemary oil for hair.
Infused Rosemary Oil and Diluted Essential Oil Are Two Different Products
“Rosemary oil” means two things online, and most DIY recipes blur them. Infused oil is a carrier oil that has soaked up some of the plant’s compounds, while rosemary essential oil is a steam-distilled concentrate that has to be diluted before it touches skin. They differ in strength, cost and what they are good for.
The study most people have in mind is a randomized trial published in SKINmed in 2015, which compared rosemary oil with 2% minoxidil in 100 people with androgenetic alopecia over six months and found similar increases in hair count at the six-month mark. That trial used a prepared rosemary oil product, not a kitchen infusion, so a homemade jar of infused oil should be treated as a pleasant scalp massage oil rather than a copy of the studied treatment.
| Method | Time to Make | Strength | Keeps For | Best Use |
|---|---|---|---|---|
| Warm infusion | 2 to 3 hours | Mild | Up to 3 months | Pre-wash scalp massage, dry ends |
| Slow room-temperature infusion | 2 to 3 weeks | Mild | Up to 3 months after straining | Same as warm infusion, with a fresher scent |
| Essential oil blend | 2 minutes | Concentrated, consistent | Until the carrier oil’s own expiry | Regular scalp treatment for thinning |
Why Dried Rosemary Is the Only Safe Choice
Fresh rosemary carries water, and water trapped under oil is where Clostridium botulinum can grow, because the oil shuts out oxygen. The University of Maine Cooperative Extension explains that dried herbs lack the moisture bacteria need, and it advises throwing out homemade infused oils after three months. Fresh-herb oils, by contrast, are not considered safe to keep without tested processing.
Botulism is mainly a danger when the oil is eaten, and homemade rosemary oil has a way of ending up on a kitchen shelf next to the cooking oils. Mold and bacterial growth are also not things you want to massage into your scalp. Use fully dried rosemary leaves from the spice aisle, or rosemary you have air-dried until the needles snap instead of bending.
Stylist tip: Label the bottle “for hair, not for cooking” with the date you strained it. Most people who make a batch forget the start date within a month, and the three-month limit only works if you know when the clock started.
Recipe 1: Warm-Infused Rosemary Oil
The warm method is the most practical for most people, because it is ready the same afternoon and gentle heat pulls more scent and color into the oil than a cold soak does in a day. The key is keeping the heat low, since a simmer can scorch the leaves and give the oil a burnt smell.
Step 1: Gather Dry Tools and Ingredients
What you need: half a cup of dried rosemary leaves, one cup of carrier oil, a heatproof glass jar or bowl, a small saucepan, a fine-mesh strainer or cheesecloth, and a dark glass bottle with a dropper. Why: Every surface must be completely dry, because even a few drops of water left in the jar undo the reason for using dried rosemary. Common mistake: Rinsing the jar right before use and filling it while still damp.
Step 2: Crush the Leaves Lightly
How: Roll the dried rosemary between your palms or press it with the back of a spoon for 10 to 15 seconds until the needles crack and the smell gets stronger. Why: Broken leaves give the oil more surface to draw from. Common mistake: Grinding the rosemary to powder, which is almost impossible to strain out and leaves grit on your scalp.
Step 3: Warm the Oil in a Water Bath for Two to Three Hours
How: Put the rosemary and oil in the glass jar, stand it in a saucepan with a few inches of water, and keep the water on the lowest heat so the oil stays warm to the touch, roughly 110 to 140 degrees Fahrenheit if you check with a kitchen thermometer. Stir every 30 minutes. Why: Low, steady warmth draws out the plant compounds without cooking them. Common mistake: Heating the oil directly in a pan, where it quickly gets hot enough to fry the leaves.
Step 4: Strain, Bottle and Label
How: Let the oil cool, pour it through cheesecloth or a fine strainer, squeeze the cloth to get the last of the oil out, and bottle it in dark glass. Why: Leaves left in the oil can hold residual moisture and break down over time. Common mistake: Leaving a sprig in the bottle for looks, which shortens how long the oil stays fresh.
Recipe 2: Slow Room-Temperature Infusion
The slow method needs no stove and gives a lighter, greener scent. Fill a clean, dry jar about one-third full with crushed dried rosemary, cover it completely with carrier oil so no leaves poke above the surface, seal it, and keep it in a cool, dark cupboard for two to three weeks, shaking it every couple of days. Strain and bottle it the same way as the warm version.
Skip the sunny windowsill that many recipes suggest. Sunlight and warmth speed up rancidity in the carrier oil, which is the most common reason a homemade batch starts to smell like crayons or old nuts before it is even used.
Recipe 3: The Essential Oil Blend That Matches the Research
If your goal is a scalp treatment for thinning hair, blending essential oil into a carrier is faster, more consistent and closer to what has been studied. Use 3 to 6 drops of rosemary essential oil per tablespoon of carrier oil, which works out to about a 1 to 2% dilution. Start at 3 drops for fine hair or a sensitive scalp.
- Measure one tablespoon of carrier oil into a small dark bottle.
- Add 3 to 6 drops of rosemary essential oil, then cap and roll the bottle between your palms to mix.
- Patch test a few drops on the skin behind your ear and wait 48 hours before using it on your scalp.
- Make only enough for two to three weeks so the blend stays fresh.
You can also combine the two approaches by adding essential oil to your strained infused oil at the same drop count. The infusion then acts as a gently scented carrier, and the essential oil sets the strength.
Choosing a Carrier Oil by Scalp Type and Shelf Life
The carrier oil decides how the finished oil feels on your scalp, how easily it washes out, and how long the batch stays fresh. Oils high in delicate fats go rancid faster, which matters more in an infusion that you keep for weeks.
| Carrier Oil | Feel on the Scalp | Stays Fresh | Best For |
|---|---|---|---|
| Jojoba | Light, rinses out easily | Longest; it is a liquid wax that resists rancidity | Oily scalps and fine hair |
| Sweet almond | Light to medium | Moderate | Normal scalps, medium hair |
| Olive | Heavy, strong smell | Good | Thick or coarse hair washed the same day |
| Fractionated coconut | Light, stays liquid | Long | Most scalps; easy to wash out |
| Grapeseed | Very light | Shortest; use within a month | Small batches for oily scalps |
Castor oil is popular in hair growth recipes but is too thick to strain well on its own. If you want it, infuse in jojoba or almond first, then stir in a tablespoon of castor per half cup after straining.
How to Store Homemade Rosemary Oil and Spot Spoilage
Keep the bottle tightly closed in a cool, dark cupboard away from the shower, since steam and heat in a bathroom shorten its life. Use infused oil within three months and essential oil blends within a few weeks. Throw the batch out if you notice any of these signs.
- A sharp, paint-like or stale nut smell instead of a fresh herbal one.
- Cloudiness, fuzzy spots or anything floating that was not there when you strained it.
- Bubbles or a bulging cap, which can signal bacterial activity.
- Scalp stinging or itching from a batch that felt fine the first few times.
Rosemary Water Is a Different Recipe with a Short Life
Rosemary water is made by simmering a handful of rosemary in two cups of water for about 15 minutes, letting it steep until cool, then straining it into a spray bottle. Because it is water-based and has no preservative, keep it in the fridge and use it within about a week. It makes a light scented mist for the scalp, but it contains far less of the plant’s oil-soluble compounds than an oil does.
Common Mistakes When Making Rosemary Oil
Most failed batches come from one of a handful of shortcuts that DIY videos repeat. These are the ones worth avoiding.
Myth: Fresh Rosemary Makes a Stronger Oil
Reality: Fresh leaves bring water into the jar, which creates the conditions for bacterial growth and mold. The small gain in green scent is not worth the risk. Dried rosemary gives a perfectly usable infusion with a much longer, safer shelf life.
Myth: More Heat Pulls Out More Benefits
Reality: The aromatic compounds in rosemary evaporate easily, so high heat drives off the scent you are trying to capture and can scorch the oil. Warm to the touch for a few hours works better than a short, hot simmer.
Myth: A Homemade Jar Equals the Oil from the Hair Growth Study
Reality: A kitchen infusion has a variable, much lower concentration of rosemary compounds than a measured essential oil blend. If slowing hair thinning is your main goal, use the diluted essential oil recipe and give it at least six months, and speak to a doctor about proven options too.
How to Use Your Homemade Rosemary Oil
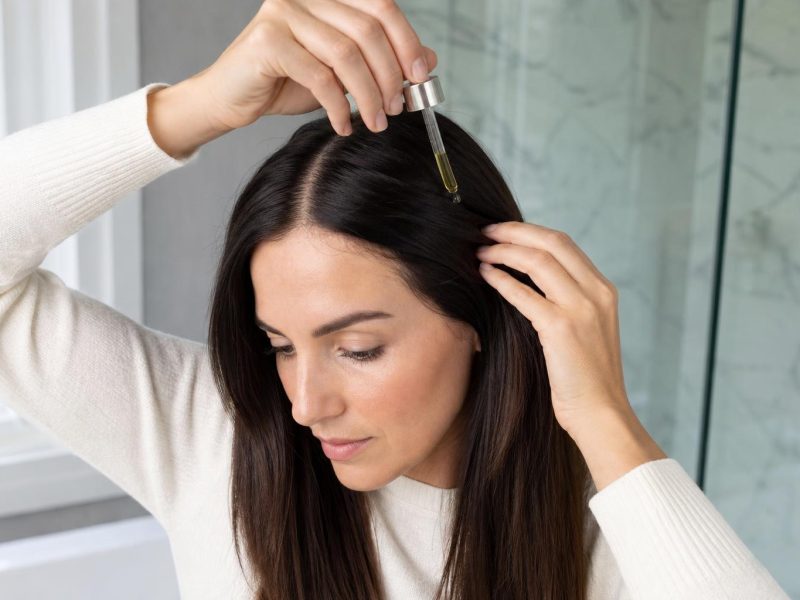
Apply a teaspoon to a tablespoon of oil directly to the scalp two or three times a week, part by part, and massage it in with your fingertips. Leave it on for 30 minutes to a few hours before washing. The complete application routine, including leave-on times by hair type, is in our scalp care routine and the main rosemary guide linked above.
Stylist tip: Work shampoo into the oiled scalp before you wet your hair, then add water and lather. Shampoo grabs oil much better when it is not already diluted, so one wash usually clears it instead of two, which is kinder to color-treated hair.
If the oil leaves your roots flat even after washing, a weekly clarifying shampoo removes the leftover film. Anyone with scalp redness or flaking should check the cause first, since our guide to itchy scalp causes covers conditions that oils can make worse.
FAQ
Can I Use Fresh Rosemary to Make Rosemary Oil?
No, use dried rosemary for any oil you plan to keep. Fresh rosemary adds water, and water trapped under oil can allow bacteria, including the kind that causes botulism, to grow. If you only have fresh sprigs, dry them fully for one to two weeks until the needles snap, or make rosemary water instead and refrigerate it.
How Long Does Homemade Rosemary Oil Last?
Infused rosemary oil made with dried rosemary lasts up to three months stored in a cool, dark place. Essential oil blends are best used within a few weeks of mixing. Rosemary water lasts only about a week in the fridge.
Can I Use Olive Oil to Make Rosemary Oil for Hair?
Yes, olive oil works as a carrier, but it is heavy and has a strong smell of its own. It suits thick or coarse hair that you wash the same day. For fine hair or an oily scalp, jojoba or fractionated coconut oil rinses out much more easily.
Can I Leave Homemade Rosemary Oil in My Hair Overnight?
Infused rosemary oil is mild enough for most people to leave on overnight, as long as a patch test showed no reaction. Essential oil blends are better limited to a few hours, especially at the higher 6-drop strength. Protect your pillowcase with a towel or wear a cotton cap.
Can I Add Peppermint or Other Oils to My Rosemary Oil?
You can, but keep the total essential oil at or under 6 drops per tablespoon of carrier, counting every oil together. Peppermint in particular can tingle or sting a sensitive scalp. Add one new oil at a time so you can tell which one causes a reaction if you get one.
How Often Should I Use Homemade Rosemary Oil?
Two to three times a week is enough for most people. Using it daily does not speed anything up and makes build-up and flat roots more likely. If you are using it for thinning, stick with the routine for six months before judging results, and see a dermatologist if shedding is sudden or patchy, alongside options in our guide to shampoos for thinning hair.
Learning how to make rosemary oil for hair comes down to three rules: dried rosemary only, heat no hotter than warm to the touch, and a fresh batch at least every three months. Choose the infusion for a gentle scalp massage oil, or the essential oil blend if you want a consistent strength for thinning hair. Patch test every new batch and store it away from the kitchen and the shower. More scalp care guides are gathered in our hair care section.
This article is for general information and is not a substitute for medical advice. Hair and scalp results vary based on your natural hair type, texture, density, and condition. Patch test any homemade oil before use, avoid essential oils during pregnancy or on young children unless a doctor approves, and consult a dermatologist about hair loss or scalp irritation.