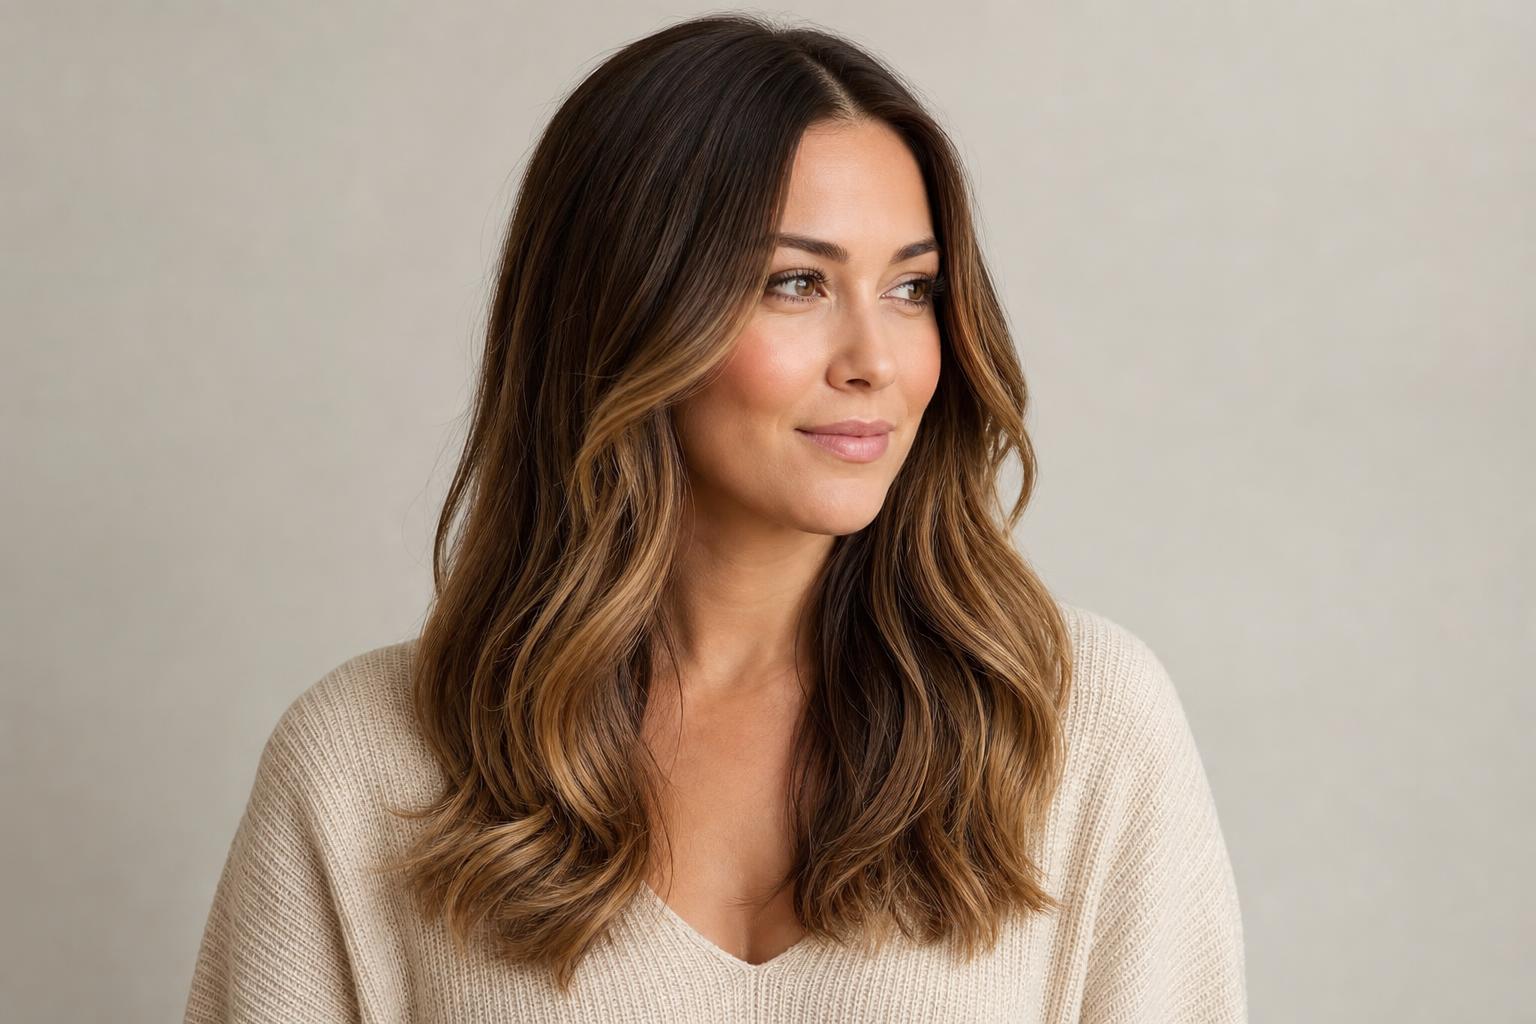
Color melting is a blending technique that fades two or three tones into each other with no visible line, and this guide explains exactly how it works and how it differs from balayage, ombre, and root melts.
Color melting is a coloring technique that deposits two or three tones and blends them so seamlessly there is no line of demarcation between them. Unlike balayage, which is about lightening sections, color melting is mostly about depositing tone, which is why the finish looks so soft and grown-in. This guide covers what color melting actually is, how it differs from the techniques it gets confused with, the step-by-step process, the best color combinations, realistic cost and maintenance, who it suits, and the exact language to bring to your colorist.
Color Melting Blends Multiple Tones with No Visible Line
Color melting takes two or three shades and merges them into one another so gradually that the eye cannot find where one ends and the next begins. A colorist applies a darker tone near the root, a mid-tone through the mid-lengths, and a lighter tone toward the ends, then blends the borders while the color is still processing so nothing looks like a hard stripe. The result is dimension that looks like it grew that way rather than like it was placed, which is the whole appeal of the technique.
The most important thing to understand is that color melting is primarily about depositing tone, not lifting or lightening hair. A colorist can melt within brunette shades, within blondes, or into a fashion tone like rose gold, all without heavy bleach. That deposit-first nature is what makes color melting gentler on the hair than a technique built around lightening, and it is the single fact that separates it from the balayage it gets confused with.
Stylist tip: If your hair is already highlighted or balayaged and looks stripey or brassy at the root, a color melt is often the fix rather than a full re-highlight. Melting a root tone down into the existing lighter pieces blurs the harsh lines and adds depth, usually at a lower cost than lifting more hair.
How Color Melting Differs from Balayage, Ombre, Root Melt and Foilyage
The reason color melting confuses people is that it shares a goal, seamless dimension, with half a dozen other techniques that do slightly different jobs. The clearest way to separate them is to ask two questions: does the technique lighten hair or just deposit tone, and where on the strand does it work? Balayage and foilyage are about lightening; ombre is a defined dark-to-light gradient; root melts and shadow roots only soften the top transition; color melting blends tone across the whole length. The table below lines them all up.
| Technique | What It Does | Lift or Deposit | Best For |
|---|---|---|---|
| Color Melting | Blends 2 to 3 tones with no visible line | Mostly deposit | Seamless, grown-in dimension |
| Balayage | Hand-paints lightener onto surface sections | Lift | Sun-kissed, lightened pieces |
| Ombre | Dark-to-light gradient with a defined zone | Lift | A noticeable, blended fade to light ends |
| Sombre | A softer, subtler ombre with less contrast | Lift | A gentle version of ombre |
| Root Melt | Blends the root into existing lighter color | Deposit | Softening a harsh highlight regrowth line |
| Shadow Root | Adds a darker smudge at the scalp only | Deposit | Depth and grow-out forgiveness at the root |
| Foilyage | Balayage boosted inside foils for more lift | Lift | Brighter lightening on stubborn dark hair |
A useful shorthand: color melting describes how tones blend together, while balayage describes where and how lightener is placed. The two are not rivals, and a colorist often uses both in one appointment, painting balayage to lighten, then melting a root tone down into it so nothing looks striped. A root melt and a shadow root are close relatives of color melting that work only at the scalp, whereas a full color melt blends all the way down the strand.
How a Color Melt Is Done, Step by Step
A color melt is a wet-blending process that relies on timing and overlap rather than foils, and understanding the sequence helps you follow along in the chair. The colorist chooses tones that are close enough in level to melt cleanly, usually within two to three levels of each other, then works quickly so the borders blend before anything sets.
Step 1: Section the Hair and Choose the Tones
The colorist divides the hair into sections and selects two or three tones that step gradually from dark to light. Choosing tones within a few levels of each other is what makes the melt look seamless rather than blocky. On previously colored hair, this is also where they decide whether any lightening is needed first.
Step 2: Apply the Darkest Tone at the Root
Starting at the scalp, the darkest tone goes on first through the root area. This anchors the melt and gives the finished color its depth and grow-out forgiveness. The application stops short of a hard line so there is room to blend into the next tone.
Step 3: Blend the Mid-Tone and Ends
The mid-tone goes through the mid-lengths and the lightest tone toward the ends, with each border overlapped and feathered into the one above it. Working while the color is still wet lets the colorist drag and blur the transitions so no line forms. This blending motion, sometimes called the melt, is the skill that defines the whole technique.
Step 4: Finish with a Toner or Gloss
After the color processes and is rinsed, a toner or gloss unifies the tones and adds the shine that makes a melt look expensive. The gloss also fine-tunes the warmth or coolness of the finished blend. This final step is what turns three separate tones into one cohesive color.
The Best Color Combinations for a Color Melt
Color melting works in any color family, and the most successful combinations keep the tones within a few levels of each other so the blend stays seamless. Brunette melts and blonde melts are the most popular because they look natural, while fashion-tone melts into rose gold or copper make more of a statement. Here are four combinations colorists reach for most.
Espresso Melting into Mocha and Cocoa Suits Brunettes
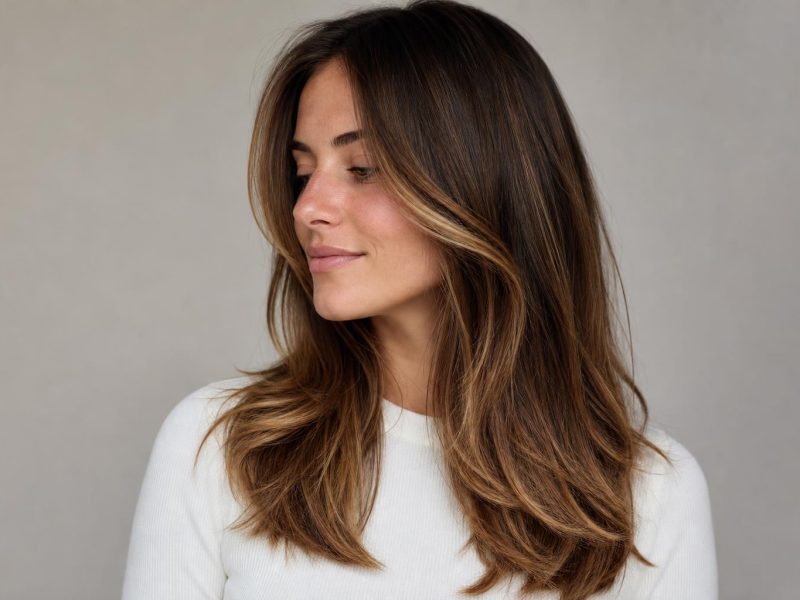
A brunette melt steps from a deep espresso root through a mocha mid-length to soft cocoa ends, staying entirely within brown for a rich, low-contrast dimension. This combination flatters anyone who wants depth without going lighter, and it grows out with almost no visible line. It pairs naturally with an espresso brunette base you already have, or you can cool the tones toward a frosted espresso for an ashier finish.
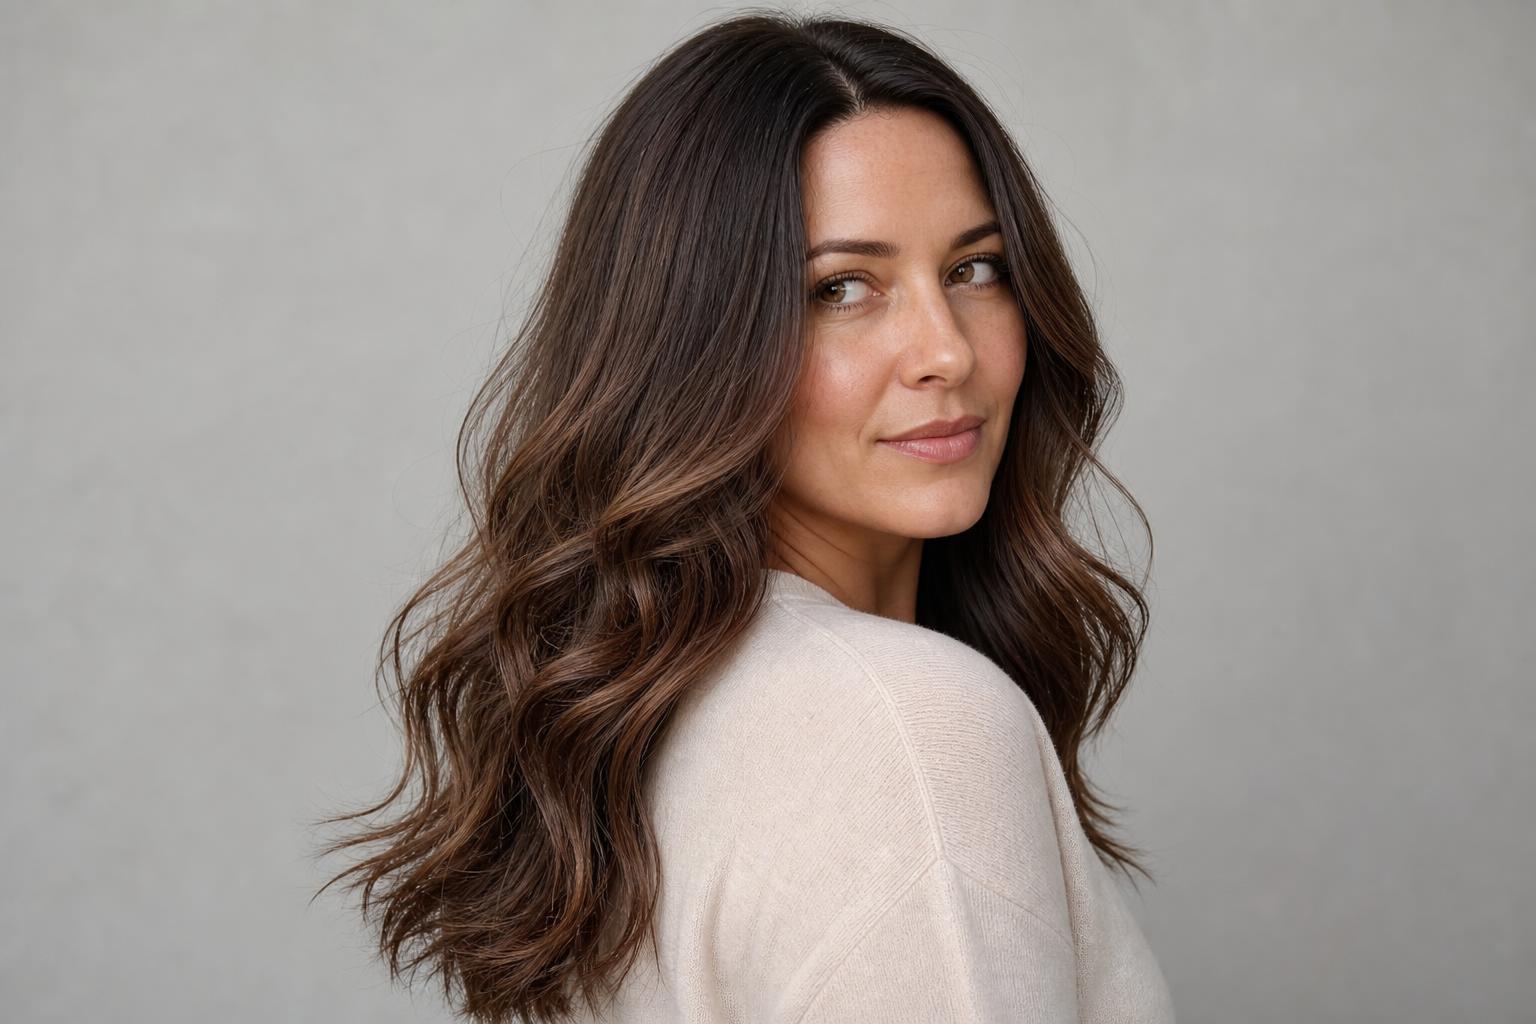
Honey Melting into Beige and Champagne Suits Blondes
A blonde melt runs from a honey root through beige to a champagne end, giving a warm-to-cool blonde gradient that looks sunlit and expensive. Keeping a slightly deeper honey at the root makes the blonde more wearable and lower-maintenance than an all-over platinum. The effect echoes a soft creme brulee bronde when kept warm.
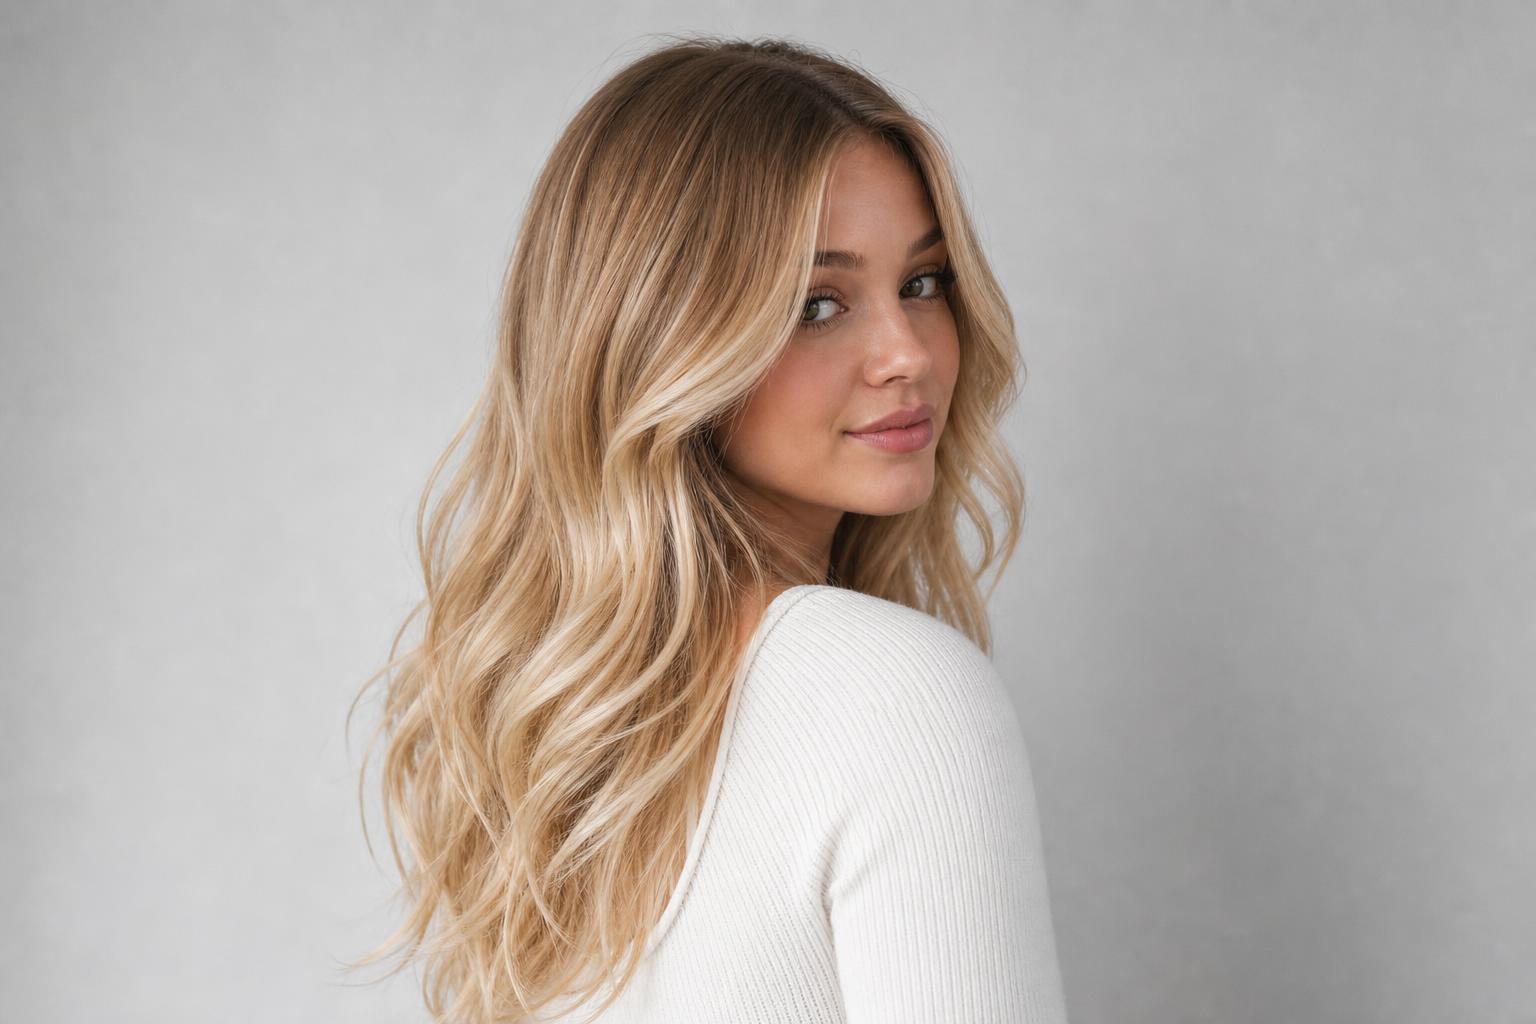
Copper Melting into Apricot and Strawberry Makes a Warm Statement
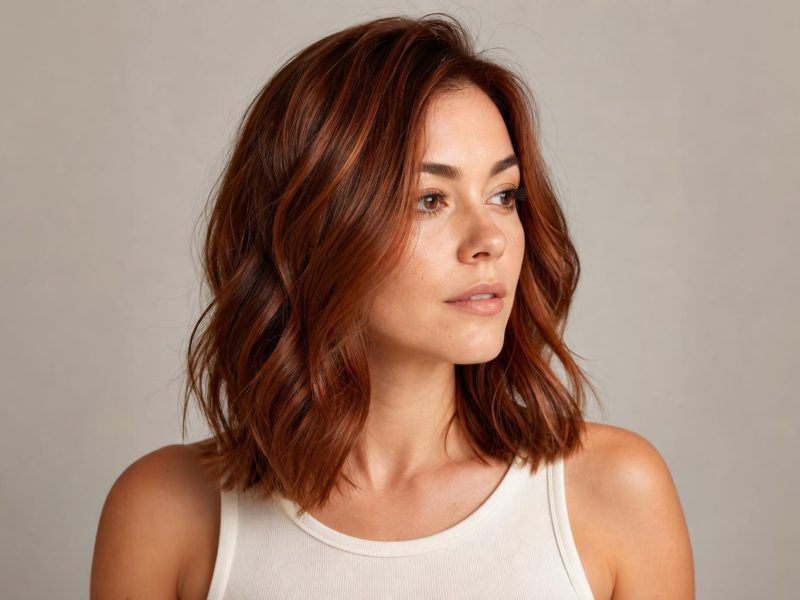
A warm melt steps from a deep copper root through apricot to a strawberry end for a glowing, sunset-toned blend. This combination suits anyone drawn to warmth, and it fades attractively as copper softens toward peach. It is a natural companion to a cowboy copper if you want the melt earthier, or you can deepen the tones into a chocolate cherry melt for a red-family finish.
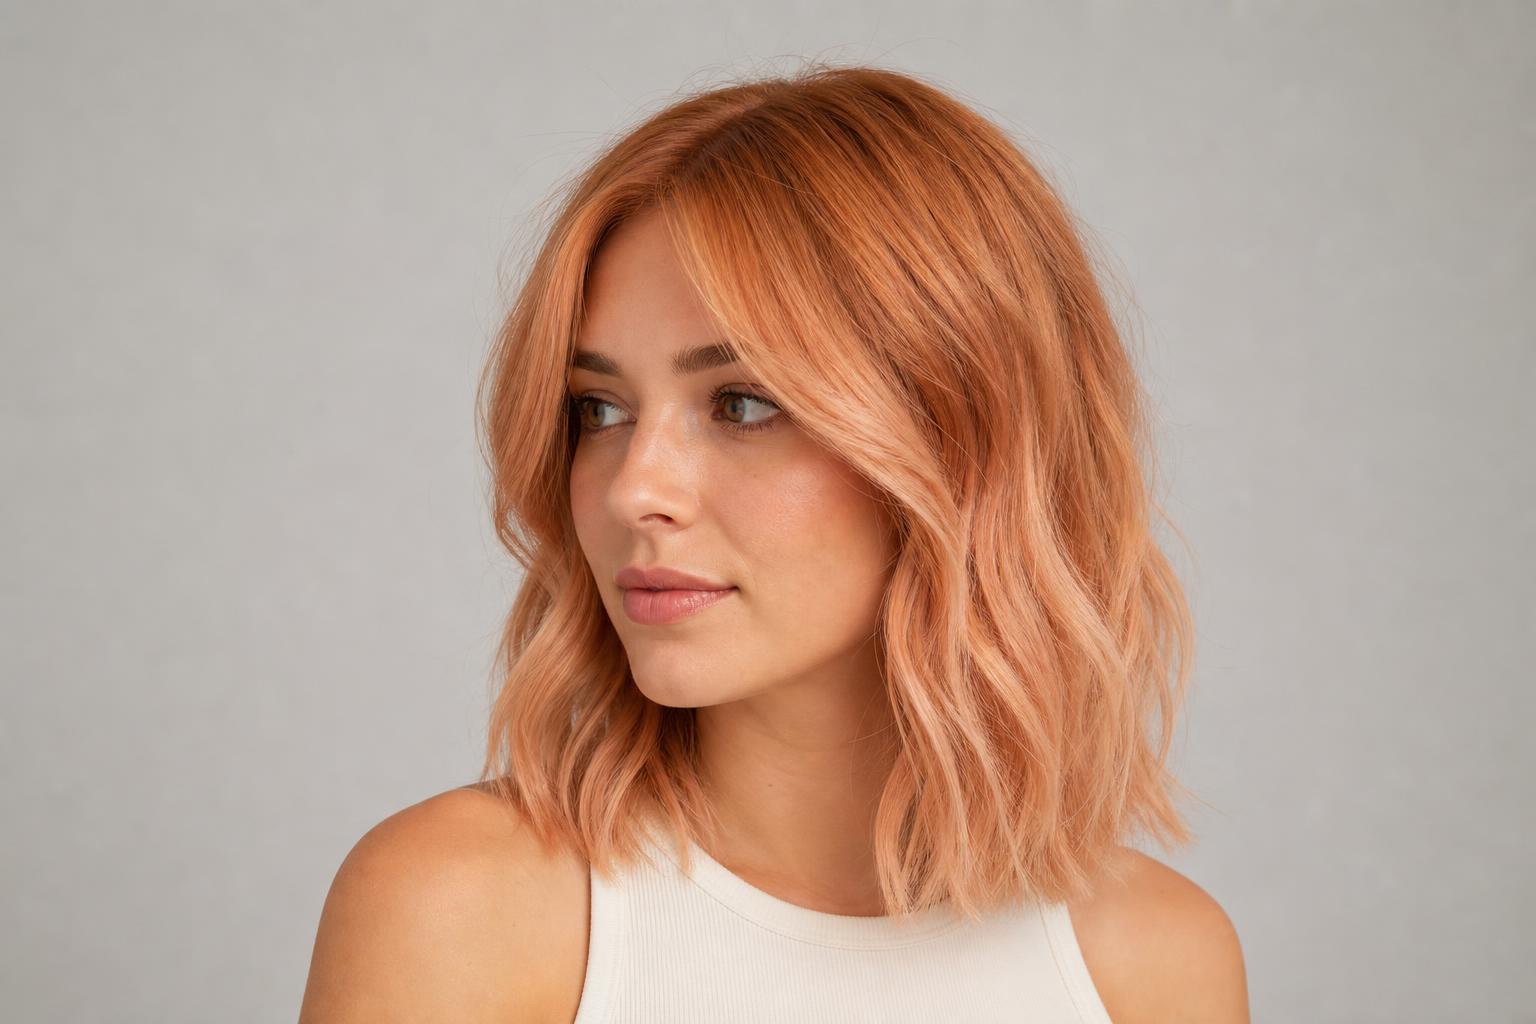
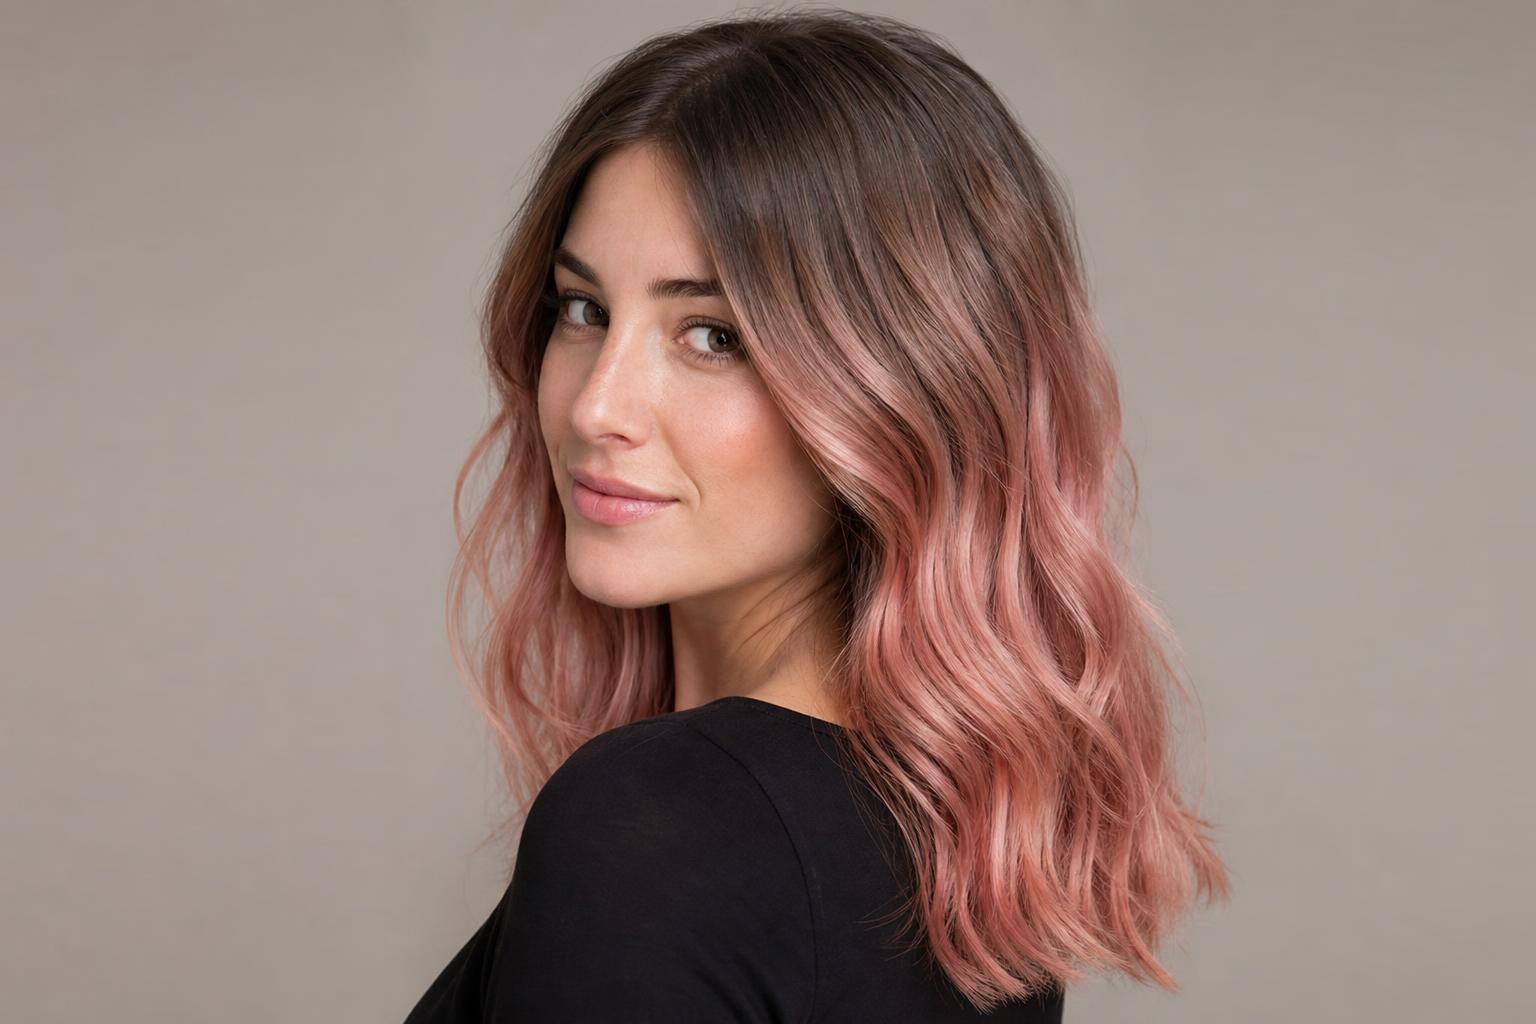
Brunette Melting into Rose Gold Adds a Fashion Tone
For a subtle fashion statement, a brunette root melts into rose gold mid-lengths and ends, keeping the top natural while the length carries the color. Because the root stays dark, the fashion tone feels wearable and grows out softly. This is the melt for someone who wants a pop of color without an all-over commitment.
Color Melt Cost, Appointment Time and Maintenance
A color melt is a mid-range salon service in both time and cost, more involved than a single-process color but often less than a full head of foils. The exact price depends on your hair length, how many tones are used, and whether any lightening is needed before the melt. Because the technique is deposit-heavy and grows out softly, the ongoing maintenance is lighter than most dimensional color.
| Factor | Typical Range | Notes |
|---|---|---|
| Appointment time | 2 to 4 hours | Longer if lightening is needed first |
| Gloss or toner refresh | Every 4 to 6 weeks | Keeps the blend shiny and true |
| Full melt refresh | Every 8 to 12 weeks | Deposit-based color grows out softly |
| Price driver | Length, tones, lift needed | Regional pricing varies widely |
At home, a color-safe sulfate-free shampoo and cool-water washing protect the tone between visits. Because a melt has no hard regrowth line, you can stretch the time between full appointments and refresh only the gloss, which is what keeps this technique friendlier on the wallet than foils over time.
Who Color Melting Suits, and When It Is Not the Right Choice
Color melting suits almost anyone who wants soft, dimensional, low-maintenance color, from brunettes adding depth to blondes softening a harsh grow-out. It is especially good for people who dislike the upkeep of foils and want color that blends as it fades. There are, though, a few goals a color melt cannot serve well.
- Anyone wanting high contrast or bold blocks: a melt is designed to erase lines, so if you want a sharp, graphic color change, an ombre or a defined color block fits better.
- Those chasing dramatic lightening: because melting is deposit-focused, going several levels lighter needs balayage or foils, not a melt alone.
- Very resistant gray: deposit-only tones may not fully cover stubborn gray, so a color melt built for coverage needs a colorist experienced with gray.
Common Color Melting Myths
Because color melting sounds similar to so many other services, a few misconceptions come up again and again in the salon chair.
Myth: Color Melting Is the Same as Highlights
Reality: highlights lighten individual pieces of hair, while color melting blends whole tones into each other. A melt can include lightened pieces, but the melting itself is the blending step, not the lightening. The two are different jobs that often happen in the same appointment.
Myth: A Color Melt Lightens Your Hair
Reality: color melting is mostly about depositing tone, not lifting, so on its own it does not make hair lighter. If your inspiration photo is several levels lighter than your hair, the colorist has to lighten first and then melt. The melt is the finish, not the lift.
Myth: Color Melting and Ombre Are the Same Thing
Reality: an ombre is a defined dark-to-light gradient with a recognizable transition zone, while a color melt blends multiple tones so there is no defined zone at all. Ombre wants a visible fade; melting wants an invisible one. They aim at opposite finishes.
Can You Color Melt at Home?
You can attempt a simple two-tone color melt at home if you are only depositing tone and not trying to lighten, but the blending is genuinely the hard part. The reason salons charge for a melt is the timing and the wet-blending motion that erases the lines, which is difficult to judge on your own head in a mirror. Box color also gives you far less control over the exact tones and their placement.
Stylist tip: If you want to try at home, keep the two tones within one or two levels of each other and blend the overlap zone with a clean, dry brush while the color is still wet. Anything that involves lightening, more than two tones, or a fashion shade is worth leaving to a colorist, because those are where at-home melts go wrong.
What to Tell Your Colorist
The clearest way to ask for this service is to name the finish and the tones. Try: “I want a color melt, a seamless blend with no visible line, going from a deeper root to lighter ends. Keep it deposit-only if my hair does not need lightening.” Naming that you want no line of demarcation tells the colorist you understand the difference between a melt and an ombre or highlight.
Bring a photo taken in natural light and point out the exact tones you like from root to end, since a melt lives or dies on tone choice. If you already have highlights or balayage, mention that you want the root melted down into them rather than a fresh lightening service. Ask whether your goal needs any lift, because that changes both the price and the time in the chair.
FAQ
What Is Color Melting Hair?
Color melting is a technique that deposits two or three tones and blends them so seamlessly there is no visible line between them. A darker tone goes near the root and lighter tones toward the ends, all blurred together while the color processes. The finish looks grown-in and dimensional rather than placed or striped.
What Is the Difference Between Color Melting and Balayage?
Color melting blends tones together and is mostly about depositing color, while balayage hand-paints lightener to create lightened pieces. Balayage is a lightening technique; melting is a blending one. Colorists often combine them, painting balayage first and then melting a root tone down into it for a seamless finish.
Is Color Melt the Same as Ombre?
No, an ombre is a defined dark-to-light gradient with a recognizable transition zone, whereas a color melt blends multiple tones with no defined line at all. Ombre wants a visible fade to light ends; a melt wants the transitions to disappear. They produce opposite finishes despite both looking blended.
How Long Does a Color Melt Last?
A color melt grows out softly and typically looks good for two to three months before needing a full refresh, because it is deposit-based and has no hard regrowth line. A gloss refresh every four to six weeks keeps the tones shiny and true between full appointments. Deposit-only melts fade more gently than lightened color.
How Much Does Color Melting Cost?
A color melt is a mid-range service, generally priced above a single-process color and around or below a full head of foils, though it varies widely by region and salon. The main price drivers are your hair length, how many tones are used, and whether any lightening is needed first. Ask for a consultation quote, since a melt that requires lift costs more than a deposit-only one.
Does Color Melting Damage Your Hair?
Because color melting is mostly deposit rather than lift, it is gentler than techniques built around bleaching, and a deposit-only melt causes minimal damage. If your goal requires lightening first, that lifting step carries the usual risk, so a bond-building treatment is worth adding. On its own, melting tone into tone is one of the lower-damage color services.
How Many Colors Are Used in a Color Melt?
Most color melts use two or three tones that step gradually from dark to light within a few levels of each other. Two tones give a simple root-to-end blend, while three add an extra mid-tone for more dimension. Keeping the tones close in level is what makes the blend seamless rather than blocky.
Is Color Melting Good for Gray Coverage or Dark Hair?
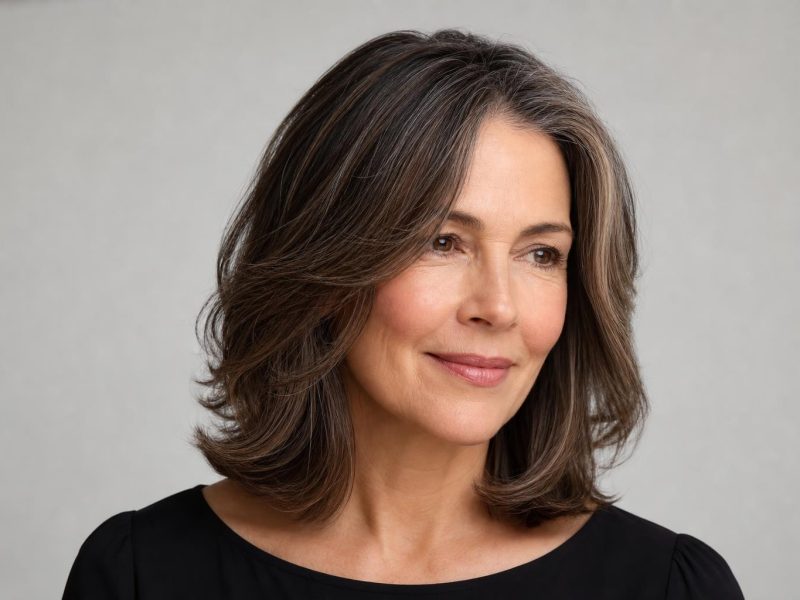
Color melting works beautifully on dark hair, since a deposit-based blend adds dimension without needing to lighten. For gray, a melt can blend and soften scattered gray, but very resistant gray may need a colorist who builds the melt around proper coverage. On dark hair that wants richness rather than lightness, melting is an ideal choice.
Color melting hair is the technique to ask for when you want soft, seamless, grown-in dimension rather than the placed look of highlights or the defined fade of an ombre, and knowing that it blends tone rather than lightening it is what lets you request it correctly. Bring a natural-light photo, name the tones you want from root to end, and tell your colorist you want no visible line so they build a true melt. Matched to your base and refreshed with an occasional gloss, a color melt gives you dimensional color that grows out gracefully and stays gentle on your hair.
Hair results vary based on your natural hair type, texture, density, and condition. Always consult with a licensed hairstylist before making significant changes, especially with chemical treatments or dramatic length changes. Photos may show styled results that require professional tools and products to replicate.