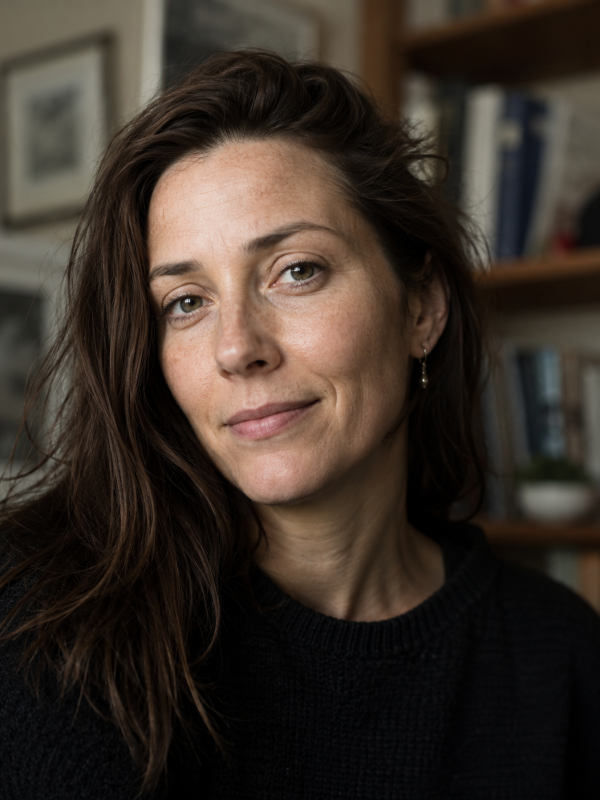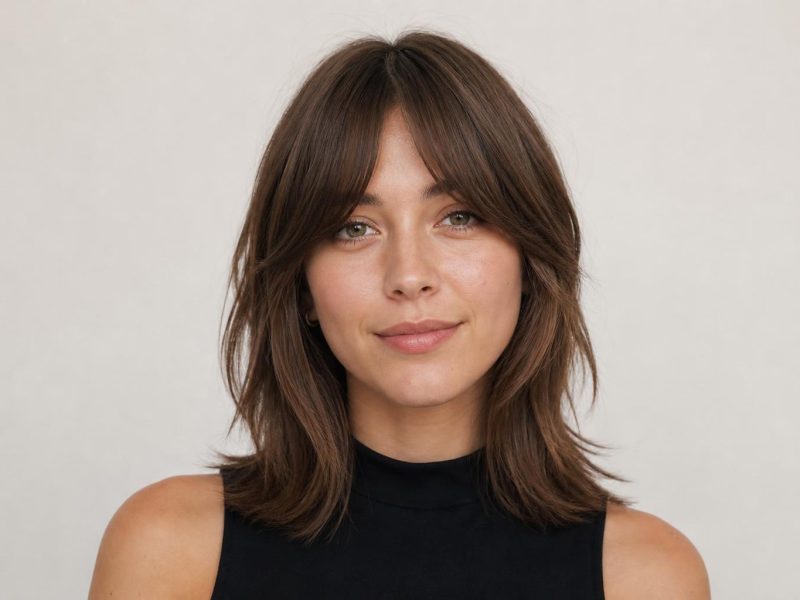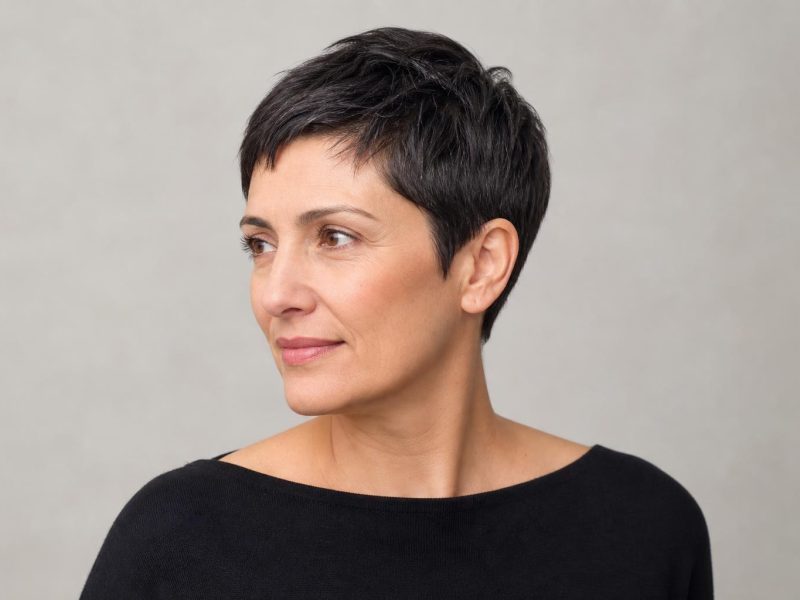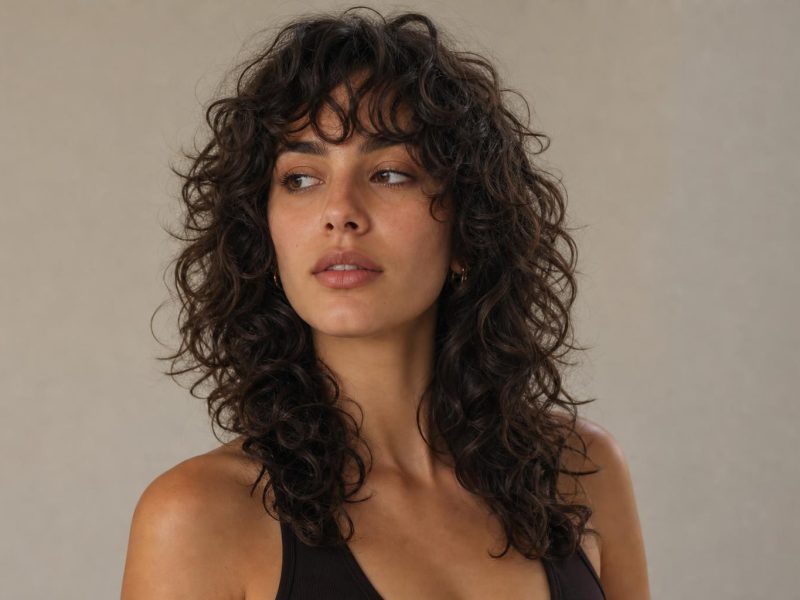
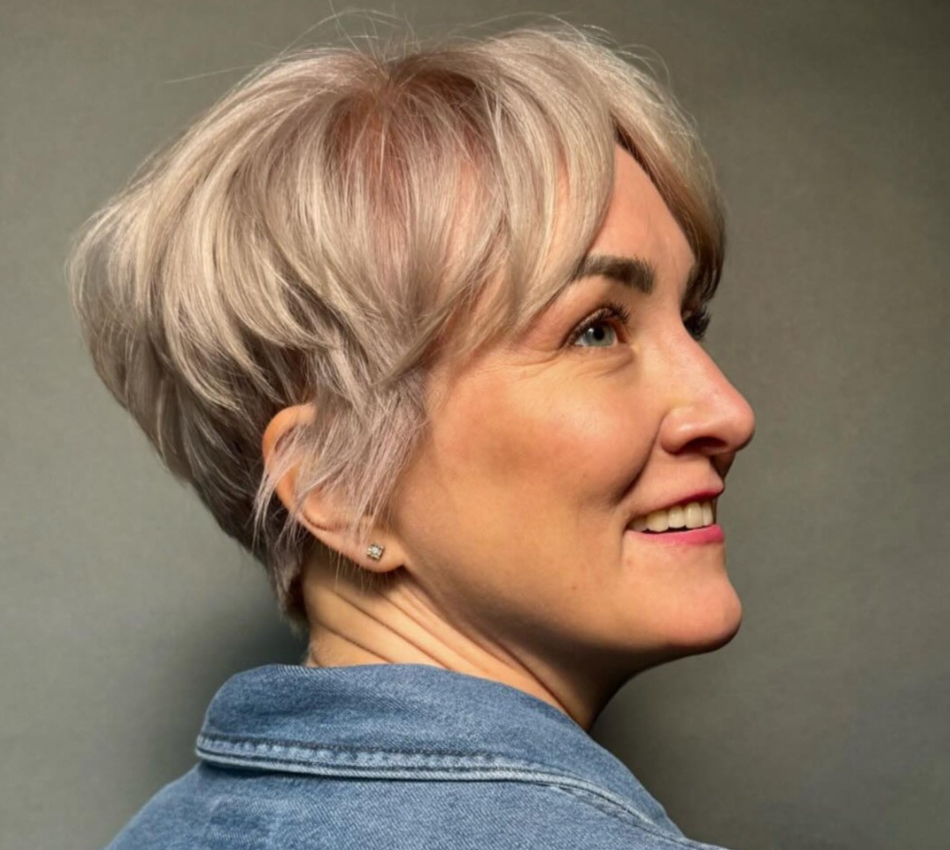
Layered, razored, and full of life, 30 textured pixie cuts that actually move.
A textured pixie cut uses strategic layering, razored ends, or point cutting to create movement that a basic close crop can’t deliver. Rather than sitting flat against the head, textured pixies shift with you, catching light, creating depth, and making fine hair look fuller or thick hair look lighter. These 30 variations cover choppy crops, layered shapes, curly-friendly cuts, and color-enhanced options, each with notes on hair type compatibility and what to ask for at the salon.
You’ll find entries organized by texture technique and style category, from subtle razored movement to bold disconnected shapes. If you’re browsing pixie cuts for women and want a version with built-in dimension, every cut here earns its texture through technique.
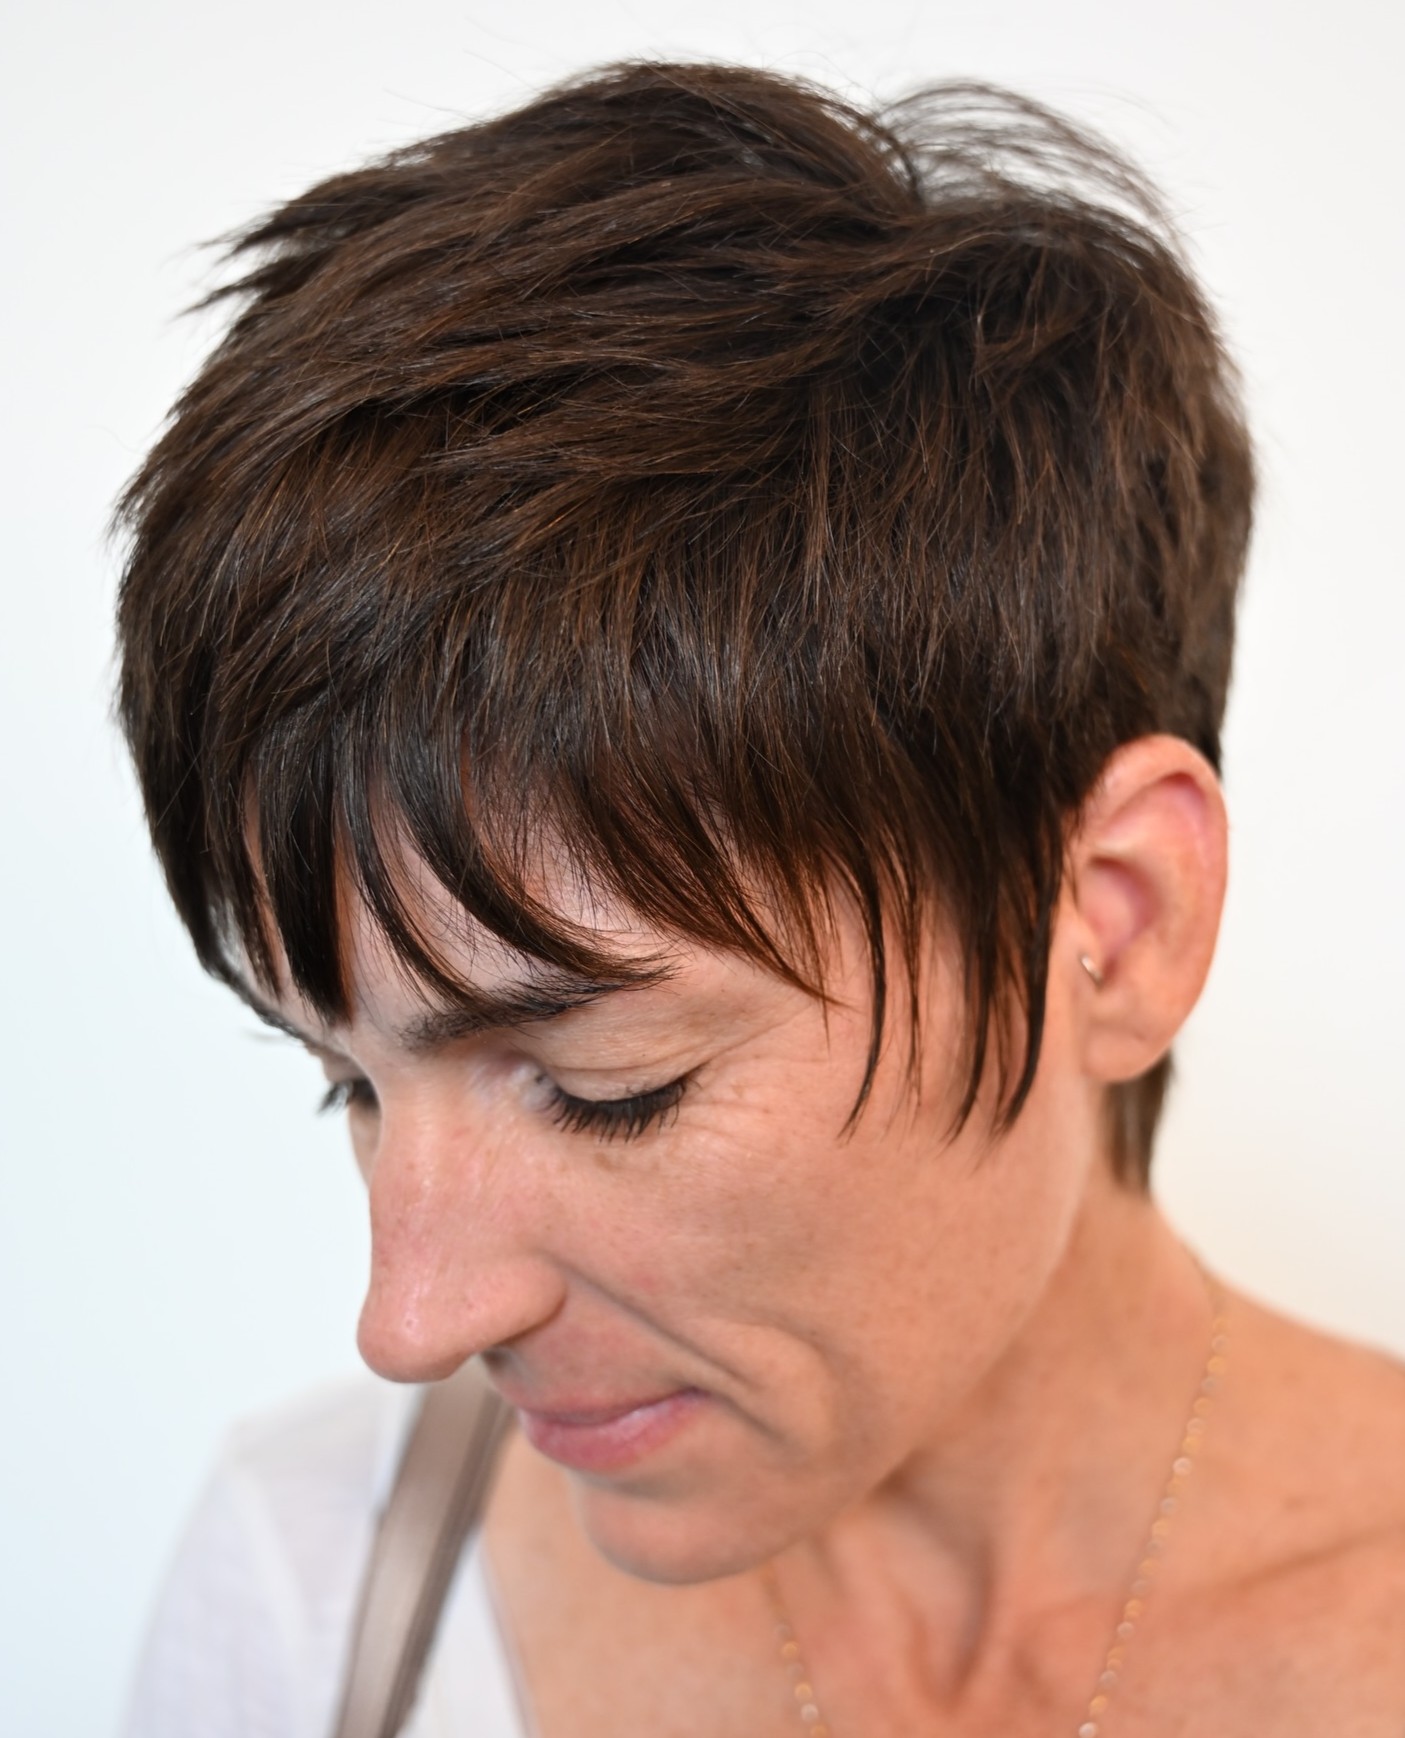
Choppy and Razored Textured Pixies
Razor cutting and choppy layering produce the most visible texture in a pixie because the ends taper to different lengths, creating natural separation between strands. These work especially well on thick or coarse hair that tends to sit heavy at short lengths, the razored ends reduce bulk while adding movement the cut holds on its own.
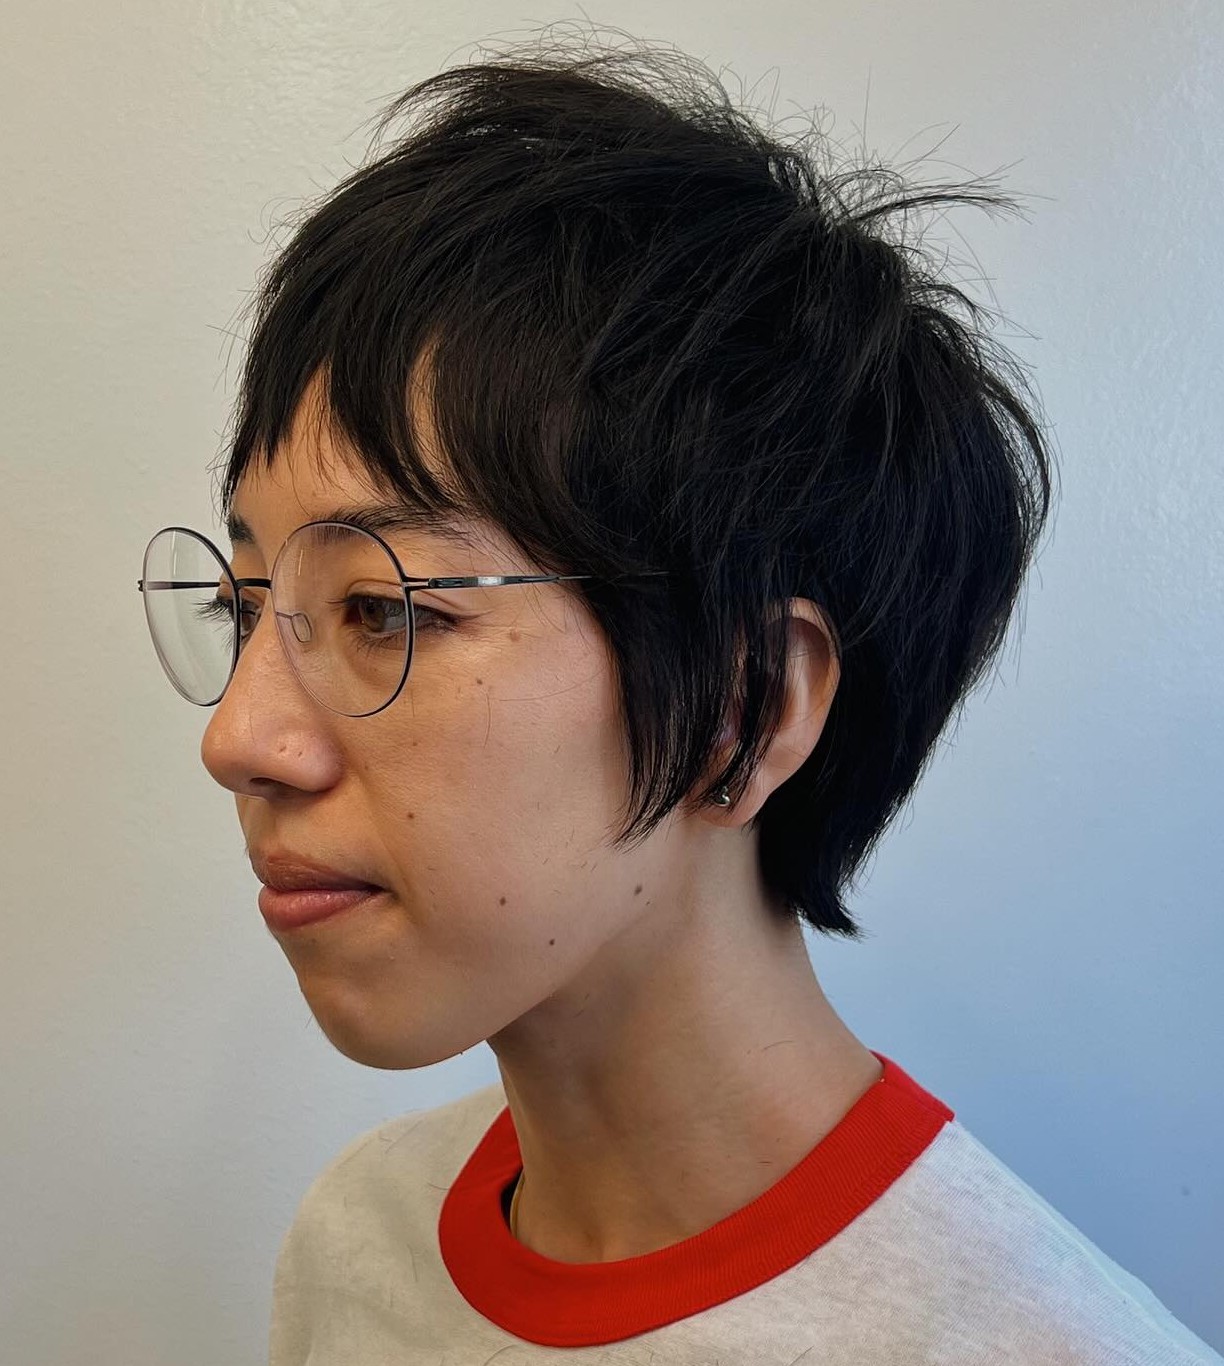
1. Razored Crop with Directional Movement
A razor creates softer, more tapered ends than scissors, and when the stylist directs the cut forward through the crown, the hair naturally sweeps toward the face rather than sitting straight up. Fine to medium hair gets the best result here because the tapered ends build an illusion of fullness. Plan for trims every 3–4 weeks, razored cuts lose their shape faster than scissor-cut versions.
2. Choppy Deconstructed Pixie
Ideal for square and round faces, this variation uses razored layers throughout to break up solid lines that echo facial width. Weight concentrates at the crown while the sides stay cropped close, creating a vertical silhouette that visually lengthens. If your hair is coarse or high-density, ask your stylist to remove bulk from the mid-shaft down rather than thinning at the roots.
3. Piece-y Textured Crop with Matte Finish
Achieve this look by applying a flexible wax or clay to dry hair and twisting individual sections between your fingers. The separate pieces sit at different lengths, creating a dimensional, choppy effect that actually looks better on day two or three. Medium-density hair responds best, too fine and the pieces won’t hold separation, too thick and they’ll clump.
4. Short Razored Pixie with Soft Fringe
Razored ends throughout the crown paired with a wispy fringe that falls just above the eyelashes give this cut a softness that contrasts with the short length. Heart-shaped faces benefit because the fringe breaks up a wider forehead while the short sides frame the cheekbones. A dime-sized amount of texturizing cream worked through damp hair before air-drying is all the styling it needs.
5. Heavy-Texture Pixie for Thick Hair
Thick hair and blunt pixies clash, the result looks like a helmet. Internal thinning shears here remove weight from the mid-shaft down, keeping the outer layer smooth while the underneath stays light. Tell your stylist you want to see the outline of layers when you look in the mirror, not a solid mass. Expect trims every 4 weeks to maintain the controlled shape.
6. Razor-Cut Pixie with Side Sweep
A deep side part anchors this variation, with the longer top swept across the forehead at a diagonal. The razor-cut ends let the swept section fall naturally rather than requiring a blow-dryer to hold position. Oblong faces get visual width from the horizontal sweep, and the textured ends prevent the style from reading too slick or corporate.
Layered Textured Pixies
Where razored cuts create texture at the very tips of the hair, layered pixies build dimension through the full length by stacking shorter sections over longer ones. The result is depth you can see from across the room, light catches the raised layers differently than the hair beneath them.
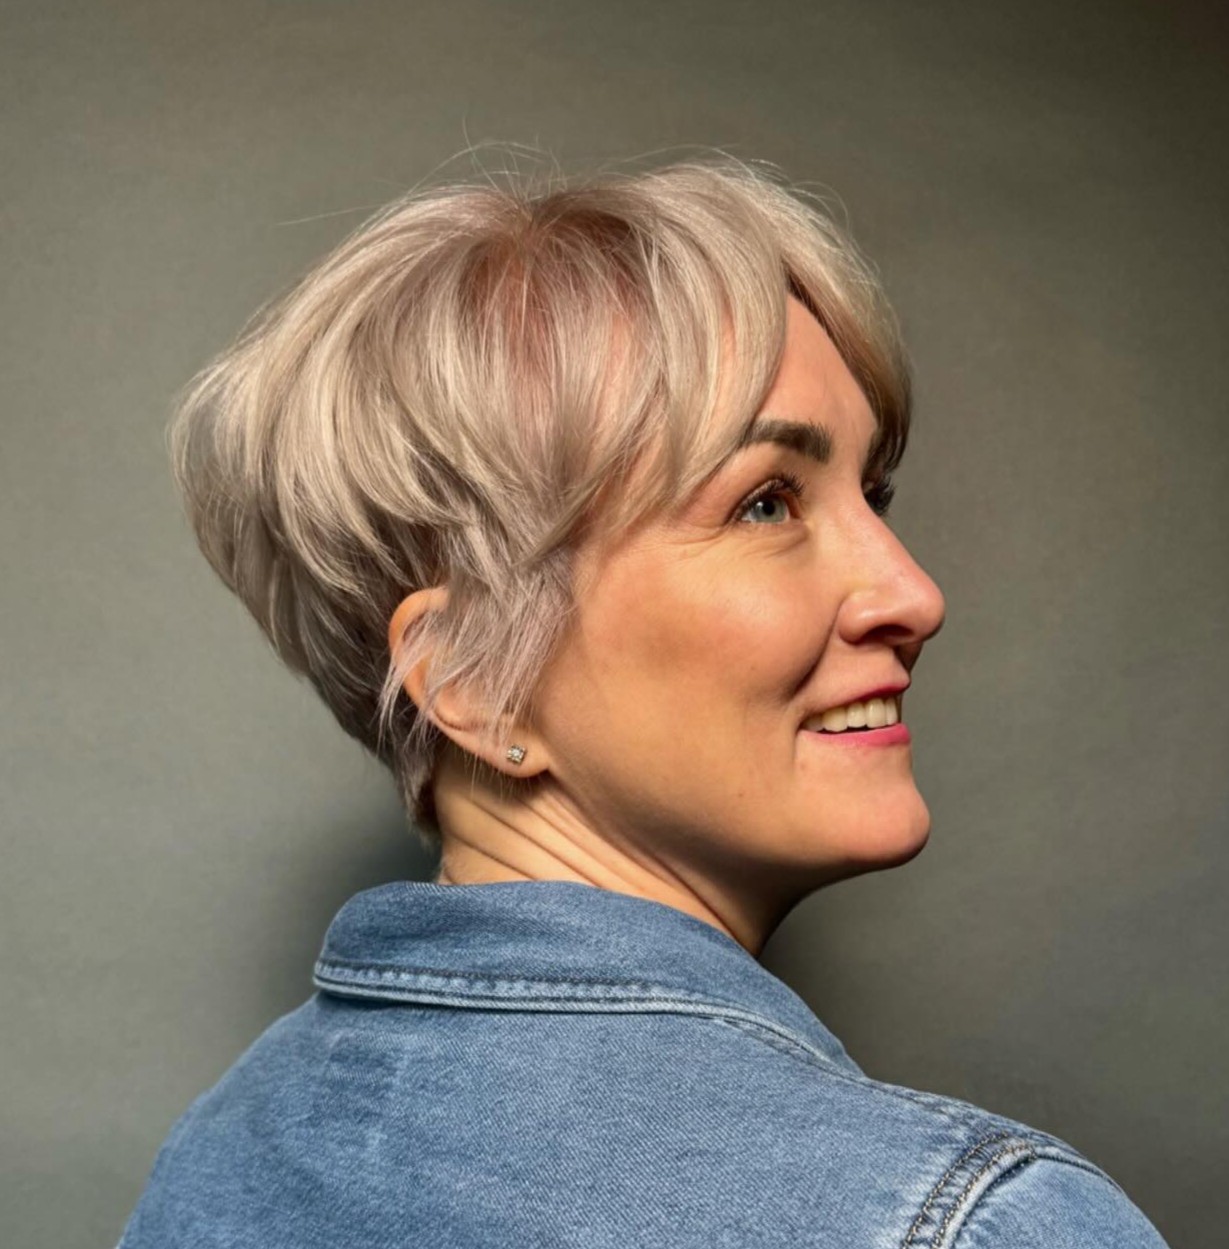
7. Feathered Pixie with Crown Lift
Feathered layers fan out from the crown in a wing-like shape that frames the face gently and adds height where flat-haired clients need it most. A volumizing mousse at the roots plus a small round brush during blow-drying give this cut its signature lift. Heart-shaped faces benefit from the width through the top, which balances a narrower chin.
8. Shaggy Pixie with Curtain Bangs
A hybrid between a pixie and a shag, this cut runs longer on top with curtain bangs that split at the center and frame each side of the face. Stylists typically use a combination of slide cutting and point cutting to create the layered movement. The grow-out is forgiving, it transitions into a short shag naturally over 8–10 weeks, making it a low-stress option if you’re not sure about committing to short hair long-term.
9. Point-Cut Layered Pixie
Point cutting, snipping into the ends at an angle, removes weight without creating the visible steps that traditional layering can leave behind. The texture is subtle: you notice the movement rather than the individual layers. Oval faces wear this particularly well because the balanced proportions don’t need any corrective angles, so the texture becomes the feature.
10. Tousled Bedhead Pixie
Scrunch a salt spray through towel-dried hair, shake it out, and walk away. The cut itself needs at least 2–3 inches of length on top so the texture has something to grab. A common mistake is having the stylist take too much weight out of the crown, which turns bedhead into flat-head, specify that you want density through the top with the lightness concentrated at the sides.
11. Textured Pixie with Micro Layers
Micro layers are cut within half an inch of each other, creating a seamless gradient of length that reads as pure movement rather than distinct steps. This technique works on fine hair without thinning it out, the close-together layers actually make strands look thicker because they stack on each other. Budget about 5 minutes of styling with a light-hold mousse and your fingers.
12. Disconnected Layered Pixie
A deliberate contrast between very short sides and a significantly longer, layered top gives this cut a fashion-forward edge. The disconnection means no blending between the two lengths, your stylist should leave a visible line where short meets long. Square jawlines benefit from directing the longer textured section forward over the forehead, which softens the angles without hiding bone structure.
Textured Pixie Bobs
Not quite a pixie, not quite a bob, the textured bixie gives you short-hair ease with a little more coverage at the ears and nape. These are especially useful as a first step into short hair or as a transitional length when growing a pixie out.
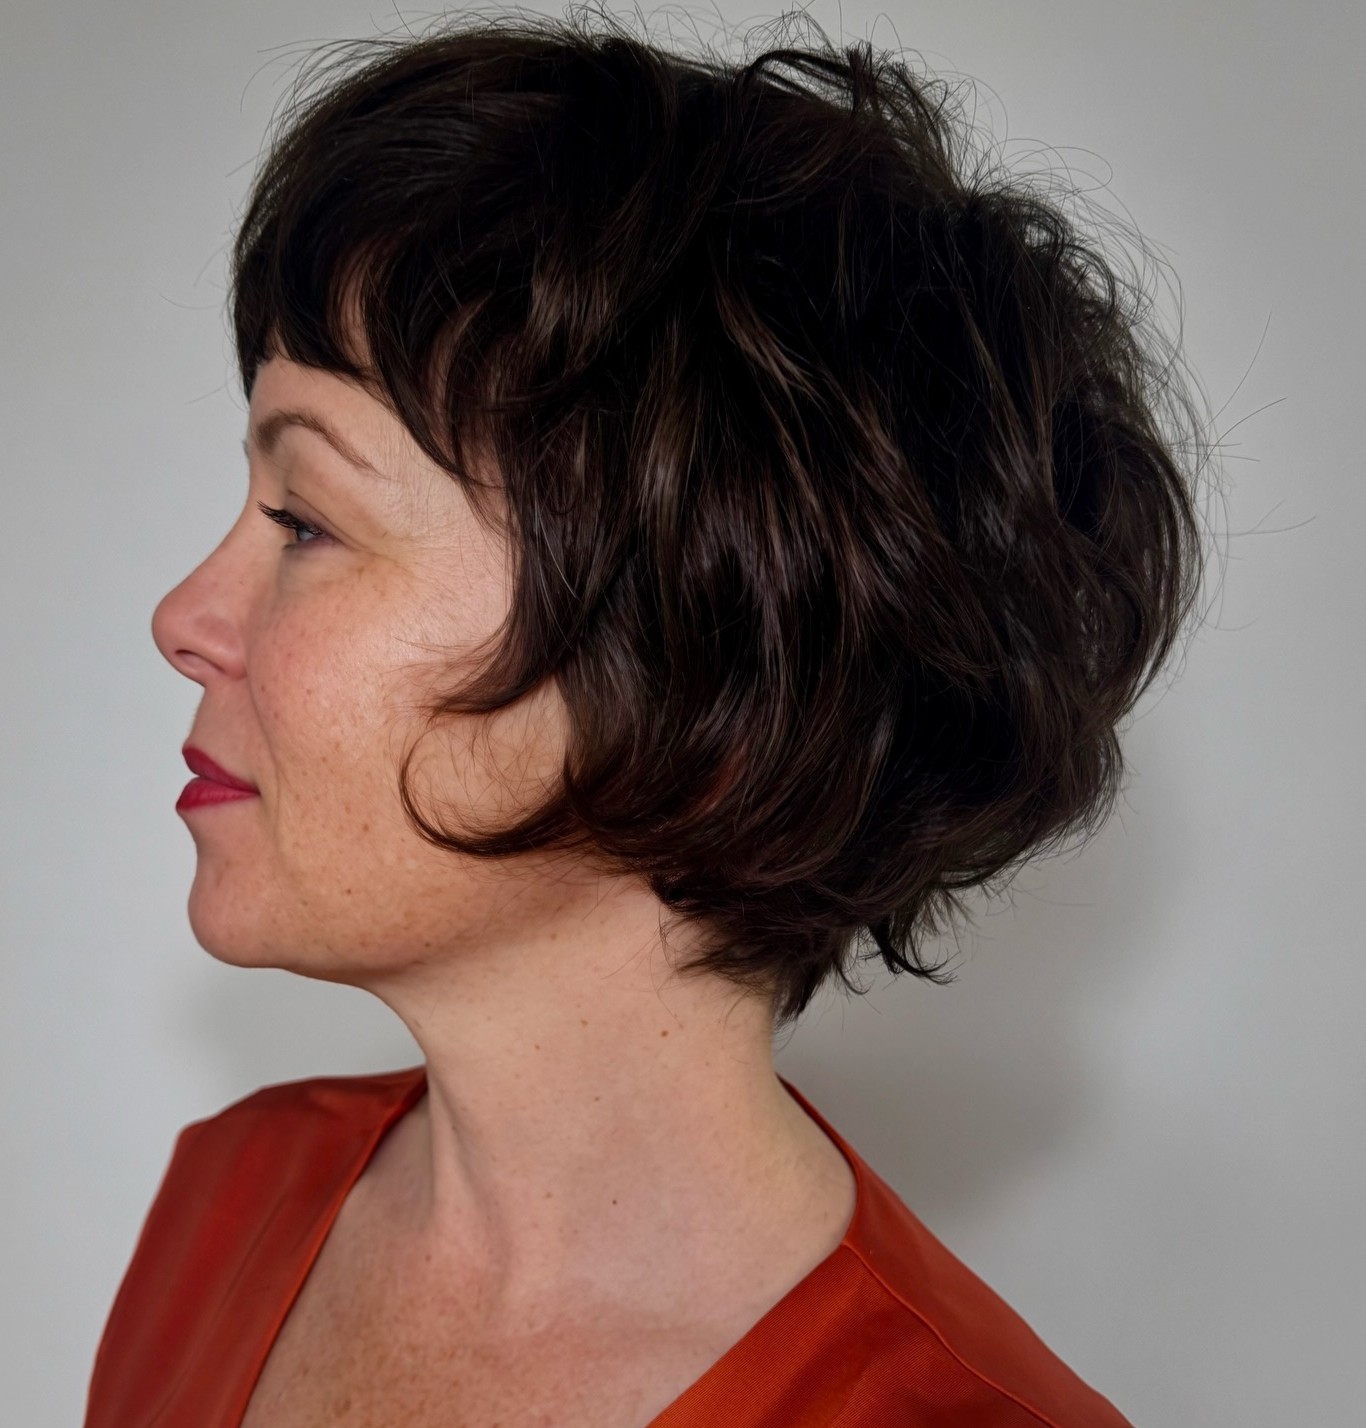
13. Textured Bixie with Stacked Back
Stacked layers at the nape create volume at the back of the head, exactly where flat-haired clients lose shape first, while the front pieces hang just below the ear. Bring a reference photo showing both the front and back, and ask for a graduated back with point-cut layering. The maintenance window is about 5–6 weeks between trims.
14. Messy Textured Pixie Bob
Chin-brushing length at the front, cropped at the back, with intentionally imperfect styling. Work a texturizing paste through the mid-lengths and scrunch for separation. Round faces get visual elongation from the asymmetric length, and the overall texture breaks up the rounded silhouette that shorter, same-length pixies can create on wider face shapes.
15. Tapered Textured Bixie for Fine Hair
Fine hair often looks its best when the cut creates shape the texture alone can’t provide. A tapered bixie with graduation at the nape and light layering through the top builds volume without relying on heavy product. Avoid conditioner below the crown, it weighs down fine strands and flattens the silhouette faster than anything else.
16. Textured Pixie Bob with Side Bangs
A long side bang that you can tuck behind the ear or let fall across the forehead adds versatility to the standard bixie shape. The texture comes from point-cut ends throughout, and the overall look is wash-and-go friendly on wavy and curly textures. Stylists generally recommend this as a first step for anyone nervous about going full pixie, you keep more coverage while still entering short-hair territory.
17. Layered Bixie with Crown Volume
Added layers through the crown give this bixie a lift that a blunt version can’t match. Blow-dry with a small round brush directing the roots upward, then let the ends fall naturally. Thick to medium hair gets the strongest result because the internal layering prevents the bulk that makes one-length bixies look heavy.
Curly and Wavy Textured Pixies
Curly and wavy hair comes with built-in texture, the stylist’s job is to shape it, not fight it. Every cut in this section works with natural pattern rather than against it, and the universal rule applies: if your stylist cuts curly hair wet at pixie length, they’re guessing where the curls will sit once they spring up. Dry cutting is non-negotiable here.
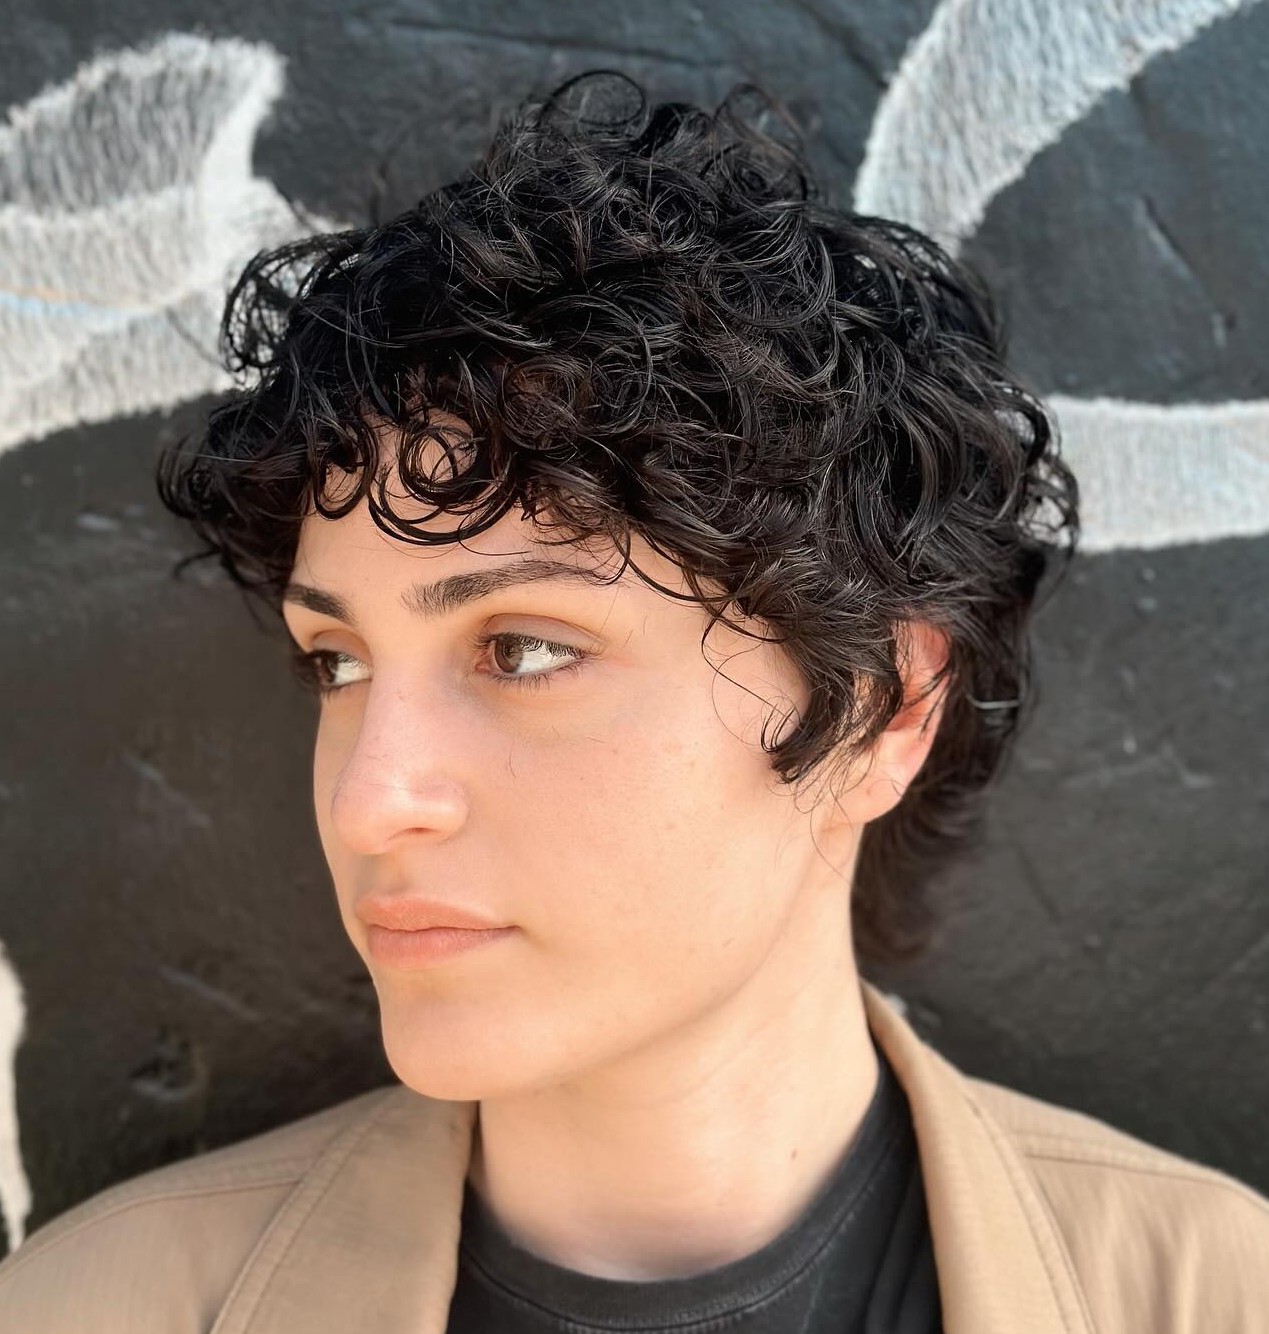
18. Spiral Curl Pixie (3A–3B)
Spiral curls at pixie length create a rounded, voluminous silhouette that suits oval and heart-shaped faces well. Ask for the shape to be built around your natural curl pattern, and use a curl-defining cream plus a diffuser on low as your daily routine. The silhouette will be fuller and rounder than the same cut on straight hair, plan your length accordingly.
19. Wavy Textured Pixie with Salt Spray
Wavy hair (2A–2C) has a natural bend that gives a textured pixie cut built-in movement without much effort. A salt spray or texture spray enhances the wave and creates separation between strands. Air-drying works well, blow-drying tends to straighten the wave out unless you use a diffuser. This is one of the most manageable variations in the entire gallery.
20. Coily Textured Pixie (4A–4C)
Coily textures at pixie length showcase the natural pattern in a way that longer lengths sometimes obscure under their own weight. A shaped version can add height at the crown and taper at the nape, while a TWA variation keeps it close-cropped all over. Moisturize with a leave-in conditioner daily and seal with a light oil, silk pillowcases help maintain moisture overnight.
21. Textured Pixie for Fine Curly Hair
Fine curls want volume, but the strands can’t support heavy products. A layered pixie with graduated cutting through the crown lets the curls stack on each other, building height naturally. Use a lightweight mousse rather than a cream, and scrunch upward while diffusing. Skip heavy oils, they’ll flatten your curls within an hour at this length.
22. Tousled Wavy Pixie with Long Top
Keeping 3–4 inches through the crown while tapering the sides and back lets natural waves do the styling for you. The longer top catches and holds the wave pattern, creating visible S-bends that a shorter crop would cut off. Finger-style with a light cream and leave the blow-dryer in the drawer, the imperfection is the point.
Bold and Edgy Textured Pixies
Undercuts, fades, and disconnected shapes that pair texture with deliberate contrast. These require a stylist comfortable with precision clipper work and creative cutting, the maintenance is higher, but the visual payoff matches.
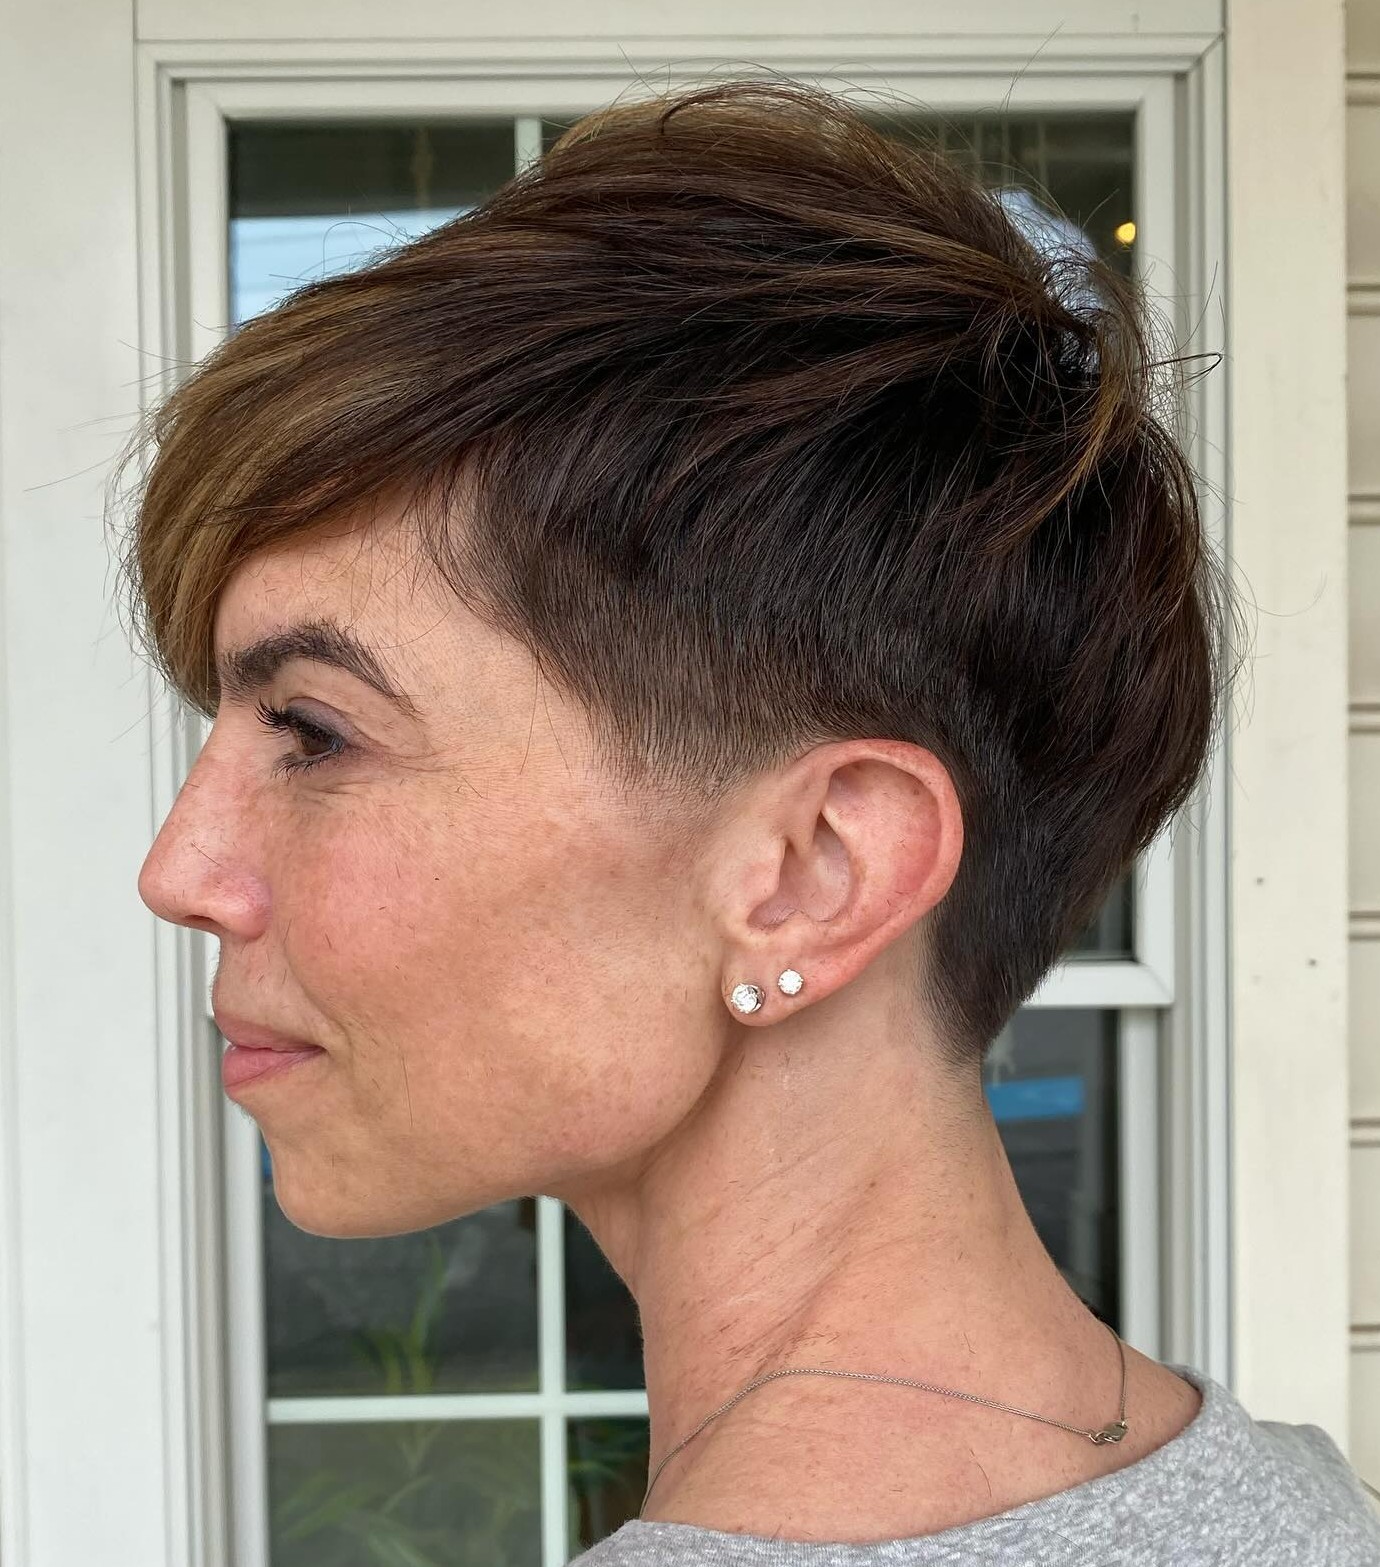
23. Textured Undercut Pixie
Buzzed sides and back with 3–4 inches of textured, layered length on top create a dramatic contrast. The undercut reduces bulk on thick hair and adds an element of surprise, hair down, it reads as a standard textured pixie; pull it back, and the shaved section is visible. The undercut needs a clipper touch-up every 2–3 weeks, while the top can go 4–5 weeks.
24. Faded Pixie with Textured Top
Borrowed from barbershop culture, a skin fade at the temples tapering into longer, textured hair at the crown brings sharp geometric lines to a pixie. Ask for a low or mid fade, a high fade can look too severe on most face shapes. The fade grows out within 10–14 days, so factor in frequent visits or learn to maintain the line yourself with a trimmer.
25. Asymmetrical Textured Pixie
One side cropped close, the other left significantly longer with visible texture and layering. The asymmetry creates a bold diagonal line across the face, and the textured longer side prevents it from looking too sharp or geometric. Oblong and rectangular faces benefit from the horizontal visual weight, which shortens perceived face length.
26. Mohawk-Inspired Textured Pixie
Short faded sides with exaggerated height and choppy texture through the central strip running from forehead to crown. Unlike an actual mohawk, the sides are faded rather than shaved to skin, which keeps it wearable in professional settings. Thick hair has an advantage, fine strands struggle to maintain the vertical volume even with strong-hold volumizing powder at the roots.
27. Spiky Textured Pixie
Spiked ends through the crown and top, achieved with a strong-hold fiber paste worked through dry hair in an upward motion. The sides stay flat and tapered for contrast. Avoid gel, it dries hard and shiny. Fiber paste keeps the spikes flexible and matte, and the texture stays workable so you can reshape throughout the day without rewashing.
Color-Enhanced Textured Pixies
Color on a textured pixie has a different effect than on smooth, one-length cuts, the layers and razored ends catch light at different angles, making even subtle color shifts look more dramatic. Less surface area means bolder impact per strand.
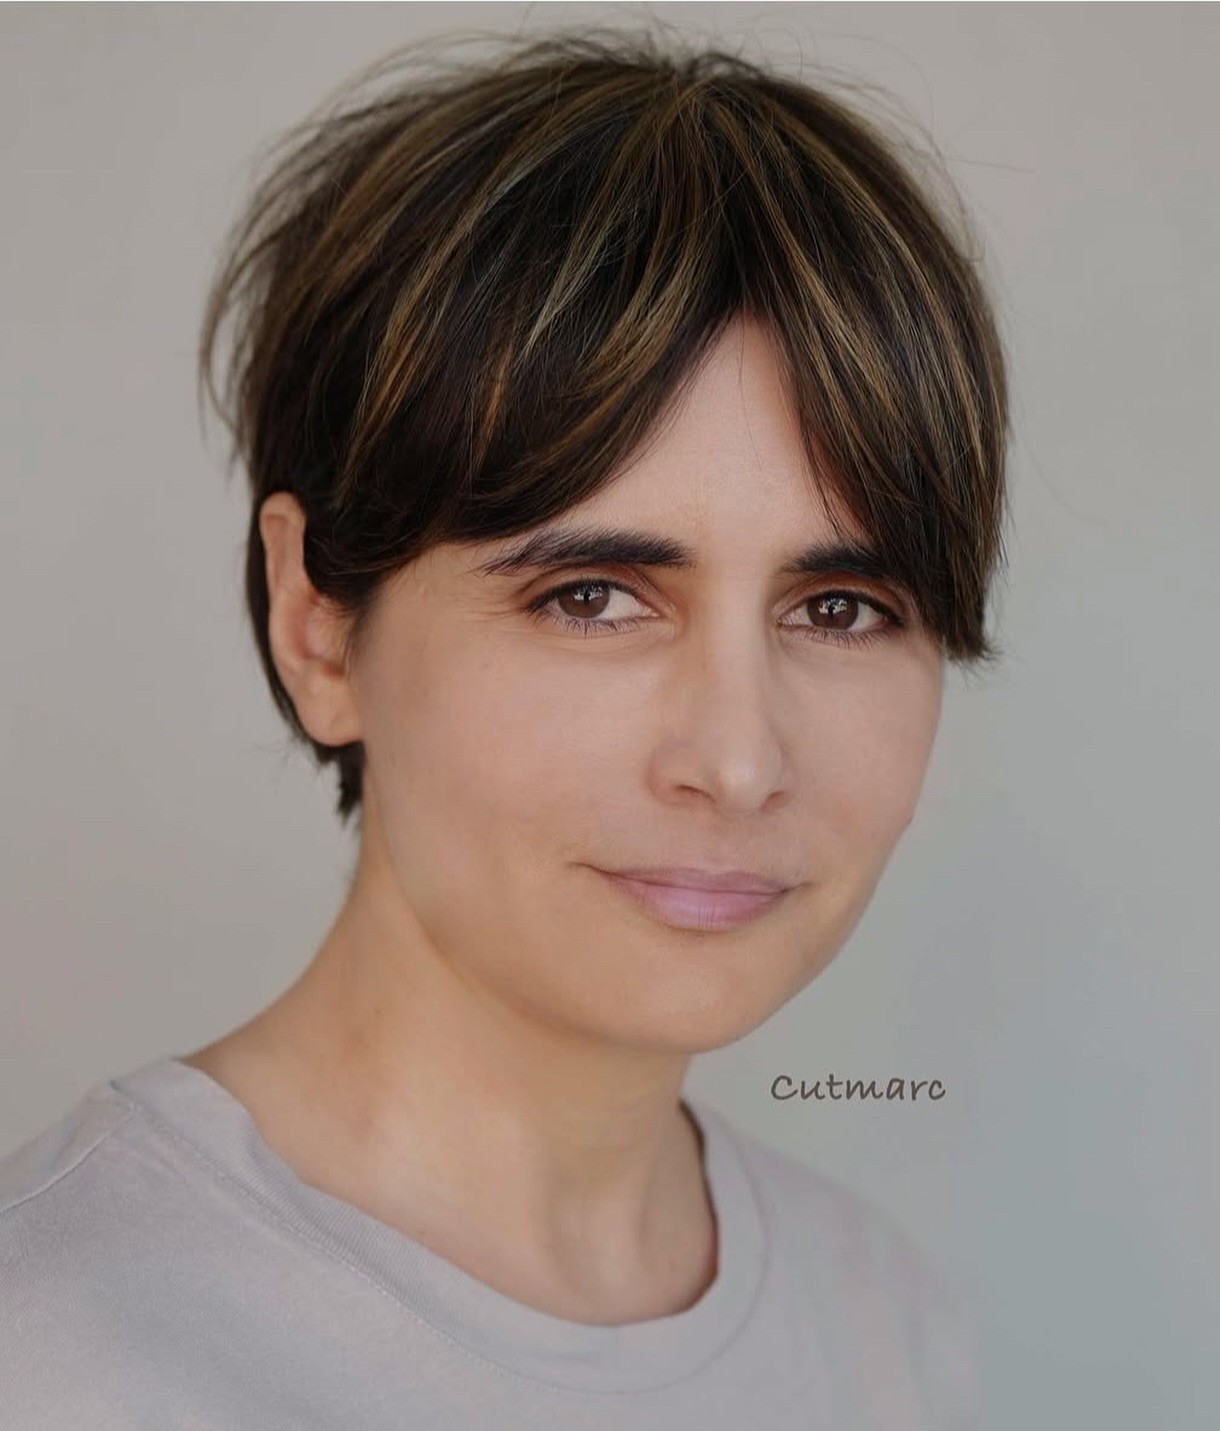
28. Textured Pixie with Balayage Highlights
Balayage on a textured pixie requires a colorist who understands that there’s less real estate to work with. The highlights should concentrate where the light naturally hits, the top and the fringe rather than scattered evenly. Warm caramel tones on a dark base create depth that makes the layered structure look multi-dimensional, and the grow-out is gentle since balayage doesn’t leave a harsh root line.
29. Copper Red Textured Pixie
Copper catches light and creates visual dimension on short textured cuts where shadows are limited. The shade sits between a true red and a warm blonde, flattering warm and neutral skin tones particularly well. Color-depositing conditioners extend the vibrancy between salon visits, and sulfate-free shampoo prevents premature fading. Strong brows and a defined lip complete the look.
30. Textured Pixie with Money Pieces
Two lighter panels at the front framing the face on either side of the part create instant brightness without a full color commitment. On a textured pixie, money pieces fall on the front fringe strands and possibly a few pieces at the temple. The contrast between dark and light adds visual depth that amplifies the layered structure, and the placement grows out naturally, making this a low-maintenance color choice for anyone exploring a textured pixie cut for the first time.
How to Choose a Textured Pixie for Your Face Shape
The texture technique matters, but so does where that texture lands relative to your face shape. The wrong placement can add width where you don’t want it or flatten areas that need height.
| Face Shape | Goal | Best Textured Pixie Variations | Avoid |
|---|---|---|---|
| Oval | Maintain balance | Almost any textured variation—razored, layered, choppy, or curly | No major restrictions; avoid excessive height if face leans oblong |
| Round | Add length, reduce width | Choppy layers with crown height, tapered sides, asymmetrical texture | Same-length texture all over, rounded silhouettes, center parts |
| Square | Soften angles | Wispy layered texture, soft fringe, feathered variations | Blunt geometric textures, hard parts, very short crops exposing the jaw |
| Heart | Balance forehead width | Side-swept textured bangs, feathered crown, textured bixies | Very short crops without bangs, excessive crown volume |
| Oblong | Add width, shorten perceived length | Full textured fringe, side-heavy texture, minimal crown height | Height at crown, no-bangs styles, very short textured sides |
Stylist tip: If you’re unsure of your face shape, pull your hair back tightly, stand in front of a mirror, and trace your face outline on the glass with a dry-erase marker. The shape becomes obvious when you step back and look at the outline without your features distracting you.
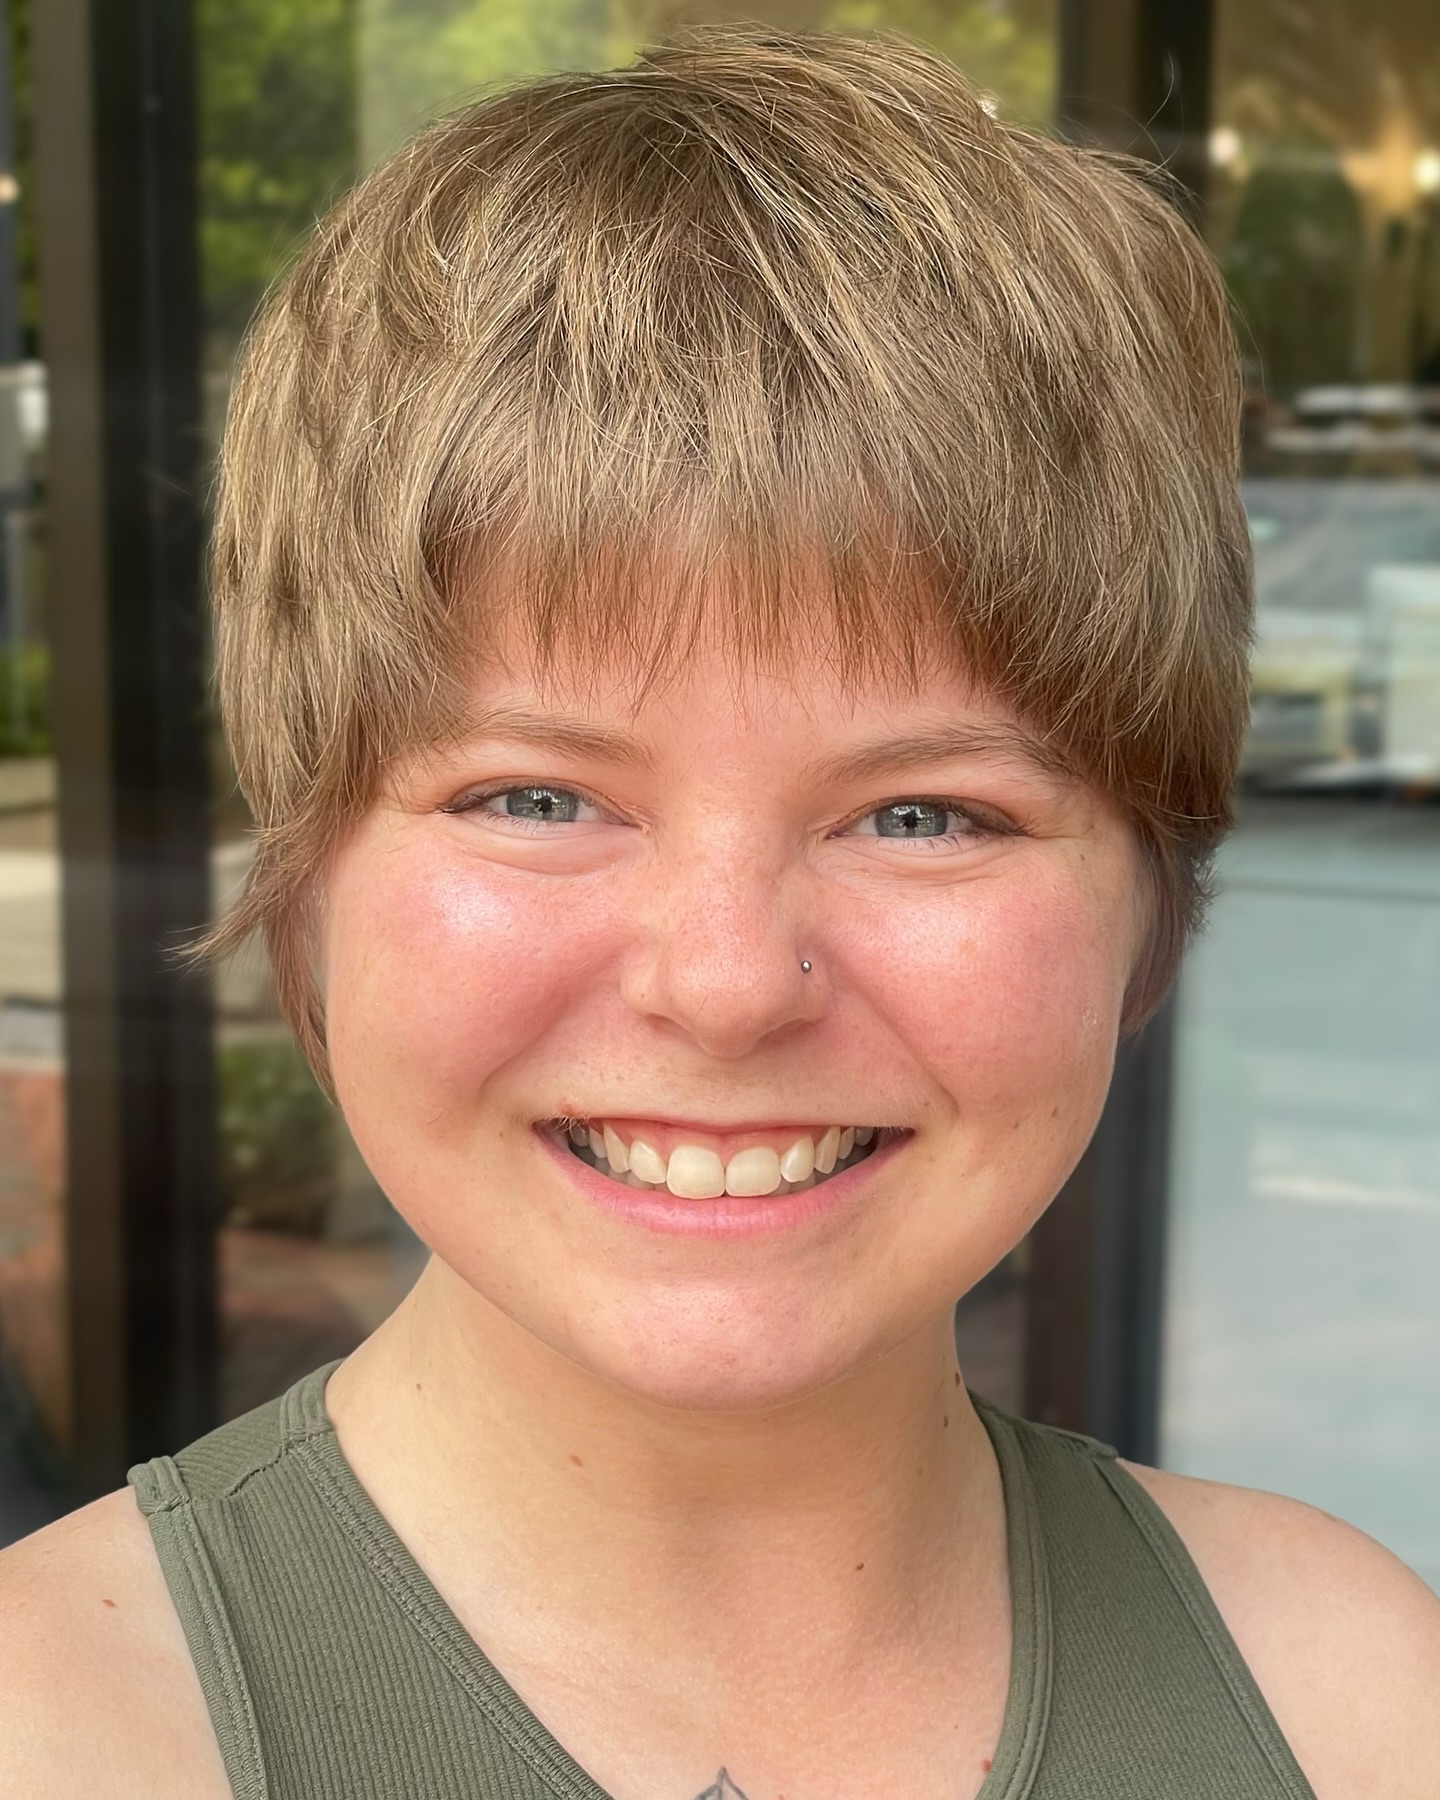
What to Tell Your Stylist
Most clients walk into the salon with a photo but without the language to describe what they want. Here’s exact phrasing for the most common textured pixie requests.
For a razored textured pixie: “I want a short pixie with razored ends for movement. I want to see texture and separation in the top, not a smooth surface. Point cutting at the perimeter for softness.”
For a layered textured pixie: “I want visible layers through the crown and top, razored or point-cut ends. I want it to look like it has movement even without product.”
For a textured bixie: “Pixie-length but longer than my ears, shorter than my jaw. Textured perimeter, not blunt. I want to see dimension when I shake my head.”
For a curly textured pixie: “Please cut it dry so we can see where the curls sit. I want the shape to follow my natural curl pattern, not fight it. Layers to reduce weight, not to create uniformity.”
Stylist tip: Bring at least two reference photos showing the cut from different angles, front and side at minimum. Stylists report that miscommunication about the back and nape area is the most common source of disappointment with pixie cuts, and a single front-facing photo leaves too much to interpretation.
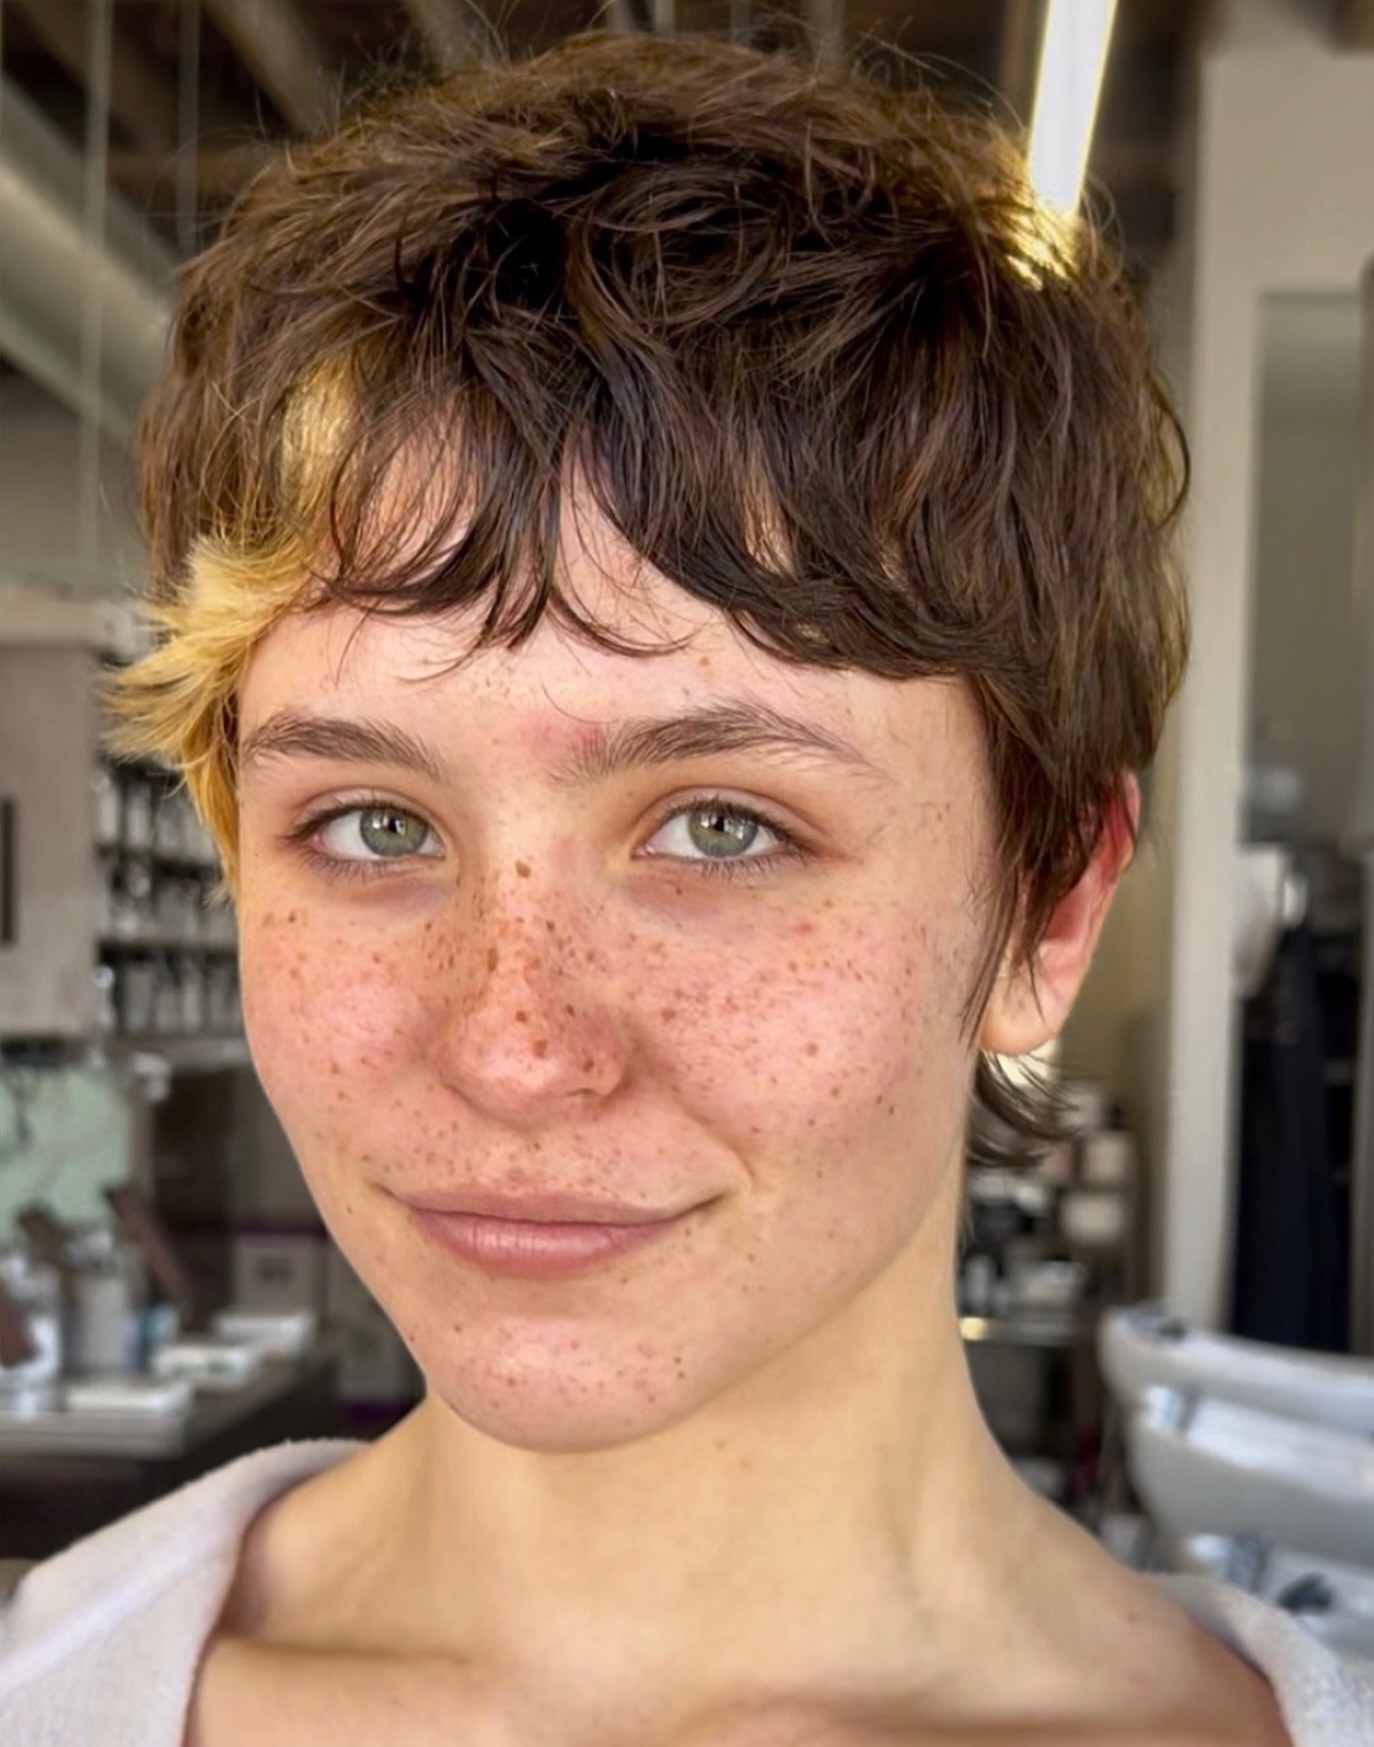
FAQ
Find the answers to the most common questions about textured pixie cuts.
What Makes a Pixie Cut “Textured”?
Texture in a pixie comes from how the hair is cut, not just how it’s styled. Techniques like razor cutting, point cutting, slide cutting, and internal layering create ends that fall at different lengths and angles. The result is natural movement and separation between strands. A blunt pixie has uniform ends that lay flat, while a textured pixie has varied ends that shift and catch light independently.
Does a Textured Pixie Cut Work on Fine Hair?
Fine hair can work well with textured pixies when the technique is right. Point cutting and micro layering add movement without removing too much density. Avoid heavy razor cutting on very fine hair, it can make the ends look thin and wispy rather than textured. A volumizing mousse and a light texturizing paste are your go-to products for holding shape without weighing strands down.
How Often Do I Need to Trim a Textured Pixie?
Most textured pixies need a shape-up every 3–5 weeks depending on the variation. Razored cuts lose their shape faster and need attention on the shorter end of that range, while layered bixies can stretch to 5–6 weeks. Skipping trims beyond the recommended window doesn’t just look messy, it makes your next appointment more involved because the stylist has to re-establish the shape from scratch.
What Products Work Best for a Textured Pixie?
The product depends on the finish you want. Matte paste or clay works for choppy, separated texture. Texturizing spray or salt spray suits wavy, tousled styles. Curl-defining cream is essential for curly variations. One product that works across all textured pixie types: a heat protectant spray, even if you only blow-dry occasionally. Keep everything lightweight, heavy creams and oils flatten short hair fast.
Can I Get a Textured Pixie with Curly Hair?
Curly hair is actually ideal for textured pixies because the curl pattern itself provides built-in dimension. The key is finding a stylist experienced in dry cutting curly hair at short lengths. Types 2C through 4C can all support a textured pixie, the silhouette will be fuller and rounder than on straight hair, so plan your length with curl shrinkage in mind.
How Do I Grow Out a Textured Pixie Without the Awkward Phase?
The grow-out from a textured pixie to a bob takes 6–12 months, with an awkward mullet-like stage around months 3–5. Regular trims during this period keep the growth looking intentional rather than neglected. The advantage of starting with a textured cut: the existing layers help disguise uneven growth better than a blunt pixie would. Headbands, clips, and texturizing products manage the in-between lengths.
A textured pixie cut puts technique front and center , the right combination of layering, razor work, and point cutting creates a shape that moves and shifts on its own, without relying on heavy product or daily heat styling. Whether you go for a subtle razored crop or a bold disconnected shape, the texture is what makes a short cut feel personal rather than generic. Save this guide, pick your favorite variation, and bring your reference photos to your next appointment.
Hair results vary based on your natural hair type, texture, density, and condition. Always consult with a licensed hairstylist before making significant changes, especially with chemical treatments or dramatic length changes. Photos may show styled results that require professional tools and products to replicate.