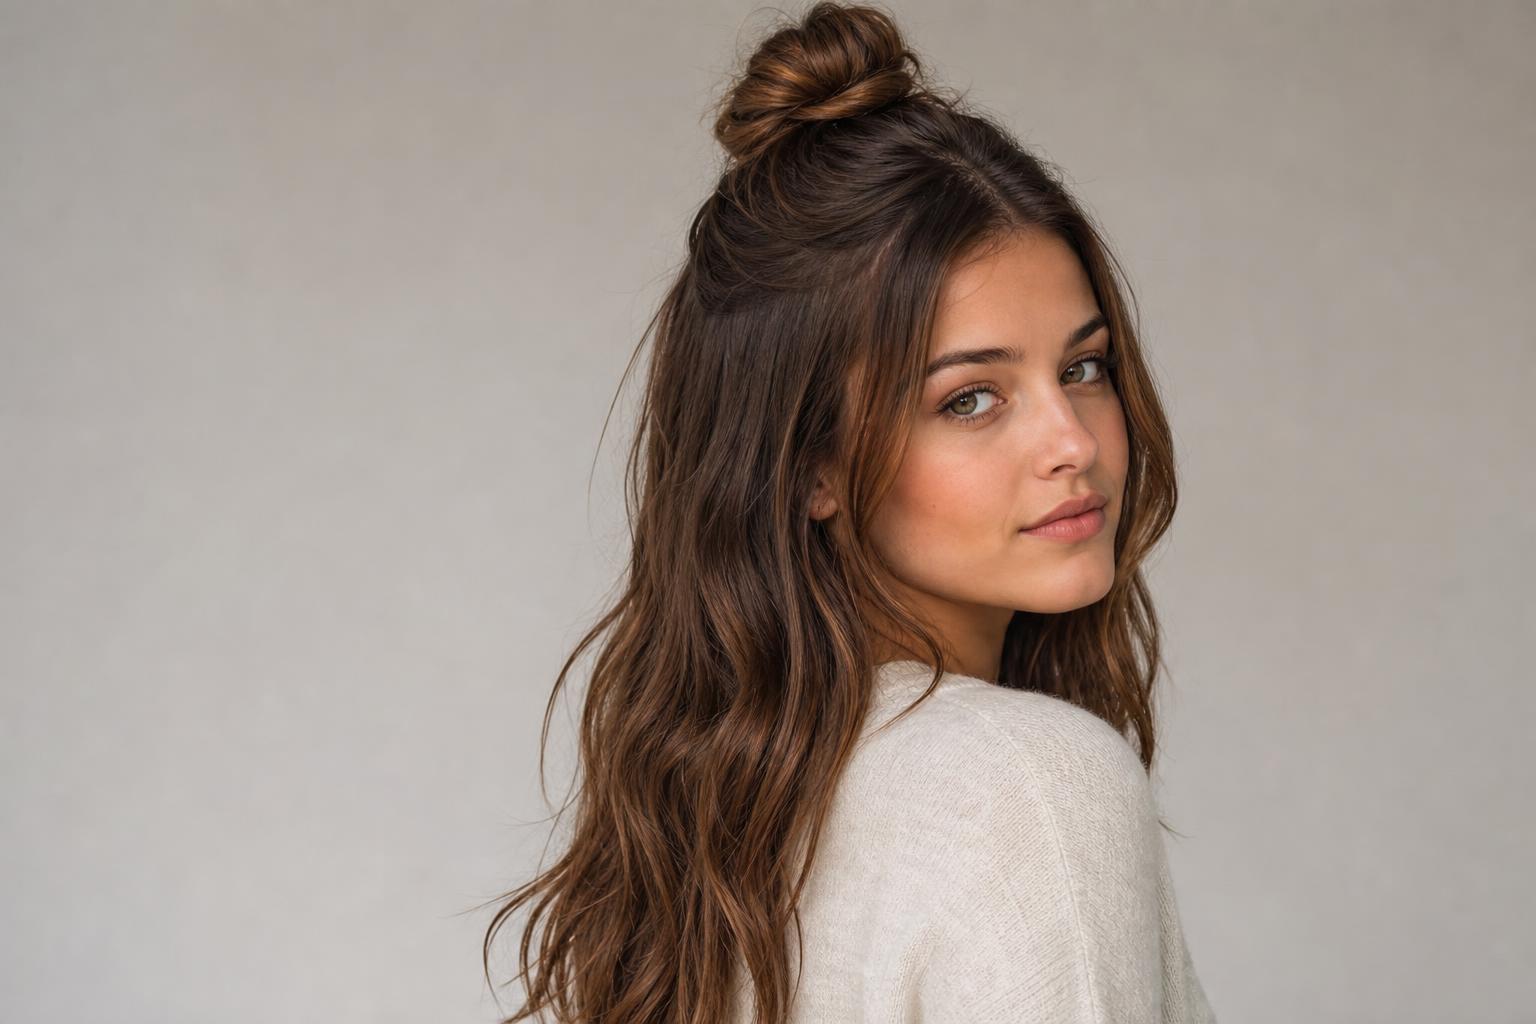
The difference between a cute hairstyle that lasts until dinner and one that slides out by lunchtime is almost never skill, it is whether you started on clean hair or second-day hair.
Cute hairstyles fall into three practical groups: five-minute styles you can do without a mirror behind you, braids and twists that need ten to fifteen minutes and a bit of practice, and cuts that look put together with no styling at all. Below are 35 of them, grouped that way rather than by trend, with the hair length each one needs and the honest reason some of them fail on fine or freshly washed hair.
Every entry names the technique specifically enough to ask for it or search a tutorial for it. After the gallery you will find a face shape guide, a table of how long each family of styles takes and what it needs to hold, salon-ready language for the cuts, and an honest section on which of these will not work on your hair type.
Five-Minute Styles That Hold All Day
These are the styles worth having in muscle memory, because you can do them in a car park with a hair tie and no mirror. All eight work best on day-two hair, since clean hair has too little grip to hold a shape without product. If you only have freshly washed hair, work a texture spray or a little dry shampoo through the roots first and give it thirty seconds to take hold.
1. Low Slicked Ponytail with a Center Part
The polish here comes from brushing damp product through rather than applying it to dry hair, which is what separates a sleek ponytail from a greasy one. Use a light gel or a strong-hold cream on a fine-tooth comb, part dead center, and secure at the nape.
2. Twisted Half-Up Knot
Long and oval faces get the most from this one, because the volume gathers at the crown and adds height where the proportions can carry it. Take a section from each temple, twist them toward each other, knot them once like the start of a shoelace, and pin.
3. Claw Clip French Twist
Thick and medium-density hair is where the claw clip twist genuinely shines, since fine hair rarely fills the clip enough to stay put. Gather everything to one side, twist upward against the head, fold the tail down, and clamp the clip vertically over the fold.
4. Bubble Ponytail
Space small clear elastics two to three inches apart down a ponytail, then gently tug the sides of each section outward to round it into a bubble. The trick most tutorials skip is pulling from the underside as well as the sides, which keeps the bubbles from flattening within an hour. A bubble braid worn as two sections instead of one looks younger and holds even better on long hair.
5. Messy Bun with Face-Framing Pieces
The version that survives a full workday uses two elastics rather than one, with the second wrapped over the tucked ends. Pull out two thin pieces at the temples last, not first, so you can judge how much softness the shape actually needs.
6. Deep Side Part Blowout
Dimensional color earns its money in this style, because the deep part exposes a wide sweep of hair where lighter pieces catch the light as the hair falls across the forehead. Blow-dry with a medium round brush, over-directing the hair away from the part to build lift at the root.
7. Loose Rope Braid
Ask a stylist to show you this one in the chair, since it takes about ninety seconds to learn in person and considerably longer from a video. Split a ponytail in two, twist each half in the same direction, then wrap the halves around each other in the opposite direction so the twist locks itself. Say you want a two-strand rope, not a fishtail, or you will get something much more time-consuming.
8. Low Pigtails at the Nape
Unlike the high pigtails most people picture, low ones tucked behind the ears look grown-up rather than costume. Part down the middle, secure at the nape rather than the jaw, and leave a few strands loose at the front.
Braids and Twists Worth Learning
Braids buy you the most looks per minute of practice, and they are the styles that hold longest without pins or product. All eight below need at least shoulder-length hair, and most work better on day-two texture. Start with the Dutch braid; once your fingers know the over-under motion, half the styles on this list stop being difficult.
9. Dutch Braid Along the Hairline
A Dutch braid crosses sections under instead of over, which is why it stands proud of the head rather than sinking into it. Run it diagonally from one temple toward the opposite ear, taking small pickup sections only from the hairline side.
10. Waterfall Braid Half-Up
Heart-shaped faces do well here because the braid draws a horizontal line across the widest point of the forehead and softens it. Braid as normal but drop the lower strand each time and pick up a fresh section from above, letting the dropped pieces fall free. The full waterfall braid technique takes a few tries before the dropped strands fall evenly.
11. Fishtail Side Braid
Coarse and thick hair produces the best fishtail, because the pattern needs enough strands to stay visible and fine hair blurs it. Split into two sections, cross a thin piece from the outside of one over to the inside of the other, and repeat, keeping tension even.
12. Two French Braids into a Low Bun
Braid both sides French-style toward the nape, then twist the two tails together and coil them into a bun secured with pins rather than an elastic. Work on slightly damp hair with a light cream if you want it sleek, or on dry day-two hair if you want it soft.
13. Boxer Braids for Active Days
This is the style that survives a gym session, a swim, and a nap without needing to be redone, which is a rare combination. Two tight Dutch braids from the front hairline to the nape keep everything off the neck and face.
14. Halo Braid Crown
Warm color plays beautifully in a halo braid because the braid wraps the whole head, so highlights that would normally hide underneath end up on display. Braid all the way around the head just above the ears, then pin the tail underneath the starting point.
15. Braided Ponytail with a Wrapped Base
In the salon, ask for a smooth mid-height ponytail with a braided length and a hair wrap at the base rather than describing it as a braid, because the two ask for different amounts of work. Secure the ponytail, braid the tail, then wrap a small section around the elastic and pin. A braided ponytail with the base wrapped photographs far better than a bare elastic.
16. Twisted Milkmaid Braids
Where a traditional milkmaid uses two three-strand braids, the twisted version uses two rope twists, which takes half the time and looks softer around the face. Twist each side, bring them over the crown, and pin at the opposite temple.
Cute Updos for Work and Events
These eight are the styles to have ready when the occasion has a dress code. All of them build on a bun, a twist, or a chignon, and all of them benefit from being built on hair that has not been washed that morning. Pins do most of the work, so buy proper U-pins alongside bobby pins if you plan to wear updos regularly.
17. Sleek Low Chignon
The structure comes from creating a small hollow at the nape rather than piling hair on top of itself. Make a low ponytail, split the hair above the elastic, flip the tail up through the gap, then roll the length under and pin the roll into the hollow you just made.
18. Ballerina Bun with a Soft Middle Part
Square and angular faces soften noticeably with this one, since a middle part and a high round bun draw the eye upward and away from the jawline. Keep the part soft rather than razor-sharp, and let a few pieces fall at the temples. Avoid pulling the sides completely flat, which emphasizes exactly the width you are trying to balance.
19. Twisted Rope Updo
Fine hair benefits most here because the twisting motion adds visible bulk that a smooth updo cannot fake. Divide into three or four sections, rope-twist each one, then coil and pin them around a central point, overlapping the coils slightly.
20. Curled Half-Up with a Bow
Curl the lengths first with a 1.25-inch barrel, held vertically and released before the curl cools fully, so the shape stays loose. Take the top third back, secure with a small elastic, and tie a ribbon over the band.
21. Knotted Low Bun for Second-Day Hair
This is the style that exists specifically for the day you cannot wash your hair, and it looks deliberate rather than desperate. Split the hair in two at the nape, tie them in a single knot, then a second, then pin the ends underneath. Day-three hair holds it even better than day-two, which makes it the most useful entry on this list for anyone stretching washes as part of a longer wash schedule.
22. Loose Chignon with Money Piece Highlights
Lighter pieces at the front hairline change this style completely, because an updo hides almost all your color except what frames the face. Leave the two brightest front sections out of the chignon and let them fall along the cheekbones.
23. Polished French Roll
Ask for a French roll by name and specify whether you want it smooth or textured, because stylists build these two very differently. Smooth means blow-dried and brushed flat before rolling; textured means backcombed at the crown first. Say which one you want along with how much hair you want left out at the front, or you will get whichever the stylist prefers.
24. Space Buns Set Low
Set high on the head, space buns look playful and young; set low behind the ears, the same style works for adults at a summer wedding. Part down the middle, make two low ponytails, twist each into a coil, and pin. The full range of space bun placements covers everything between those two extremes.
Cute Cuts That Style Themselves
The six cuts below do the work that styling otherwise has to. If your mornings are short, changing the cut solves the problem more permanently than learning another updo. Each entry names what to ask for, since these are salon services rather than something to attempt at home.
25. Collarbone Lob with Blunt Ends
The blunt perimeter is what makes this length look deliberate rather than grown out, and it is worth protecting at every trim. Ask for the length cut to one line at the collarbone with no visible layers on the outside, and only internal weight removal if your hair is thick. On straight hair a collarbone lob with a blunt line needs a trim every seven to eight weeks to keep the edge crisp.
26. Wispy Curtain Bangs
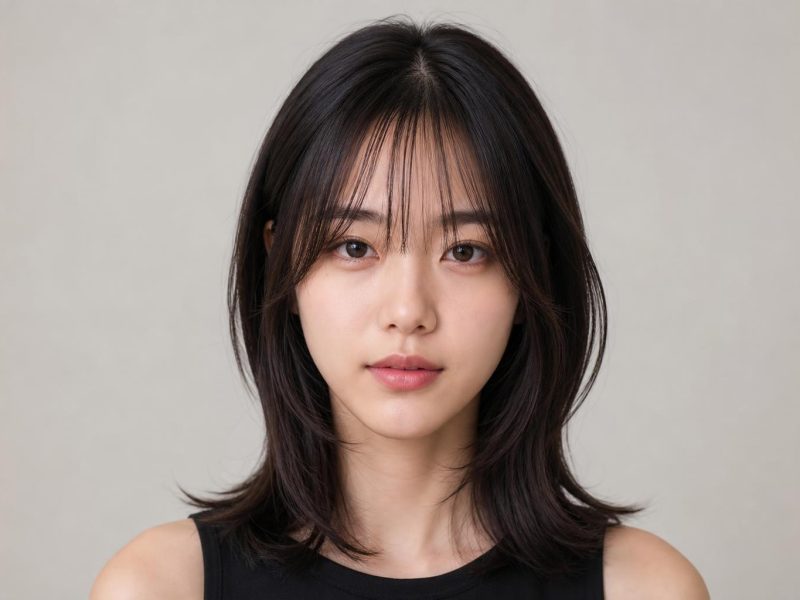
Round faces gain the most from curtain bangs cut to hit at the cheekbone rather than the eyebrow, because the diagonal opening creates length through the middle of the face. Ask for the shortest point to fall at the outer corner of the eye and the longest to blend into the lengths past the jaw. Anyone with a strong cowlick at the front hairline should ask the stylist to check it dry before committing.
27. Butterfly Layers on Long Hair
Thick, heavy hair is the intended target here, since the short internal layers remove enough weight to create movement without shortening the overall length. The shortest layers reach the chin, the rest stay long, and the two blend at the shoulder. On fine hair the same cut looks sparse at the ends, so a softer version with fewer layers is a better request.
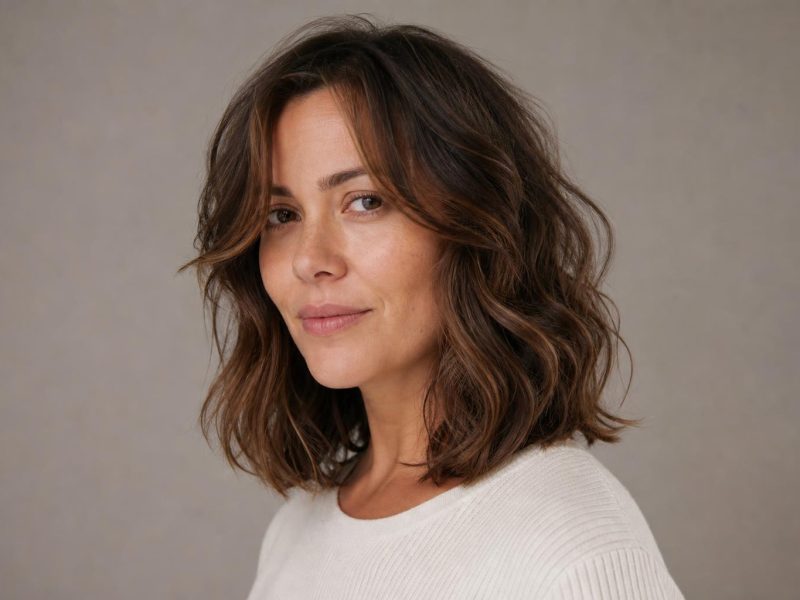
28. Soft Beachy Waves on Mid-Length Hair
Wrap 1.5-inch sections around a 1.25-inch wand, alternating direction each time, and leave the last two inches straight. Let each curl cool in your palm for a few seconds before releasing, then break the whole thing up with a sea-salt texture spray. Skipping the alternating direction is the single most common reason home waves come out looking uniform and stiff.
29. Grown-Out Shag with Piecey Ends
Ten to twelve weeks between cuts is realistic for a shag, which makes it one of the few layered cuts that improves as it grows. The layers soften and drop rather than losing their shape, so the awkward stage most cuts have around week six never really arrives. Budget for a texturizing spray, since the style needs product daily to look styled rather than neglected.
30. Face-Framing Money Piece on a Long Bob
Two lightened sections at the front hairline brighten the whole face with a fraction of the processing a full highlight requires, and they grow out softly. Ask for the money piece to start at the part and stop at the cheekbone, kept two to three shades lighter than your base. On dark hair, warmer honey tones fade more gracefully than cool blondes, which turn brassy faster between appointments.
Cute Styles for Short Hair
Short hair has fewer updo options and far better everyday ones, which is a trade most people find worthwhile after the first month. These five work on anything from a pixie to a chin-length bob. Product matters more than technique here, since there is not enough length for gravity to shape.
31. Textured Pixie with a Side Sweep
Ask for a pixie with point-cut ends and enough length left on top to sweep across, specifying at least two inches at the front if you want any movement. Tell your stylist how often you are willing to come back, since a pixie holds its shape for three to four weeks and then starts to lose its outline. Mention any cowlick at the crown before the first cut rather than after.
32. Half-Up Top Knot on a Bob
Unlike a full bun, which most bobs are too short to manage, a half-up knot only needs the crown section to reach the top of the head. Gather from temple to temple, twist, and secure with a small claw clip rather than an elastic. The clip version releases without creasing the rest of the bob, which an elastic almost always does.
33. Slicked-Back Bob with a Clip
A light gel applied from the hairline back with a comb, then a flat barrette on one side, turns a chin-length bob into something that looks styled in about forty seconds. Work the product on damp hair and let it dry undisturbed, since touching it while it sets is what makes slicked styles look crunchy.
34. Curly Bob with a Deep Side Part
Oblong and long faces gain width from this combination, because the curl volume falls at the widest useful point beside the cheekbones. Set the part well off center, then diffuse with the head tipped to the side the hair falls toward. Avoid a center part on a curly bob if your face is already long, since it draws a vertical line straight down the middle.
35. Bandana Tuck on Short Hair
Fine short hair is the best candidate, since a folded bandana adds visible height at the crown that fine hair cannot produce on its own. Fold a square scarf into a two-inch band, lay it across the head an inch behind the hairline, and tie underneath at the nape.
How to Choose a Cute Hairstyle for Your Face Shape
Face shape does not rule anything out, and it does explain why the same ponytail looks different on two people. The rule that covers most cases: styles that add height at the crown lengthen a face, and styles that add width at the cheekbones or jaw widen it. Work out which shape you actually have before using the table, since most people guess wrong on their first attempt.
| Face Shape | Best Styles | Part Direction | Avoid |
|---|---|---|---|
| Oval | Almost anything, including sleek updos that expose the whole face | Center or side, both work | Heavy blunt bangs that shorten balanced proportions |
| Round | High half-up knots, curtain bangs at cheekbone level, long soft waves | Deep side part | Low pigtails and wide chin-level volume |
| Square | Ballerina bun with soft edges, waterfall braid, face-framing pieces | Soft center or off-center | Severely slicked styles that expose a strong jaw fully |
| Heart | Low chignons, side braids, styles with fullness near the jaw | Side part | High tight top knots that add height to a wide forehead |
| Oblong | Curly bobs, halo braids, waves with width at the cheekbones | Deep side part | Very high buns and flat center-parted lengths |
| Diamond | Half-up styles with softness at the chin, milkmaid braids | Center part with volume at the ends | Styles pulled tight at both forehead and jaw |
How Long Each Style Takes and What It Needs to Hold
The most common reason a style fails is a mismatch between the hair you have that morning and the hair the style needs. Freshly washed hair is slippery; day-two hair has grip. Use this table to pick something your hair can actually do today rather than something you will fight with for twenty minutes.
| Style Family | Time | Hair Length Needed | Holds Best On |
|---|---|---|---|
| Ponytails and half-ups | 2 to 5 minutes | Chin length and longer | Day-two hair, or clean hair with texture spray |
| Braids and twists | 8 to 15 minutes | Shoulder length and longer | Day-two or day-three hair, any texture |
| Buns and chignons | 5 to 12 minutes | Collarbone and longer for a full bun | Unwashed hair, medium to thick density |
| Heat styling and waves | 15 to 30 minutes | Any length past the ear | Clean dry hair with heat protectant |
| Cut-driven styles | 0 to 5 minutes daily | Whatever the cut is built for | Any hair, with trims on schedule |
Stylist tip: If you wash at night rather than in the morning, almost every braid and bun on this list becomes easier, because hair that has dried against a pillow already has the grip these styles need. Anyone who prefers washing in the morning can get the same effect from an overnight heatless set, which builds texture while you sleep.
What to Tell Your Stylist
For the cuts on this list, describe the outcome and the maintenance you will accept in the same sentence. Something like: “I want a collarbone lob with a blunt line, I can come in every eight weeks, and I need it to air-dry without looking flat” tells a stylist more than a photo alone. Bring two or three reference photos, and say specifically what you like in each one, since a stylist looking at a picture cannot tell whether you mean the length, the color, or the bangs.
Stylist tip: Ask your stylist to teach you one styling technique at the end of the appointment while your hair is already done. Most will happily walk you through the round-brush angle or the exact pin placement, and five minutes of watching in the chair beats an hour of tutorials at home.
When a Cute Hairstyle Will Not Work on Your Hair
A few honest limits are worth knowing before you spend a morning on something that was never going to hold:
- Very fine, slippery straight hair fails at claw clip twists and heavy buns almost regardless of technique. Braids and half-ups with a small elastic hidden underneath work far better, because the elastic does the gripping the hair cannot.
- Freshly washed hair will not hold a ponytail wrap, a French roll, or a knotted bun without product. Either shift the style to day two or build grip first with a texture spray at the roots.
- Layered cuts with short internal layers shed pieces out of every updo. That is the cut working as designed, so plan on pinning strays rather than fighting them, or choose a style that uses those pieces at the front deliberately.
- Hair shorter than the collarbone cannot make a full bun no matter how it is wrapped. Half-up knots, clips, and scarves are the short-hair equivalents, and they hold better than a bun would anyway.
- Tight braids worn daily on the same part line cause tension damage at the hairline over months. Rotate the part and alternate with looser styles rather than wearing one tight braid pattern every day.
FAQ
What Is the Easiest Cute Hairstyle for Beginners?
The twisted half-up knot is the fastest one to get right, since it needs no braiding skill and takes under two minutes. Take a section from each temple, twist them toward each other, tie them in a single knot, and pin the ends. If it slips, your hair is too clean rather than too fine, so add a little dry shampoo at the crown first.
How Do I Make a Hairstyle Last All Day?
Start with grip, not hairspray. Day-two hair, or clean hair prepped with a texture spray or dry shampoo at the roots, holds a shape for hours longer than freshly washed hair. Secure with two smaller elastics rather than one large one, cross your bobby pins in an X where they meet, and finish with a light mist rather than a heavy coat that stiffens the shape.
What Are Some Cute Hairstyles for Work?
Low chignons, sleek ponytails with a wrapped base, and French rolls look polished in most offices without looking formal. Half-up styles work in more relaxed workplaces and hold better on long hair than a full updo. Our roundup of styles that pass in a professional setting covers dress codes in more detail.
Can I Do These Cute Hairstyles on Short Hair?
About a third of them translate directly, and the rest need modification. Half-up knots, slicked styles, clips, and scarves all work at chin length or shorter, and full buns, fishtails, and milkmaid braids do not. Short hair makes up for it in cut-driven styles, where a good pixie or bob looks finished with almost no daily effort.
Which Cute Hairstyles Work Best on Curly Hair?
Anything that works with the curl rather than flattening it. Pineapple-style high buns, half-up styles that keep the length loose, halo braids, and curly bobs with a deep side part all keep the pattern intact. Avoid brushing curls into a sleek ponytail while dry, since that breaks up the clumps and creates frizz that no product fixes afterward.
How Do I Stop Bobby Pins From Sliding Out?
Insert them wavy side down against the scalp, which most people get backward, and push them in toward the head rather than along the surface. For real hold, cross two pins in an X shape at the anchor point instead of using one. Spraying pins with hairspray and letting them dry for ten seconds before use adds enough grip to keep them in fine hair.
The most useful thing you can do with a list of cute hairstyles is pick three: one that takes two minutes, one for a night out, and one cut that styles itself. Practice the quick one until you can do it without a mirror, and bring the cut to your stylist with a clear sentence about how much daily effort you actually want to spend.
Hair results vary based on your natural hair type, texture, density, and condition. Always consult with a licensed hairstylist before making significant changes, especially with chemical treatments or dramatic length changes. Photos may show styled results that require professional tools and products to replicate.