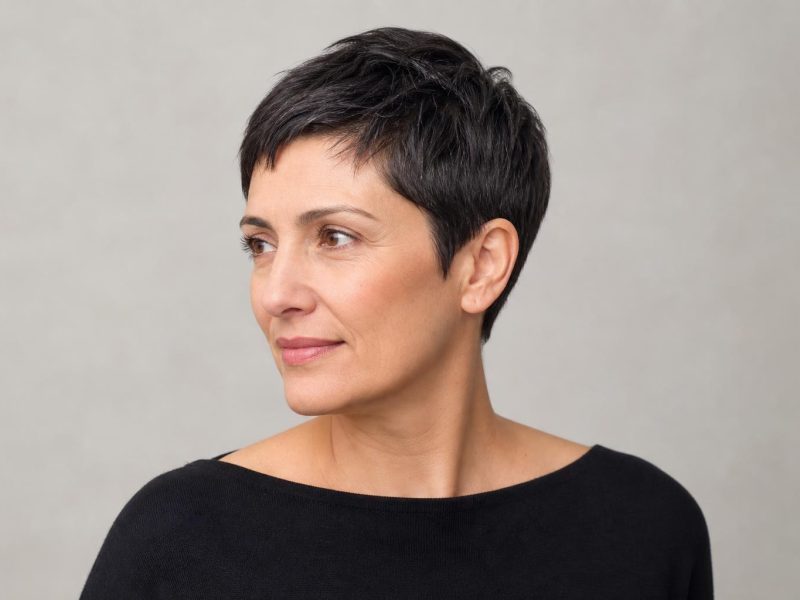
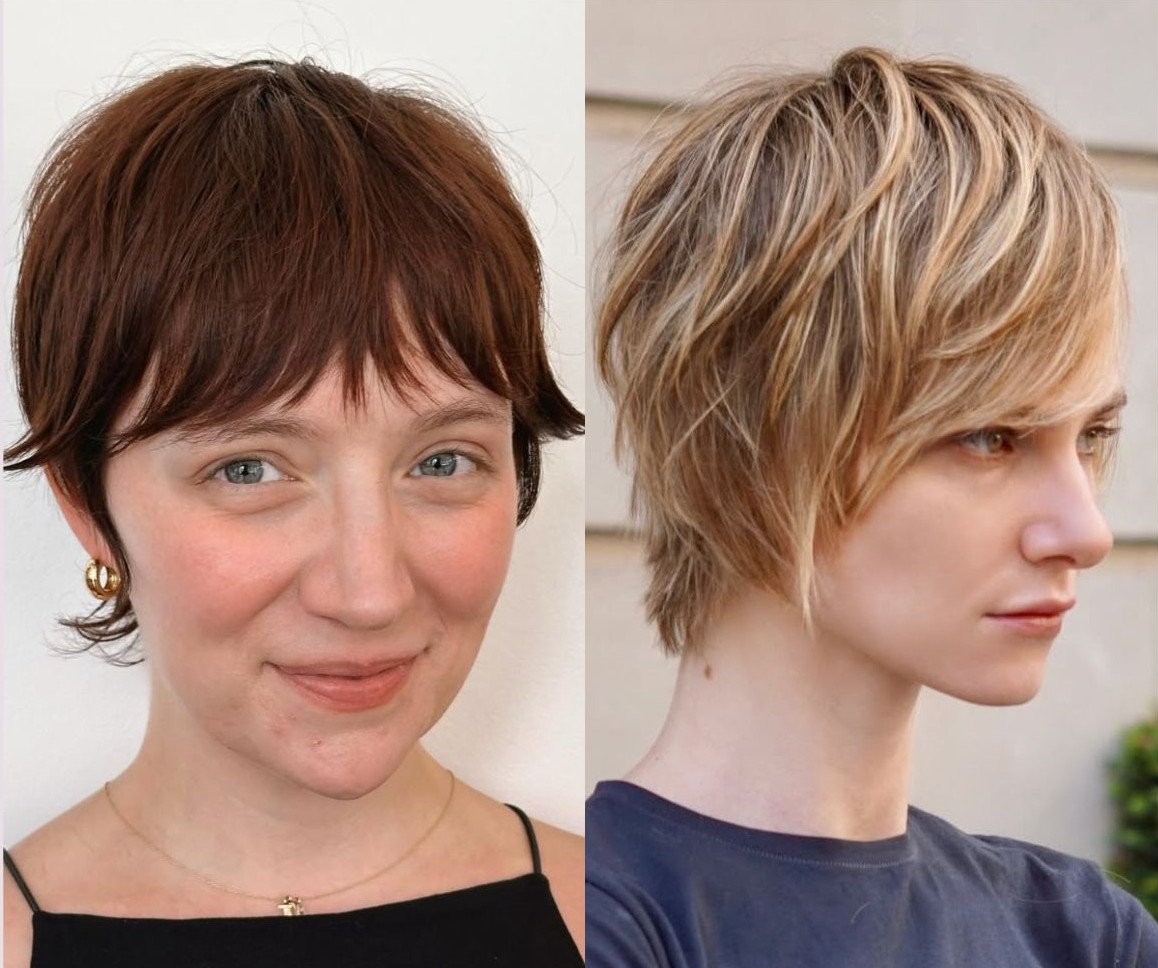
A stage-by-stage plan for growing out your pixie — with strategic trims, transitional cuts, and styling techniques that make every in-between length look like it was the goal all along.
Growing out a pixie cut takes roughly 6 to 12 months to reach bob length, and the difference between a smooth transition and a frustrating one comes down to how you manage each stage, not how fast your hair grows. The average growth rate is about half an inch per month, which means every trim, product choice, and styling decision either moves you forward or sets you back.
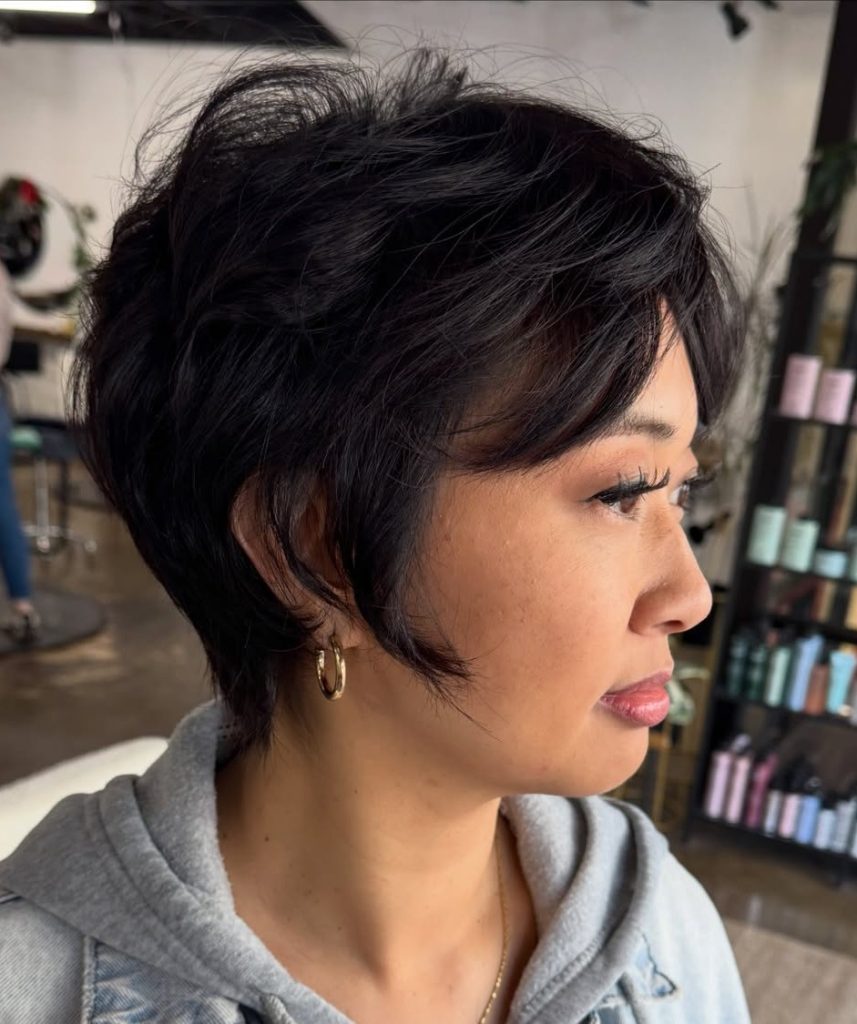
This guide covers a month-by-month grow-out timeline with specific haircut milestones, strategic trimming techniques that prevent the dreaded mullet, transitional cuts for every phase, styling methods for in-between lengths, and the exact salon language to use at each appointment. Whether you’re growing a classic cropped pixie into a bob or heading toward shoulder-length hair, every stage here is designed to look intentional.
| Factor | Details |
|---|---|
| Timeline | 6–12 months to bob length; 12–18 months to shoulder length |
| Trim frequency | Nape clean-ups every 4–6 weeks; full reshaping every 8–10 weeks |
| Key products | Texturizing paste, lightweight mousse, heat protectant spray, bobby pins |
| Hardest phase | Months 3–5, when the back outgrows the top and sides |
| Best for | All hair types; straight, wavy, and curly each need a slightly different trimming strategy |
The Pixie Grow-Out Timeline: What to Expect Month by Month
Knowing what’s coming at each stage takes most of the anxiety out of the process. Hair doesn’t grow evenly across your head. The nape and sides tend to grow faster than the crown, which is why an untrimmed grow-out quickly starts looking like a mullet. Here’s what each phase actually looks like and how to handle it.
Months 1–3: The Textured Crop Phase
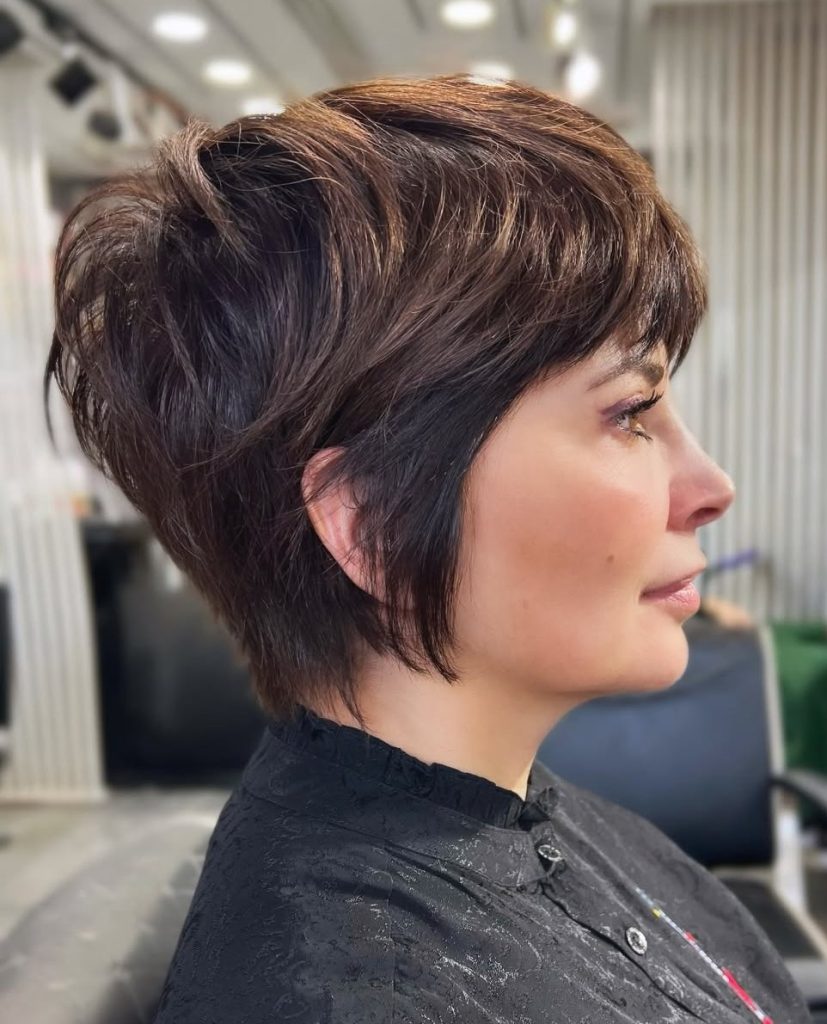
Your pixie starts losing its sharp edges and gaining a softer, shaggier shape. The top still has some length advantage, but the sides and back are catching up fast. This is actually one of the easier phases because a little texturizing paste pushed through the top creates a messy, editorial look without much effort. Stylists often call this the “grown-out crop” stage, and it has its own charm. Think of it as a relaxed version of your original cut, not a failed one.
At this stage, ask your stylist to clean up the nape and around the ears while leaving the top and crown completely untouched. The goal is to prevent bulk at the back from outpacing the rest. If you have fine hair, you might skip even the nape trim and let everything grow together, since fine strands rarely create that flip-out bulk at the neckline.
Months 4–6: The Bixie and Shaggy Pixie Phase
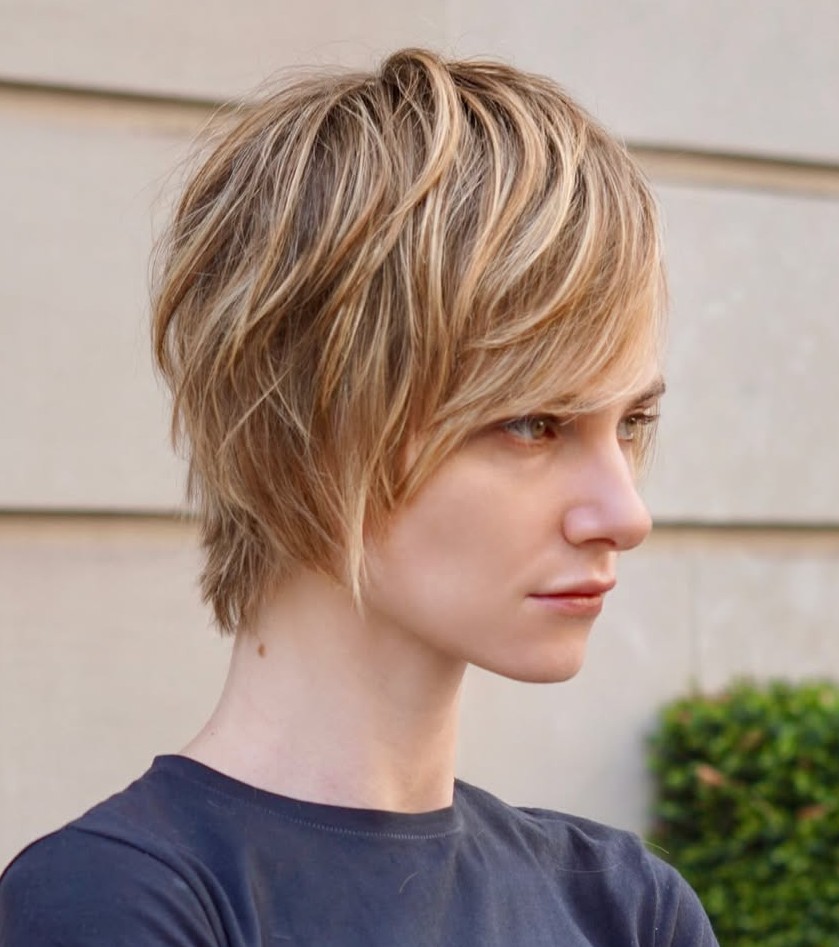
This is the stage most people dread — and the one where strategic trimming matters most. The back and sides have grown enough to start curling outward, flipping at the nape, or creating volume in the wrong places. Meanwhile, the top might be flopping into your eyes without enough length to tuck behind your ears. If you’ve been considering the increasingly popular bixie, this is your natural entry point.
A skilled stylist can reshape what you have into a deliberate bixie or ear-length shag by texturizing the sides and point cutting the perimeter. The front pieces should be left completely alone. They need every millimeter to reach chin length. Curly and wavy textures actually have an advantage here because natural texture disguises uneven lengths. Straight hair benefits from a deep side part to create the illusion of a longer front.
Months 7–12: From Short Bob to Lob Territory
Once your hair clears chin length, the hardest part is behind you. The front and sides have caught up to the back, and you finally have a recognizable shape to work with — a short bob or, a few months later, a jaw-length bob. Styling gets dramatically easier here because you have enough length for a round brush, a flat iron, or even a loose wave with a curling wand.
This is also when many people accidentally sabotage their progress by getting an overly aggressive trim. Resist the urge to take off more than half an inch at any appointment. A light dusting of the ends and some internal layering to remove bulk is all you need to keep the shape clean while retaining maximum length. If you’re growing toward a classic bob silhouette, ask your stylist to maintain a one-length perimeter with minimal layering. Stacking or heavy graduation will slow your path to longer hair.

Strategic Trims Are the Secret to a Smooth Grow-Out
The single biggest misconception about growing out a pixie is that you should avoid the salon entirely. Skipping trims doesn’t save time; it creates an unmanageable shape that eventually forces a bigger cut to fix. The trick is asking for the right kind of trim, not a standard haircut.
Nape clean-ups are your most important appointment during the first six months. The hair at your neckline grows fastest and creates a wispy, tapered look that reads as neglected rather than styled. Having your stylist buzz or scissor-trim just the nape every 4–6 weeks keeps the back tight while the top catches up. This is the single most effective technique for avoiding the mullet phase entirely. Stylists who specialize in short hair understand this distinction. When you sit in the chair, say: “I’m growing out my pixie. I only want the nape cleaned up. Don’t touch the top, sides, or front.”
Stylist tip: Bring a photo of where you want to end up (bob, lob, shoulder length) to every appointment. A stylist who sees your end goal can shape each trim as a waypoint, not just a damage-control measure.
Transitional Haircuts That Look Intentional at Every Stage
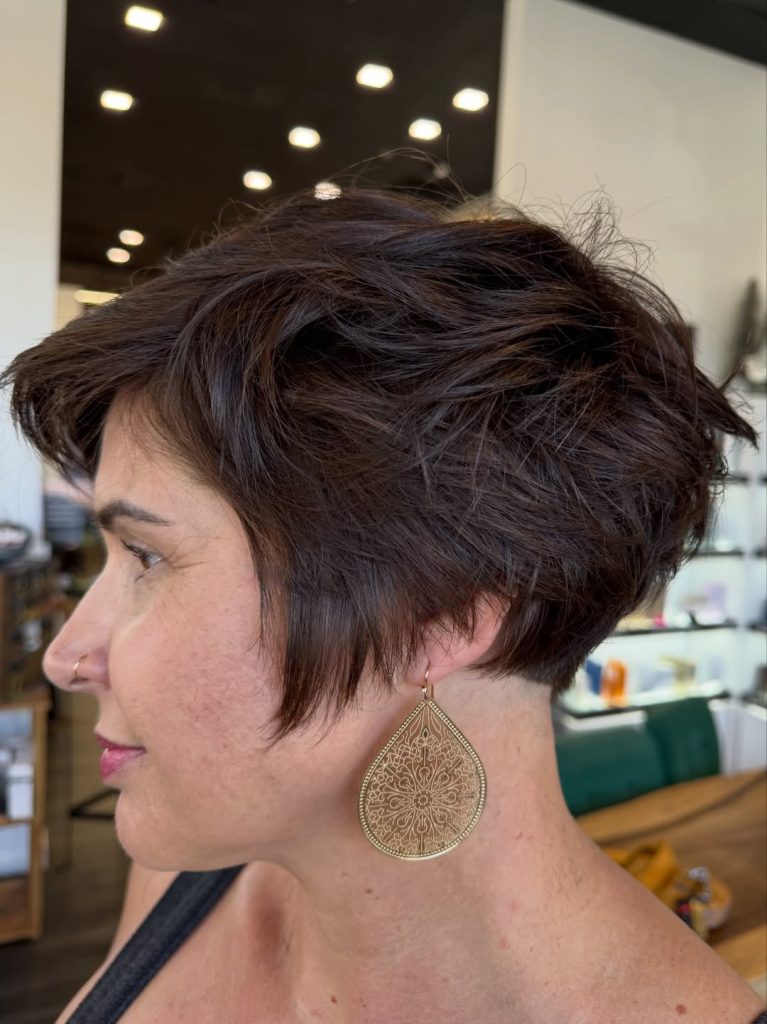
Instead of suffering through shapeless in-between hair, think of the grow-out as a series of deliberate short haircuts, each one slightly longer than the last. Each transitional cut gives you a defined style to wear for 6–8 weeks before you shift to the next one. Here are the cuts that work best at each length, ordered from shortest to longest.
| Stage | Transitional Cut | Approximate Timeline | Best For |
|---|---|---|---|
| Ears still exposed | Textured crop / grown-out pixie | Months 1–3 | All textures |
| Covering ears | Bixie or ear-length shag | Months 3–5 | Wavy and curly textures especially |
| Cheekbone to jaw | Micro bob or French bob | Months 5–7 | Straight to slightly wavy hair |
| Jaw to chin | Chin-length bob | Months 7–9 | All textures |
| Below chin | Lob or textured shag | Months 9–12+ | All textures; add layers for thick hair |
The bixie deserves special attention here because it bridges the hardest gap in the grow-out — the point where your hair is too long for a pixie and too short for a bob. A bixie keeps the volume and texture of a pixie while adding enough length at the front and sides to feel more like a short bob. It’s the cut that makes people think you chose this length on purpose.
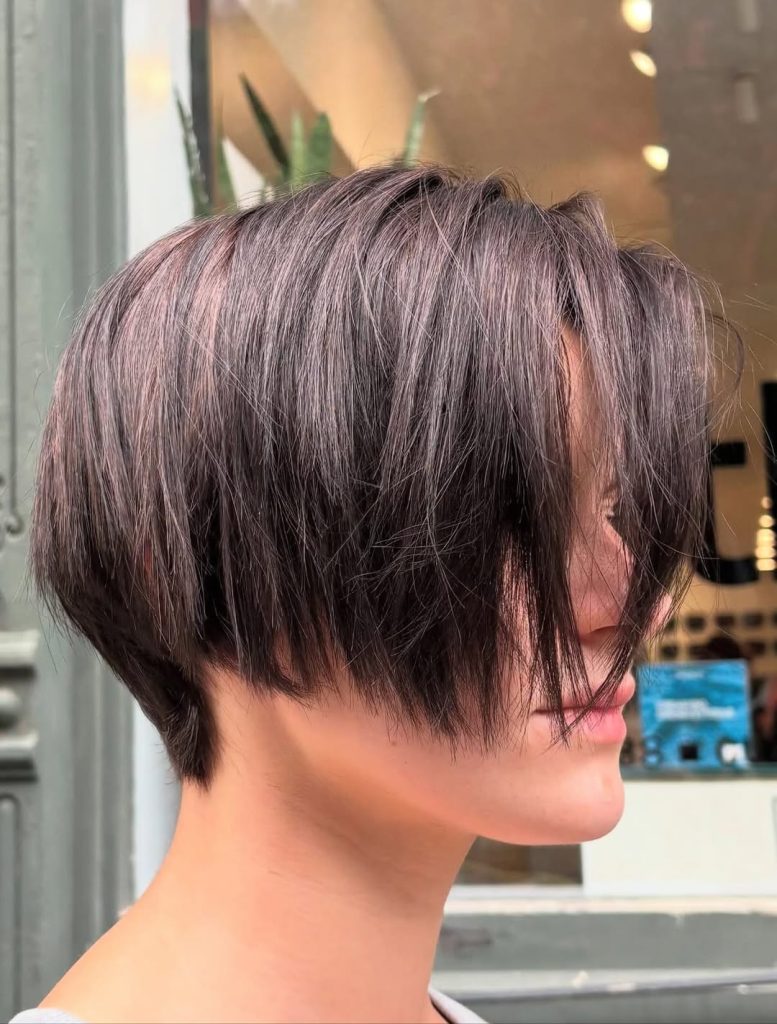
Styling Tips to Make In-Between Lengths Look Intentional
Product and technique matter more during a pixie grow-out than at almost any other hair length. At longer lengths, gravity does most of the work; short to medium lengths need more hands-on direction. Here are the approaches that work best at each stage.
Change Your Part to Change Your Shape
Switching your part is the fastest way to change how your growing pixie looks without cutting anything. A deep side part creates the illusion of longer hair on one side, which adds asymmetry and visual interest during the ear-length stage. Comb all the hair forward first, then sweep the front off to one side. This prevents the mushroom-cap silhouette that happens when you part and brush straight down. Once your hair reaches chin length, experiment with a middle part to see if the new length supports it.
Use the Right Products for Each Length
The product that worked on your original pixie won’t necessarily work at month four. At the crop stage (months 1–3), a matte texturizing paste or dry shampoo powder gives grip and separation. During the bixie phase (months 3–6), switch to a lightweight mousse or volumizing spray applied to damp roots before blow-drying. This lifts the crown and prevents the sides from lying flat against your head. Once you reach bob territory (month 7+), a flexible-hold hairspray and a smoothing serum handle flyaways and add polish without weighing down the new length.
Stylist tip: Avoid heavy creams, oils, and waxes during the grow-out. They weigh down short hair and make it look greasy faster. Stick to products labeled “lightweight,” “volumizing,” or “texturizing” — anything with flexible hold rather than stiff control.
Blow-Dry with Direction, Not Just Heat
A five-minute blow-dry with a small round brush (1-inch barrel) can completely transform an awkward grow-out stage into a polished look. Direct the hair away from your face at the temples and back toward the crown — this creates lift where you need it and prevents the sides from flipping outward. If you don’t own a round brush, use your fingers to lift the roots while drying upside down, then flip back and smooth the perimeter with the nozzle pointing downward. Drying time at this length is minimal, 5–10 minutes at most, so the effort-to-impact ratio is extremely high.

Accessories and Tricks for the Toughest Days
Even with the best trim schedule and perfect products, some days your growing pixie will refuse to cooperate. That’s when accessories earn their place. The goal isn’t to hide your hair. It’s to incorporate accessories as a styling choice that happens to solve a practical problem.
Bobby pins and mini clips are essential during months 3–6 when the sides aren’t long enough to tuck behind your ears. Pin one side back flat against your head for an asymmetric look, or use a row of metallic clips along one temple for an editorial effect. Padded headbands work once you have enough length to push back (usually around month 4). They hold back awkward front pieces and add a polished vibe on low-effort days. Silk scarves tied as headbands or wraps cover multiple sins at once: uneven lengths, oily roots between washes, and that “nothing is working” frustration that hits around month five.
A common mistake is buying accessories designed for long hair. Skip claw clips and most hair ties until you’re firmly in bob territory. They’ll slide out of shorter hair and create more frustration. Flat clips, snap clips, and bobby pins are your tools for the first six months.
Hair Health and Growth Support During the Transition
Growing out a pixie is one of the few times in hair care where every fraction of an inch counts, which means protecting what you have from damage is as valuable as encouraging new growth. Heat damage, breakage from rough styling, and chemical processing can each take back the progress that took weeks to gain.
Reduce heat tool usage to 2–3 times per week max, and always use a heat protectant spray before blow-drying or flat ironing. Switch to a sulfate-free shampoo if you haven’t already. Sulfate-based cleansers strip moisture from the cuticle layer, leaving short hair especially prone to dryness and static. A weekly deep conditioning mask (leave it on for 10–15 minutes under a shower cap) keeps the ends pliable and prevents the brittleness that makes short hair look straw-like.
From a nutrition standpoint, hair growth depends on adequate protein, iron, biotin, and zinc. You don’t need expensive supplements if your diet includes eggs, leafy greens, nuts, and lean protein. But if you suspect a deficiency, a blood panel from your doctor is more useful than a random supplement stack. Be realistic about what supplements can and can’t do: even the best hair vitamins won’t double your growth rate, which is largely determined by genetics.
Common Mistakes That Stall a Pixie Grow-Out
Knowing what not to do saves as much time as knowing what to do. These are the patterns stylists see most often in clients who end up frustrated with the process. And each one is completely avoidable.
Cutting too much at reshaping appointments. A “trim” from a stylist unfamiliar with your grow-out plan can easily remove two months of progress. Always specify the maximum amount you’re willing to lose (in fractions of an inch, not vague terms like “just a little”) and confirm the plan before any scissors touch your hair. If a stylist suggests a dramatic reshape, get a second opinion before committing.
Ignoring the nape entirely. On the opposite end, some people avoid all trims and end up with a mullet-adjacent shape that eventually requires a bigger cut to correct. The nape is the only area that should be trimmed regularly. Letting it grow unchecked is the fastest path to the shape most people are trying to avoid.
Bleaching or chemical processing mid-grow-out. This is the worst time to try a dramatic color change. Chemical processing weakens the hair shaft, increases breakage, and can turn fine in-between hair into something brittle and unmanageable. If you want to add color, stick to deposit-only demi-permanent formulas or gentle highlights, not a full bleach-and-tone session. Save the major color transformation for when your hair reaches its target length and has the structural integrity to handle it.
Comparing your timeline to someone else’s. Hair grows at different rates depending on genetics, health, age, and texture. Curly hair appears to grow more slowly because of shrinkage. A curl that’s three inches stretched may only look one and a half inches long. Judging your progress against a friend with straight hair is a recipe for unnecessary frustration.
What to Tell Your Stylist at Each Stage
One of the biggest reasons the grow-out goes sideways is miscommunication at the salon. If you say “just clean it up,” your stylist might interpret that as a standard trim that takes off half an inch everywhere, which is the opposite of what you need. Specific language prevents this.
| Phase | What to Say |
|---|---|
| Months 1–3 | “I’m growing this out toward a bob. Only trim the nape and behind the ears. Don’t touch the top, crown, or front hairline at all.” |
| Months 4–6 | “Can you reshape this into a bixie or short shag? Keep maximum length on top and in front, texturize the sides, and clean up the nape so it doesn’t flip.” |
| Months 7–9 | “I’m heading toward a chin-length bob. Just dust the ends — no more than a quarter inch — and add some internal layers if it’s feeling bulky.” |
| Months 9–12 | “Light trim on the perimeter only. I want to keep as much length as possible. If the shape needs work, use texturizing or point cutting rather than removing length.” |
Bringing a reference photo to every appointment helps, but make sure the photo reflects your current target. If you’re at month five, bring a photo of the bixie or short bob you want next, not the lob you’re aiming for in a year. Showing a stylist the immediate next step produces more accurate results than showing them the finish line.
FAQ
How Long Does It Take to Grow Out a Pixie Cut into a Bob?
Most people reach a chin-length bob within 6 to 9 months, depending on their starting length and hair growth rate. Hair grows an average of half an inch per month, but you’ll lose some progress to necessary trims along the way — typically a quarter inch every 8 weeks. Curly hair may take the same amount of time in actual growth but appear shorter due to curl shrinkage, so factor that into your expectations.
Should I Get My Hair Cut While Growing Out a Pixie?
Yes, but only specific areas. Regular nape clean-ups every 4–6 weeks prevent the mullet look without sacrificing overall growth. Full reshaping appointments should happen every 8–10 weeks, and only a stylist who understands your grow-out plan should handle them. Ask for texturizing and point cutting over blunt trimming, since those techniques remove bulk without shortening the perimeter.
Can I Grow Out a Pixie Cut with Curly Hair?
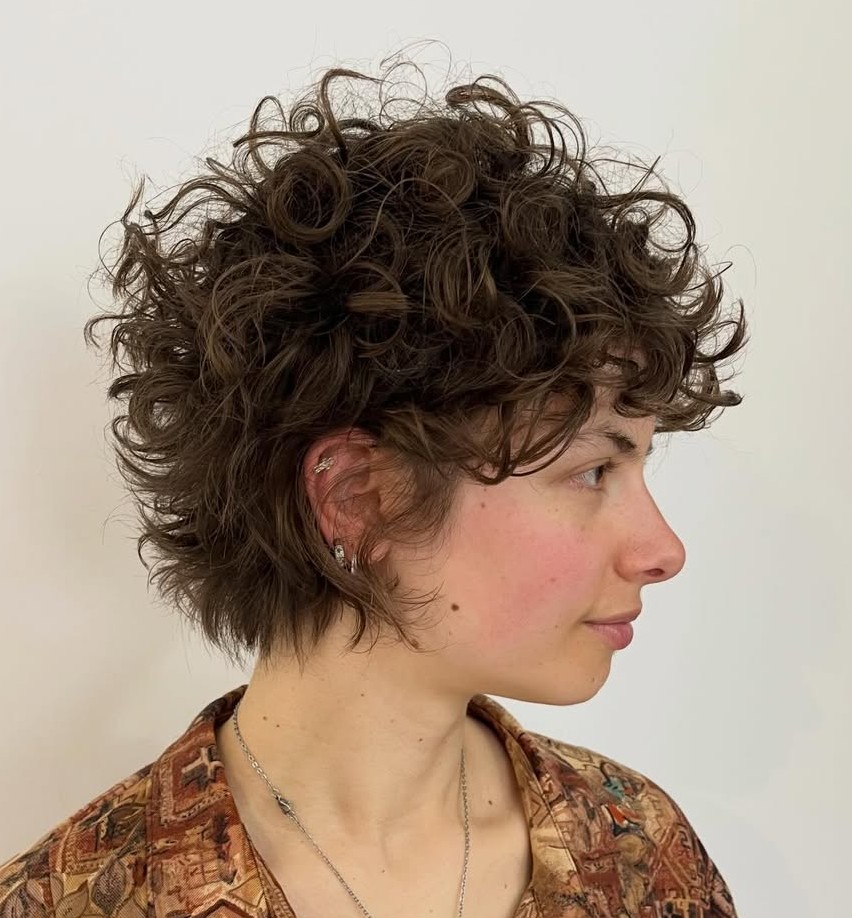
Absolutely! Curly textures actually disguise uneven lengths better than straight hair, which makes the awkward stages less noticeable. The key difference is that curly hair should be trimmed dry (not wet) so your stylist can see the real shape, and you should avoid brushing it straight to check length. Let the curls do their thing and embrace the natural volume. A curly bixie or shaggy crop looks intentionally styled in ways straight hair at the same length doesn’t.
What Products Are Best for Growing Out a Pixie?
The best product depends on your growth stage. During months 1–3, a matte texturizing paste gives grip and definition to a short crop. During months 3–6, switch to a lightweight volumizing mousse for lift at the roots. After month 7, a flexible-hold hairspray and smoothing serum handle flyaways without flattening the new length. Across all stages, avoid heavy creams and oils that weigh down short hair. Stick to anything labeled “lightweight” or “volumizing.”
How Do I Avoid the Mullet Stage When Growing Out a Pixie?
The mullet happens because the nape grows faster than the top and sides. The fix is simple: keep the back short with nape trims every 4–6 weeks while leaving the rest completely alone. For the first four months, focus all trimming on the back and below the ears. Once the top catches up to the back (usually around month 6–7), you can start trimming for overall shape instead of damage control.
Is Growing Out a Pixie Cut Worth It?
That depends entirely on what you want from your hair. The grow-out does require 6–12 months of active management, regular salon visits, and some styling effort on difficult days. On the other hand, every stage of a well-managed grow-out is its own distinct hairstyle: textured crop, bixie, micro bob, chin-length bob. So you’re essentially getting four or five different looks over the course of a year. Many people find the journey more interesting than they expected once they stop treating it as a waiting period and start treating it as a style rotation.
Will Taking Biotin Help My Pixie Grow Out Faster?
Biotin supplements may support hair growth if you have a genuine biotin deficiency, but most people get enough biotin from food. Research on biotin supplementation in people with adequate levels shows minimal impact on growth rate. A balanced diet with adequate protein, iron, and zinc does more for growth speed than any single supplement. If you suspect a nutritional deficiency is slowing your growth, a blood panel from your doctor is more informative than guessing.

Growing out a pixie cut is one of those processes where planning beats patience. The timeline is roughly the same for everyone (about half an inch per month), but the experience varies wildly depending on whether you manage each stage deliberately or just let it happen. With the right stylist, a trim schedule focused on the nape, and a product kit that evolves as your hair grows, every stage of growing out a pixie cut has the potential to feel like a style you chose, not a phase you’re enduring. The awkward stage only exists when you don’t have a plan to get through it.
Hair results vary based on your natural hair type, texture, density, and condition. Always consult with a licensed hairstylist before making significant changes, especially with chemical treatments or dramatic length changes. Photos may show styled results that require professional tools and products to replicate.