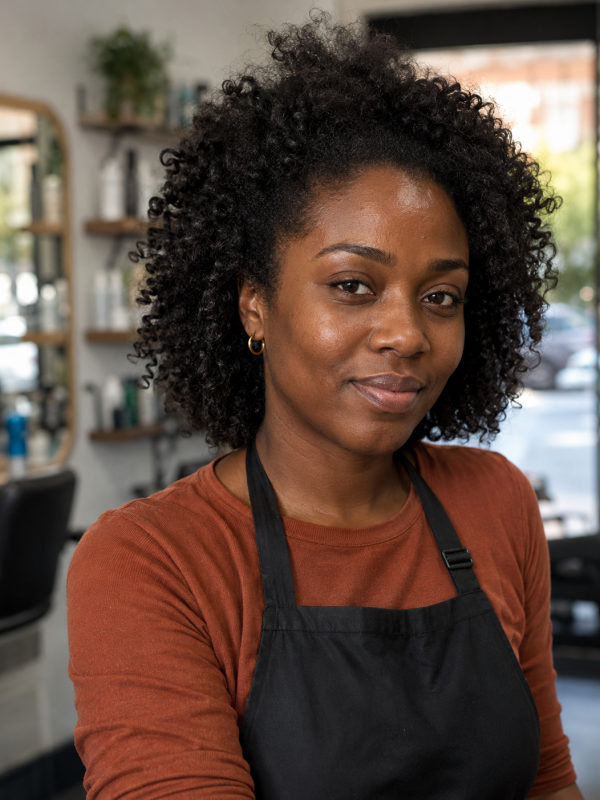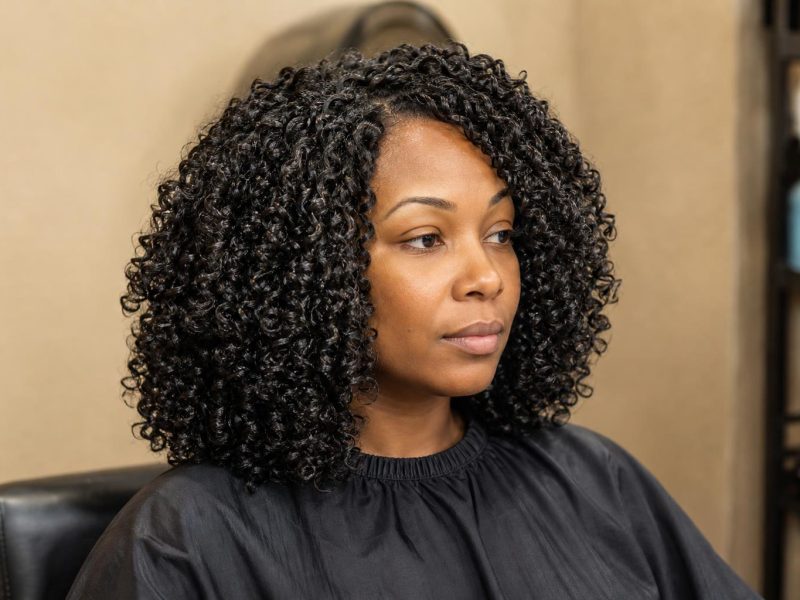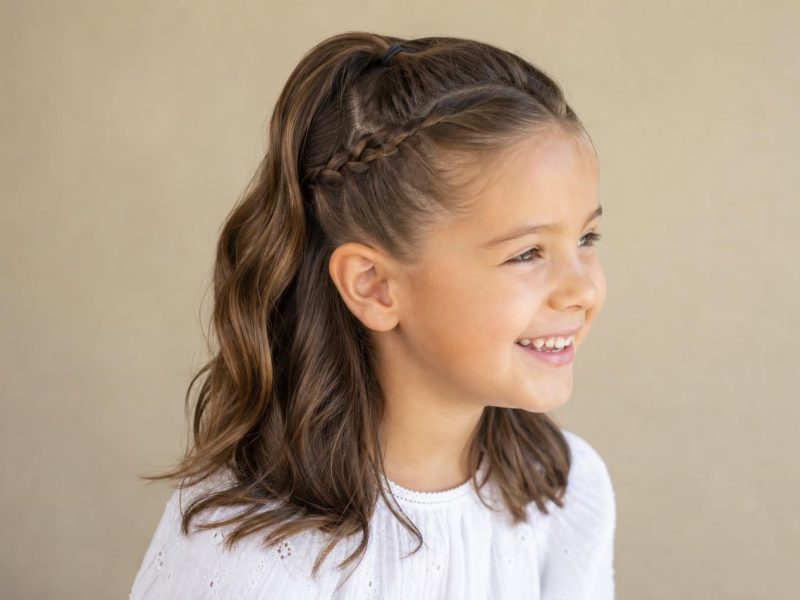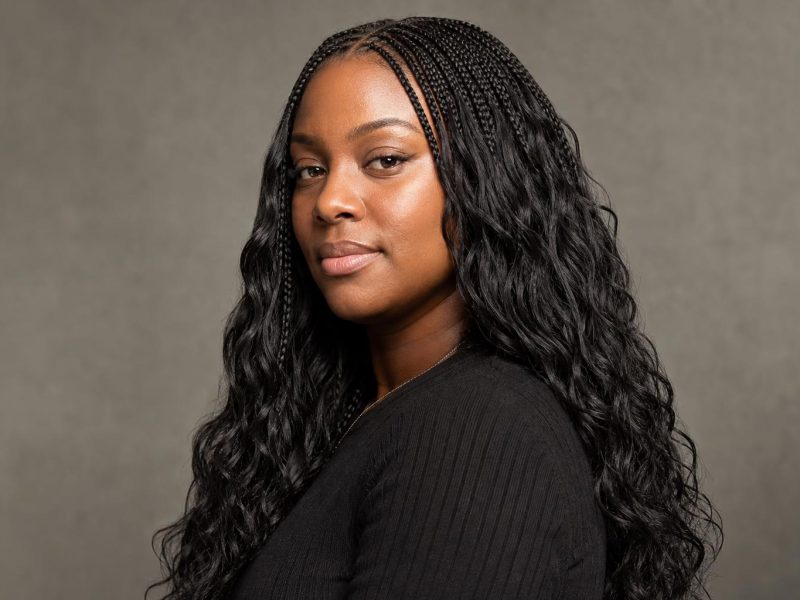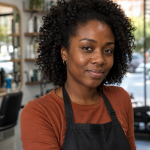
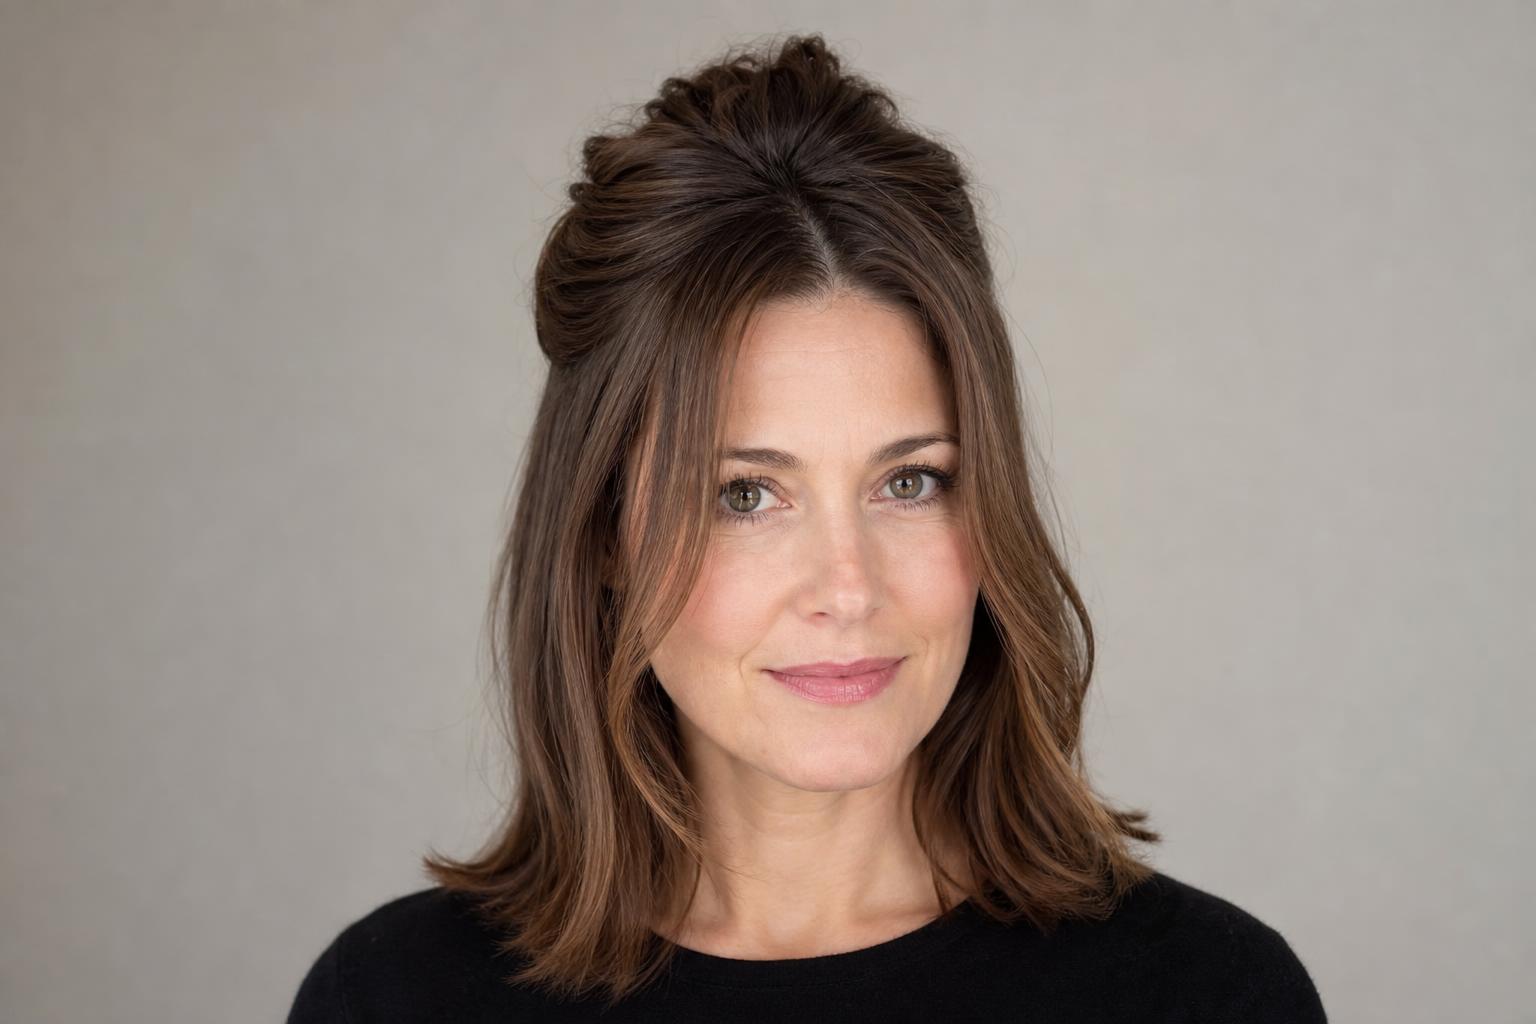
A webcam removes about a third of your hair’s volume before anyone sees you.
Hair that looks fine in the bathroom mirror goes flat on video because a webcam compresses depth, flattens shadow, and lights you from a single direction. The styles that survive that treatment all share one feature: visible structure near the face, where the camera is actually looking. Here are 20 hairstyles built around how the lens behaves, sorted by length and by how much time you have before the call starts.
The gallery covers down styles, half-up options, fixes you can do between back-to-back meetings, and short hair. After it you will find a breakdown of exactly what the camera does to hair and how to counter each effect, a framing table matched to face shape, realistic hold times, and the styles that work against you on video. For styles judged against an office standard rather than a camera, our collection of work-appropriate hairstyles beyond the bun covers the in-person side.
| Factor | Details |
|---|---|
| Best for | Remote and hybrid work, client calls, webinars, recorded video |
| Prep time | 15 seconds to 10 minutes depending on the style |
| What matters | Crown volume, face framing, and the top third of your head |
| Avoid if | Your camera is below eye level and cannot be raised |
| Kit needed | Claw clip, dry shampoo, light oil, a comb, bobby pins |
Down Styles That Hold Up on a Webcam
Wearing hair down on camera is the default and the hardest to get right, because the lens turns loose hair into a single dark mass without separation. The fix is always the same in principle: create contrast the camera can register, either through volume at the roots or through defined pieces at the front. Everything else is detail.
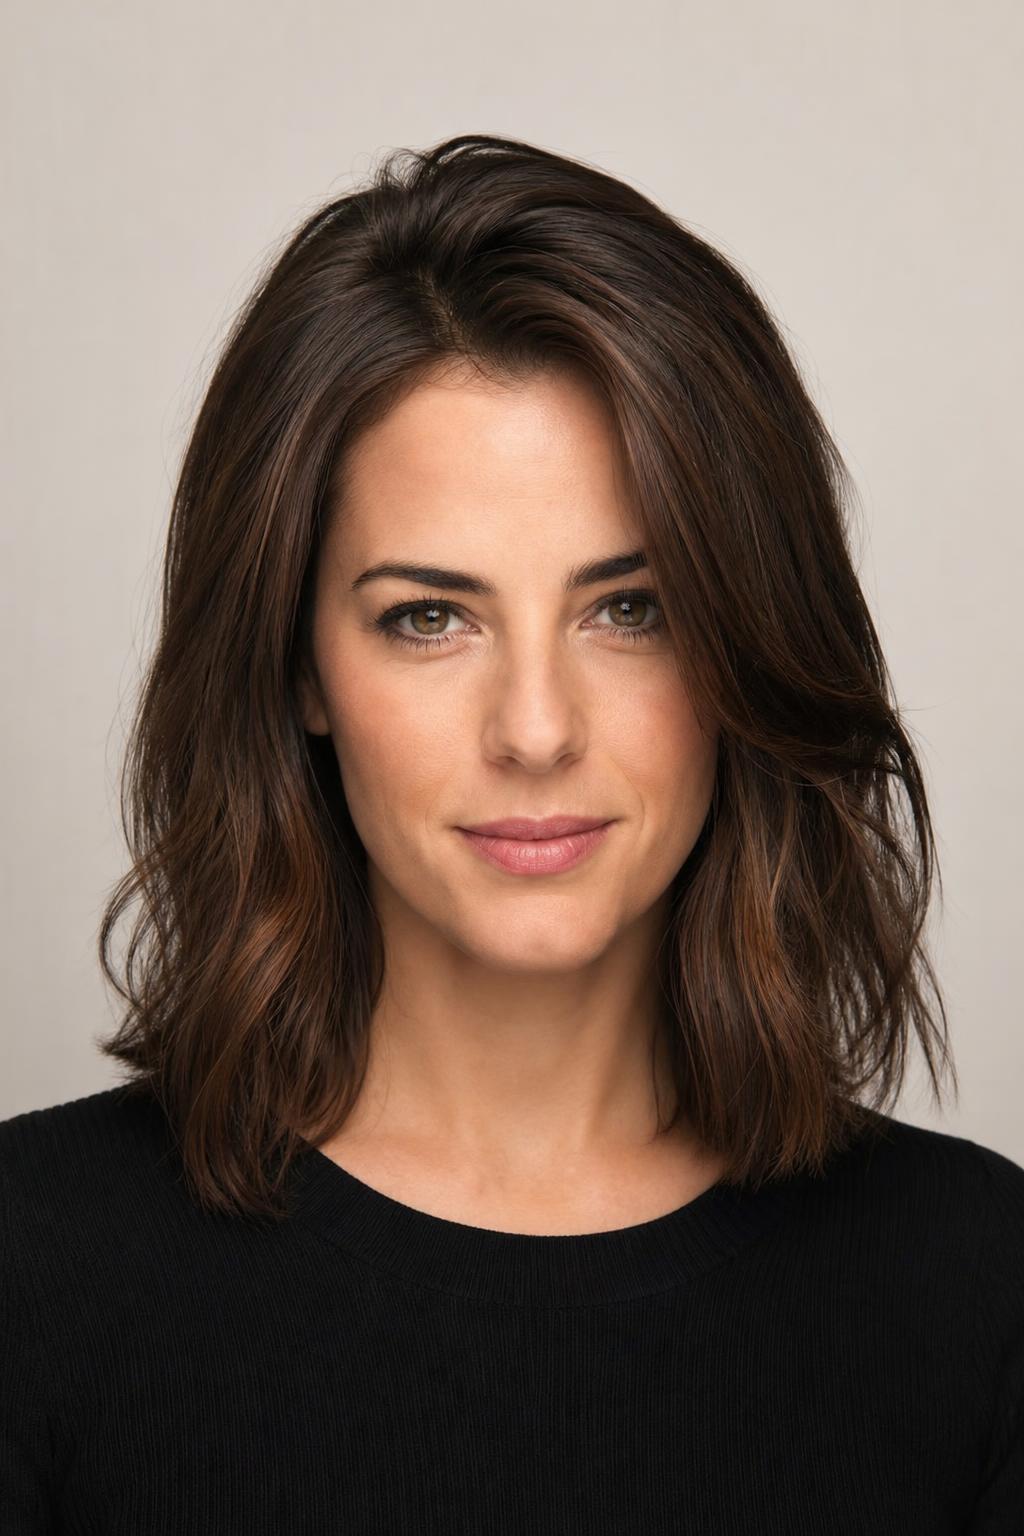
1. Blow-Dried Volume at the Crown
Direct the dryer at the roots of the top section while lifting that section straight up, holding for 15 seconds per piece, then let it cool in place before releasing. Cooling under tension is what sets the lift. Skipping that step is why root volume collapses within the hour.
2. Deep Side Part for Round Faces
A camera exaggerates width, so round faces gain the most from a part moved well off center, which introduces a diagonal that a straight-on lens cannot flatten. Set the part above the arch of one eyebrow. The heavier side falling across the forehead does more visual work on video than in person.

3. Root-Lifted Style for Fine Hair
Fine hair suffers most on camera because there is little natural separation for the lens to pick up. A volumizing powder worked into the roots of the top two inches only, never the lengths, adds grip without the greasy shine a spray can create under a ring light. Two shakes is plenty.

4. Loose Waves Curled Away from the Face
Wrap the iron backward on the two front sections and forward on everything else, which opens up the area around the face instead of closing it in. Use a 1.25-inch barrel and leave the last inch straight. Waves that curl toward the face shrink your visible face width on camera, which is the opposite of flattering.
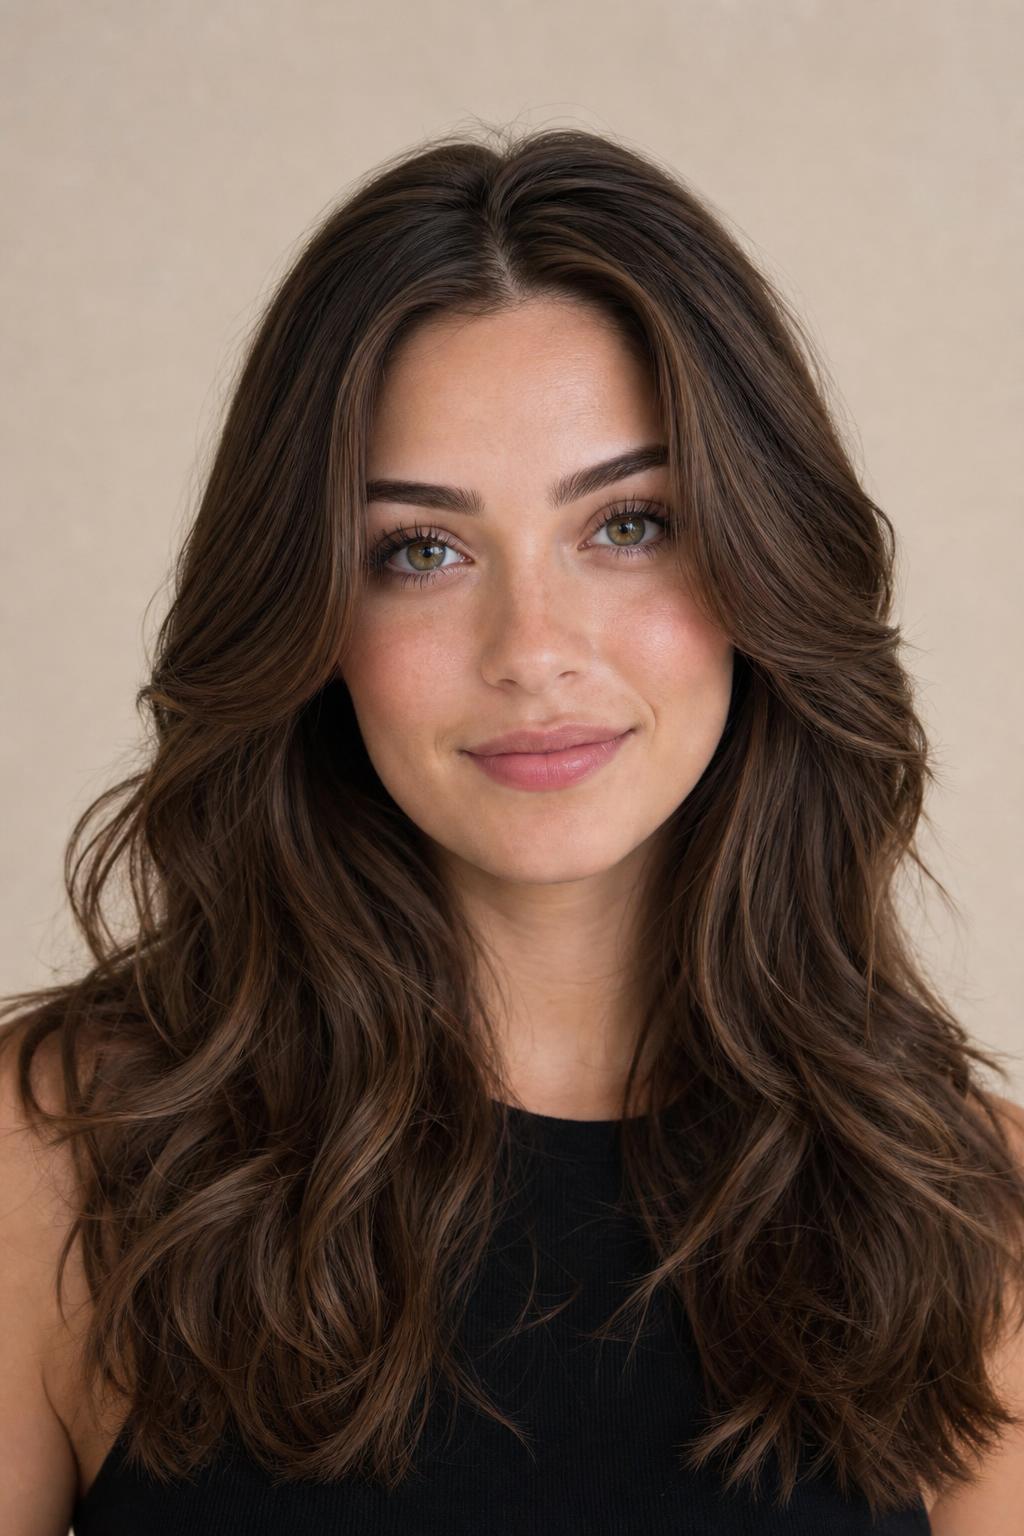
5. Second-Day Texture with Dry Shampoo
Day-two hair photographs better than freshly washed hair, because the camera reads clean hair as flat and slightly greasy hair as glossy. Apply dry shampoo the night before rather than the morning of, so it absorbs fully and leaves no white cast under bright light. This buys a third and often a fourth day, and what that texture can do varies by shape, which our breakdown of second-day hair by cut type works through.

6. Single-Depth Color for Camera Clarity
Heavy contrast between light and dark pieces breaks up badly on compressed video, where the highlights blow out and the lowlights fill in as solid black. Color kept within two levels of itself holds its shape on camera. If you have chunky highlights, a gloss to close the gap costs 20 minutes and fixes it entirely.

Half-Up and Framing Styles for Camera
Half-up styles are the strongest single category for video, because they give the lens a defined outline at the top of the head while keeping softness around the jaw. A full updo can look severe when a camera flattens it, and fully loose hair merges into the background. Half-up splits the difference and takes under a minute. Coils and braids need a different section size and hold, which our gallery of half-up half-down styles for Black hair covers directly.
7. Half-Up with Face-Framing Pieces
If you want a cut that supports this, ask for face-framing pieces starting at the cheekbone and cut on a soft diagonal rather than a blunt line. The wording is “long face-framing, nothing shorter than my chin.” Blunt-cut short framing pieces stick straight out under camera lighting.

8. Half-Up Bun over a Full Ponytail
Where a full ponytail removes all width from the sides of your head and can make the face look wider on camera, a half-up bun keeps the lower length in frame. The outline stays balanced. It is the single easiest swap for anyone whose default is a ponytail.
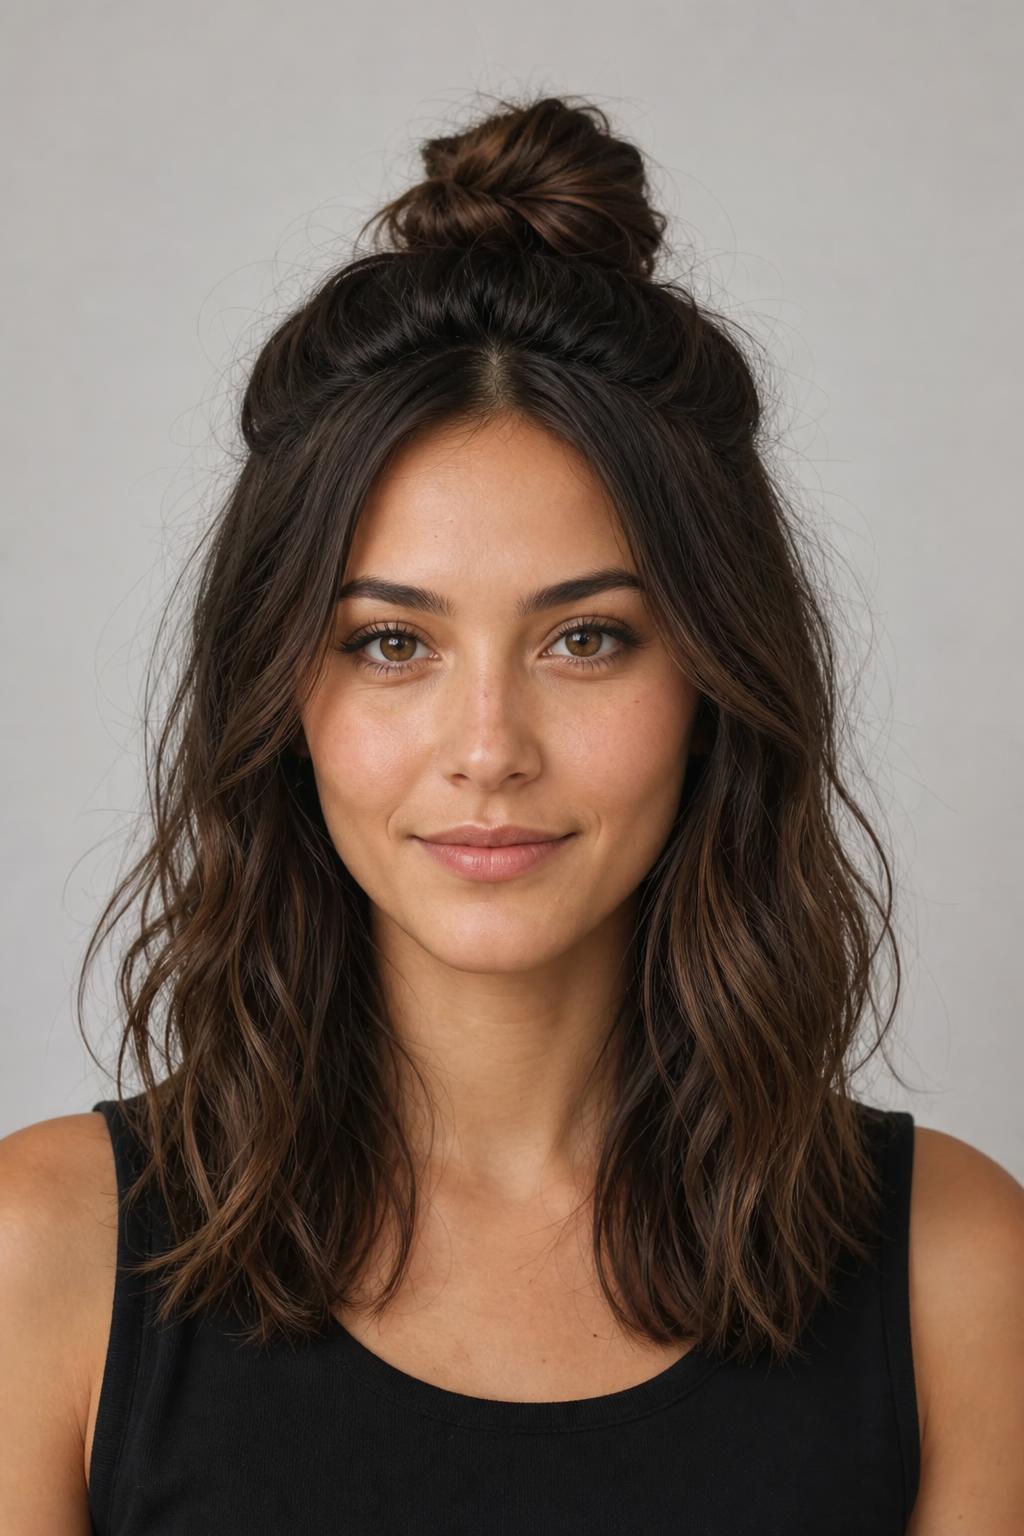
9. Twisted Half-Up Pinned Low
Twist a section from each temple, cross them at the back, and pin below the crossing point rather than through it. Pinning low keeps the crown domed, which the camera registers as height. A high pin flattens the top of the head into the background.
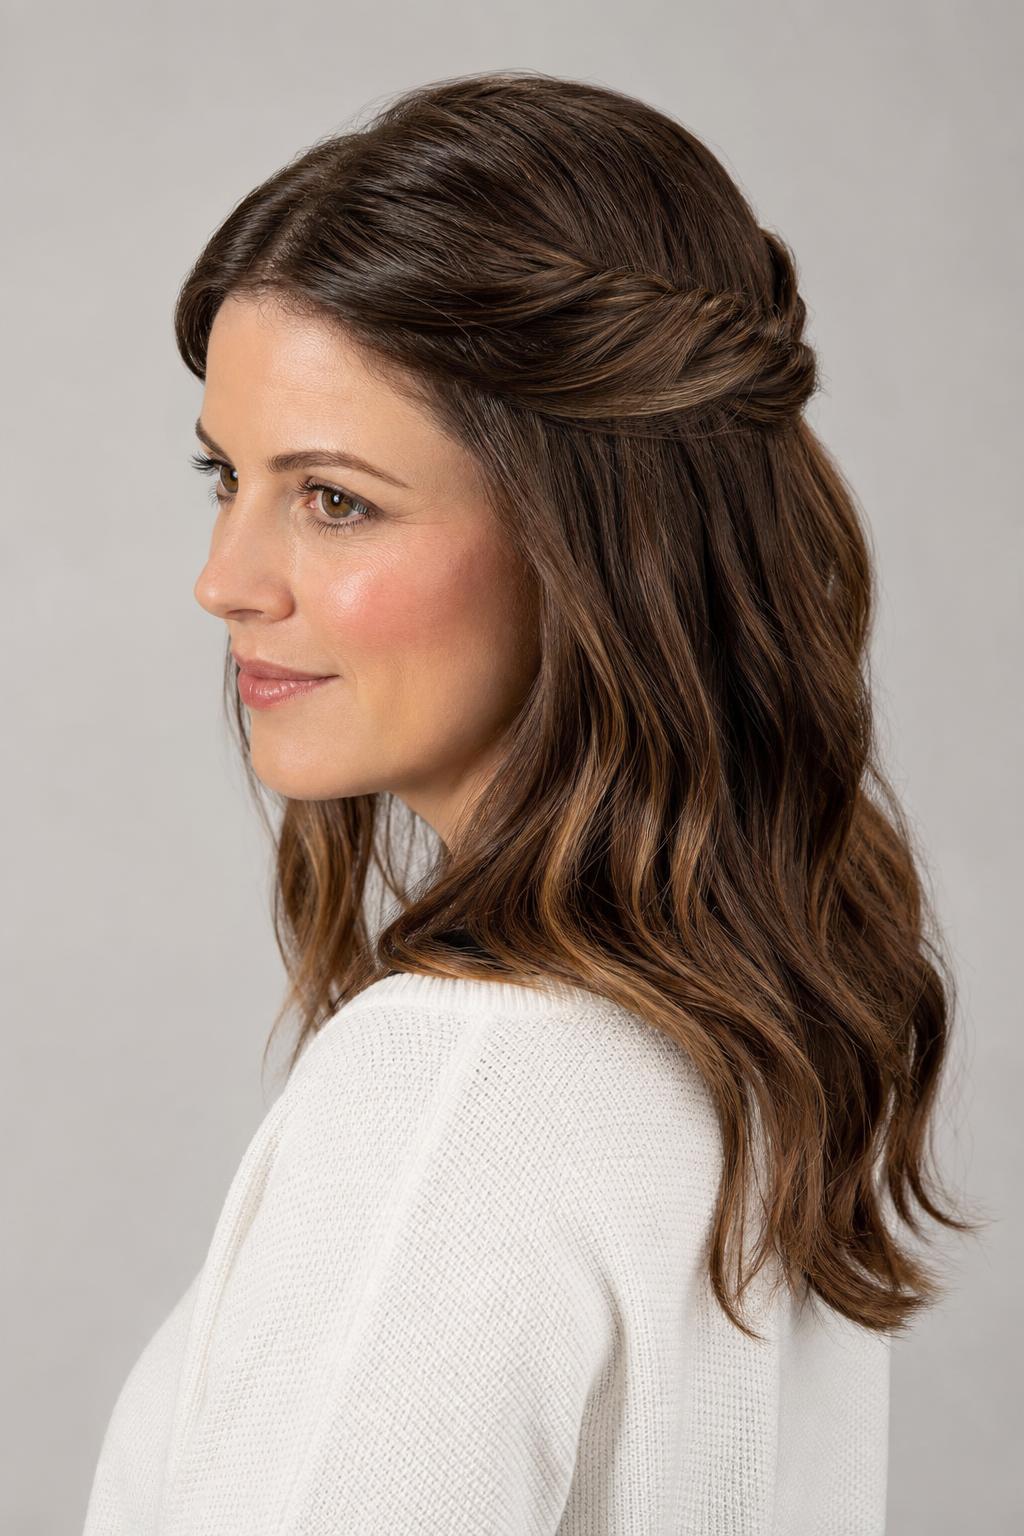
10. Half-Up for a Long Face
Long and oblong faces get longer on camera, since the lens stretches whatever is closest to the center of frame. Keep the half-up section flat rather than lifted and let width build at ear level instead. Adding height at the crown here works directly against you.
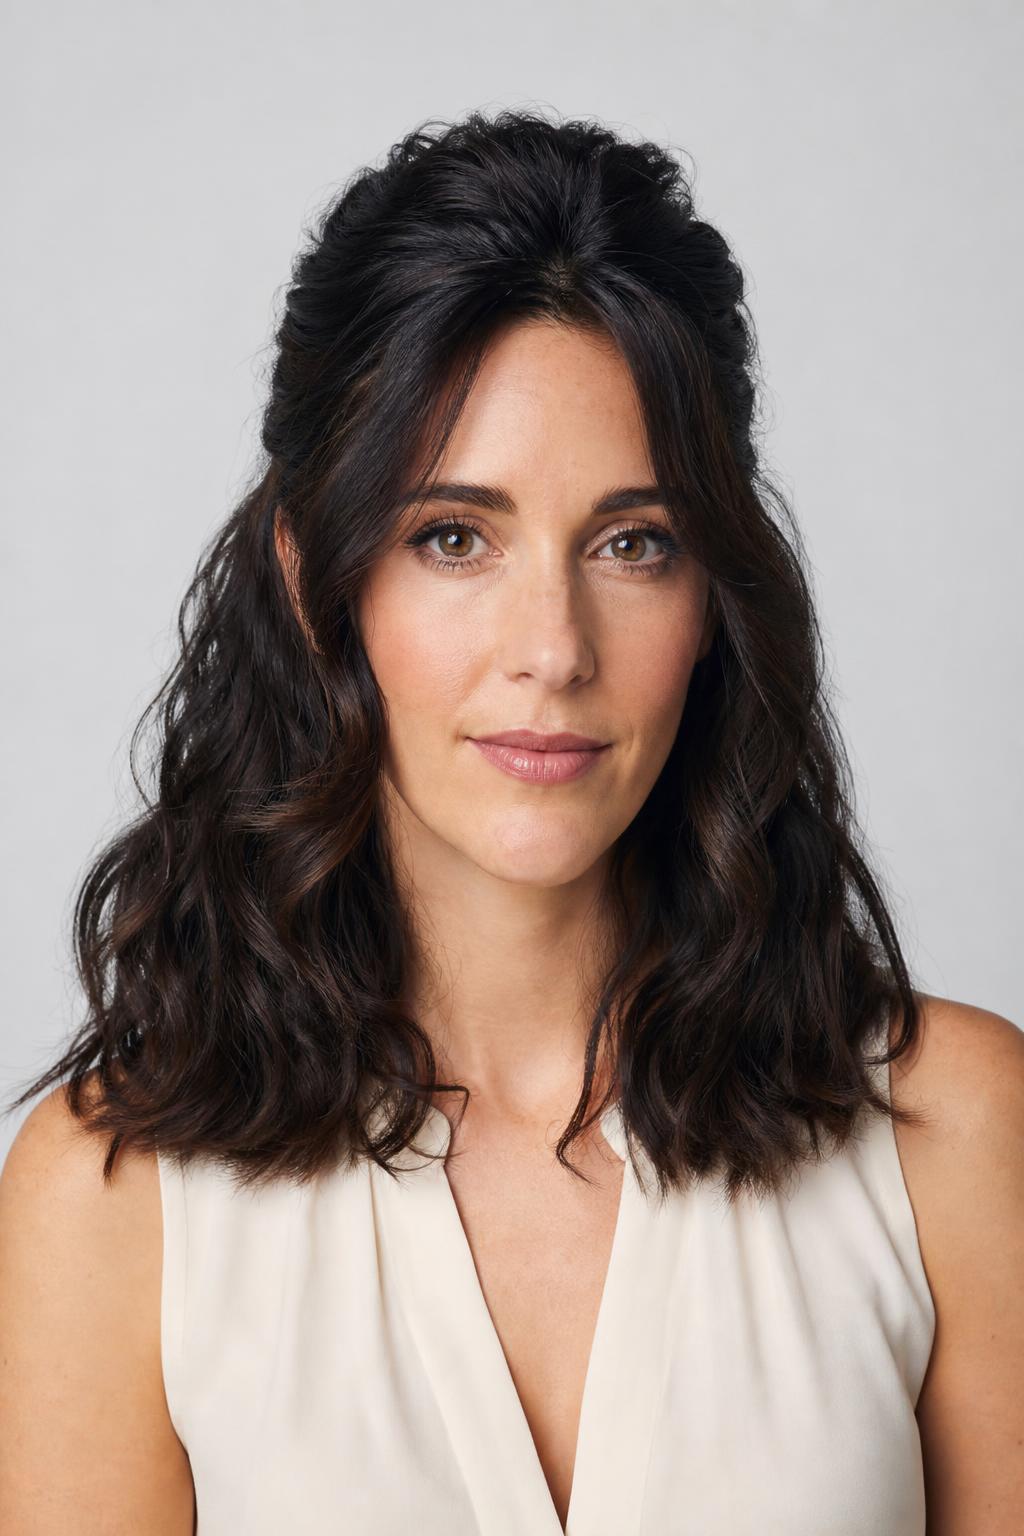
11. Half-Up on Curly Hair
Curls photograph better than any other texture on video, because the pattern gives the lens plenty of separation to work with. Gather only the top third, loosely, and leave the sides fully out. Pulling curly hair back tightly removes exactly the volume the camera needed.
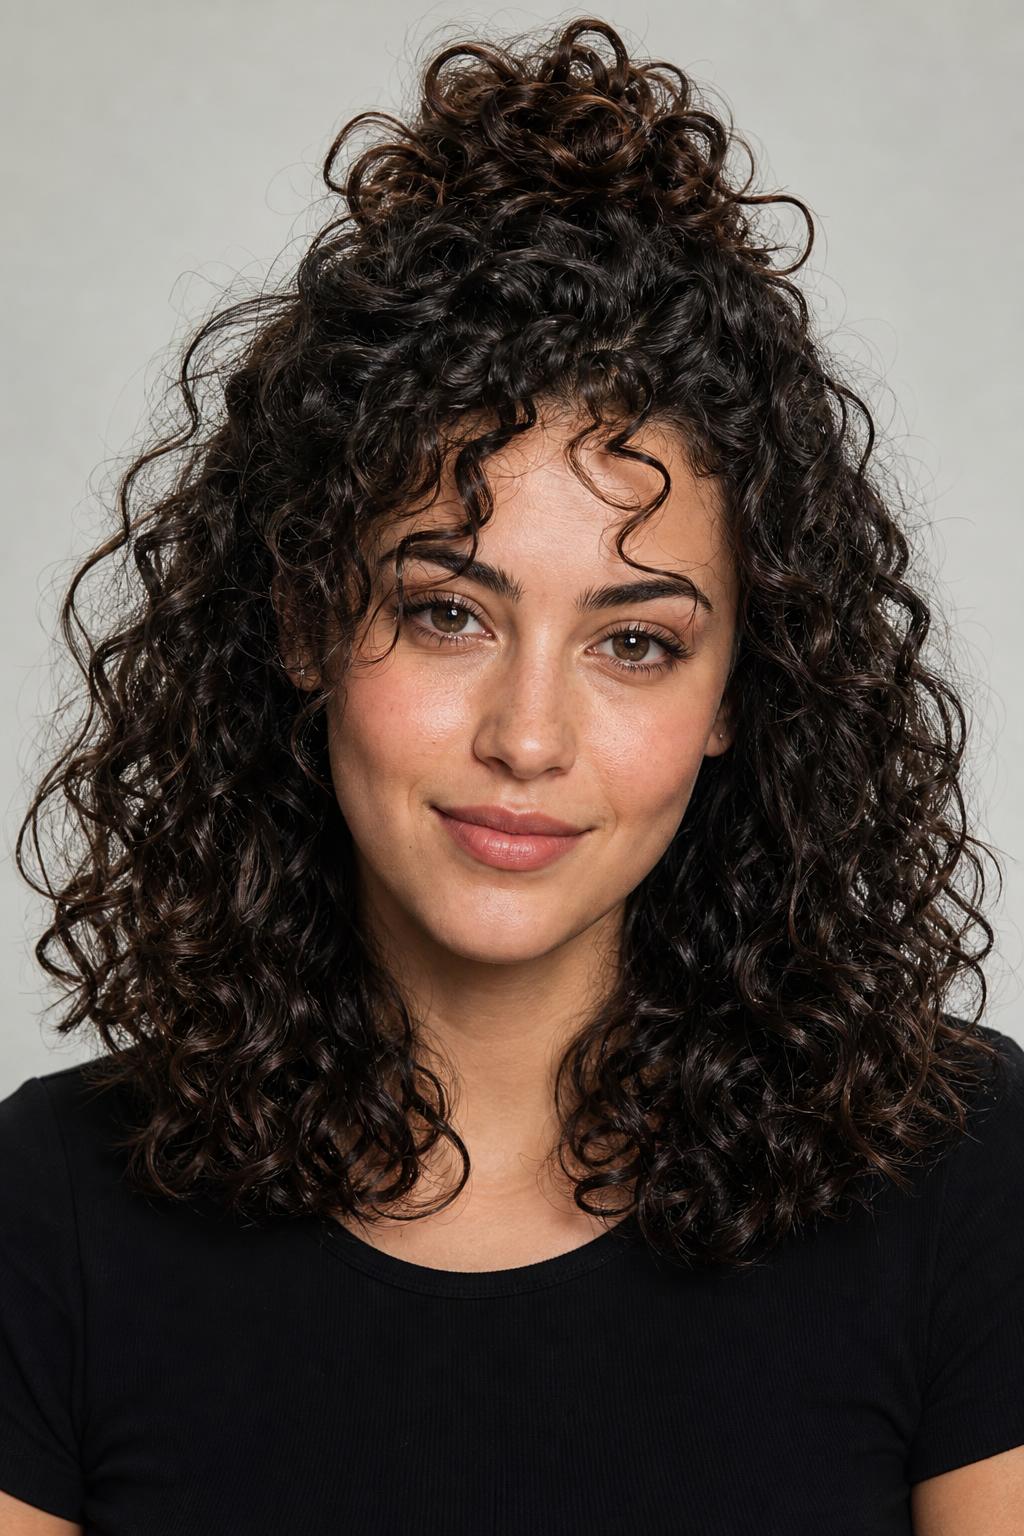
12. Ponytail with Two Pulled-Out Strands
Pull a thin piece from in front of each ear, run a drop of oil through it, and twist it once between your fingers so it forms a soft bend rather than hanging straight. Straight loose strands look stringy on camera. The twist takes five seconds and changes the whole effect.
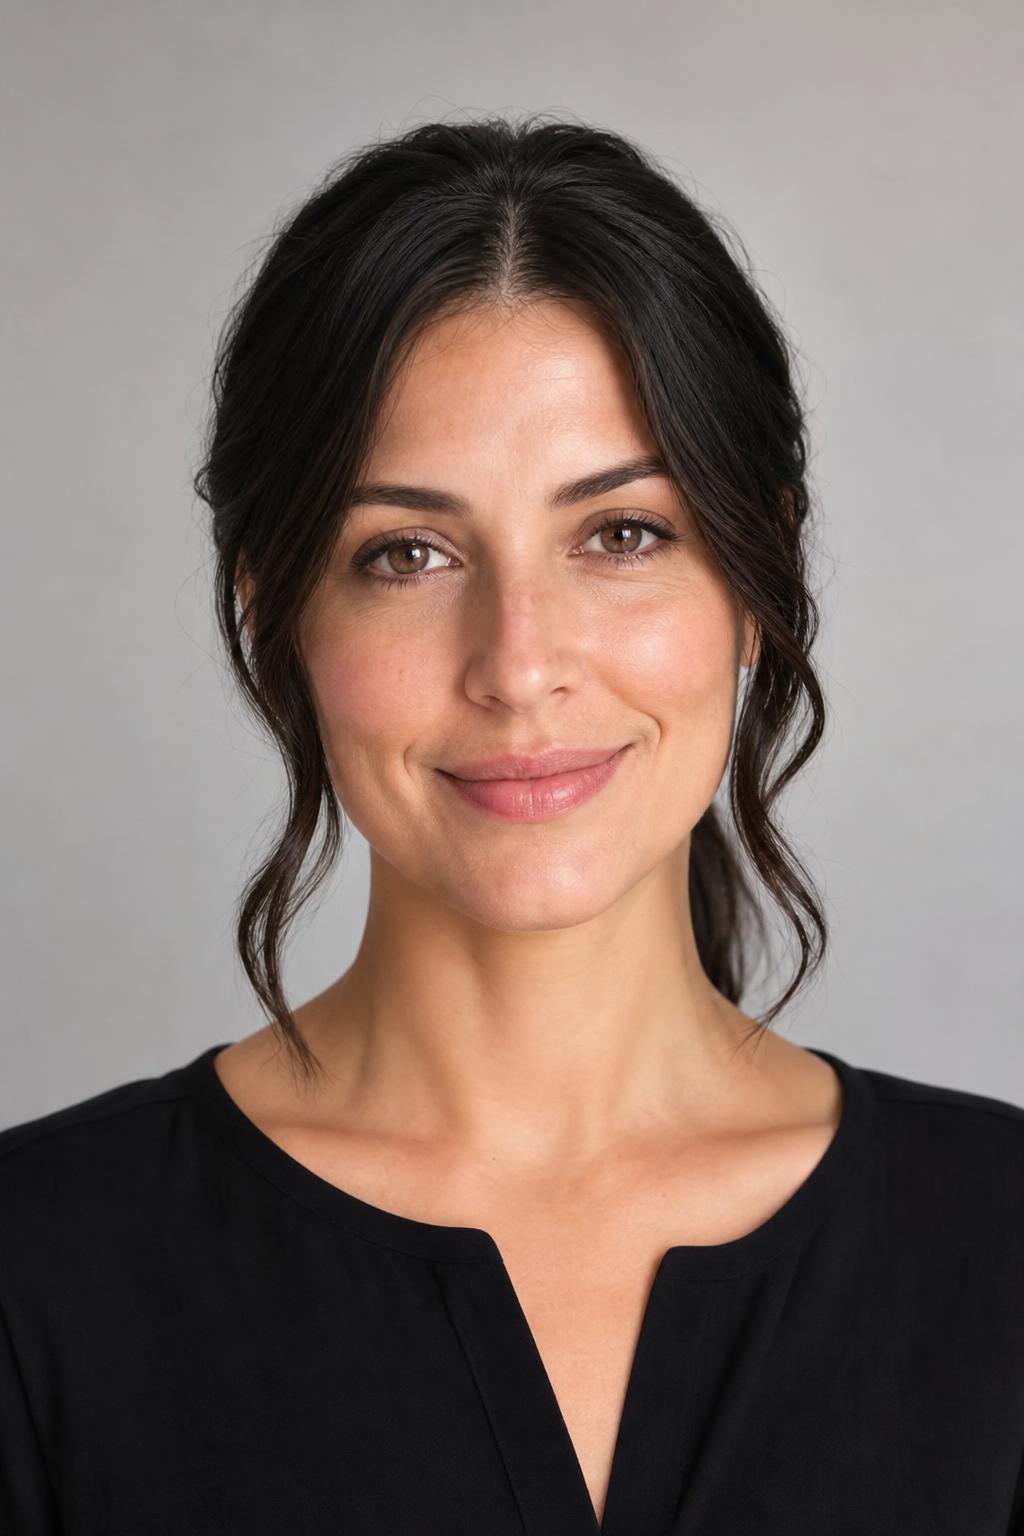
Fast Fixes Between Back-to-Back Calls
The realistic scenario is not styling before a call, it is having 40 seconds between two of them. Each fix below works from whatever your hair is already doing, with no water, no heat, and no mirror beyond your own video preview. Use the preview window as the mirror, since it shows exactly what everyone else sees.
13. Claw Clip Reset in 15 Seconds
Flip your head forward, shake once at the roots, flip back up, then twist and clip the top section. The flip redistributes the flattening that comes from sitting still under a light for an hour. Repeat between every second meeting and hair stays presentable for a full day of calls.

14. Gloss Refresh for Dull On-Camera Color
Faded color photographs noticeably flatter than fresh color, because video compression discards subtle tonal information first. A salon gloss every six to eight weeks keeps hair reflective on camera at a fraction of a full color service. Ask for a clear gloss if you do not want any tonal change at all.

15. Low Bun with a Clean Hairline
Ask your stylist to keep the hair at your temples long enough to reach a low bun, which stops the halo of short broken pieces that a webcam picks up under front lighting. The phrase is “please avoid short layers at my hairline.” A drop of oil smoothed over the top handles anything that remains.
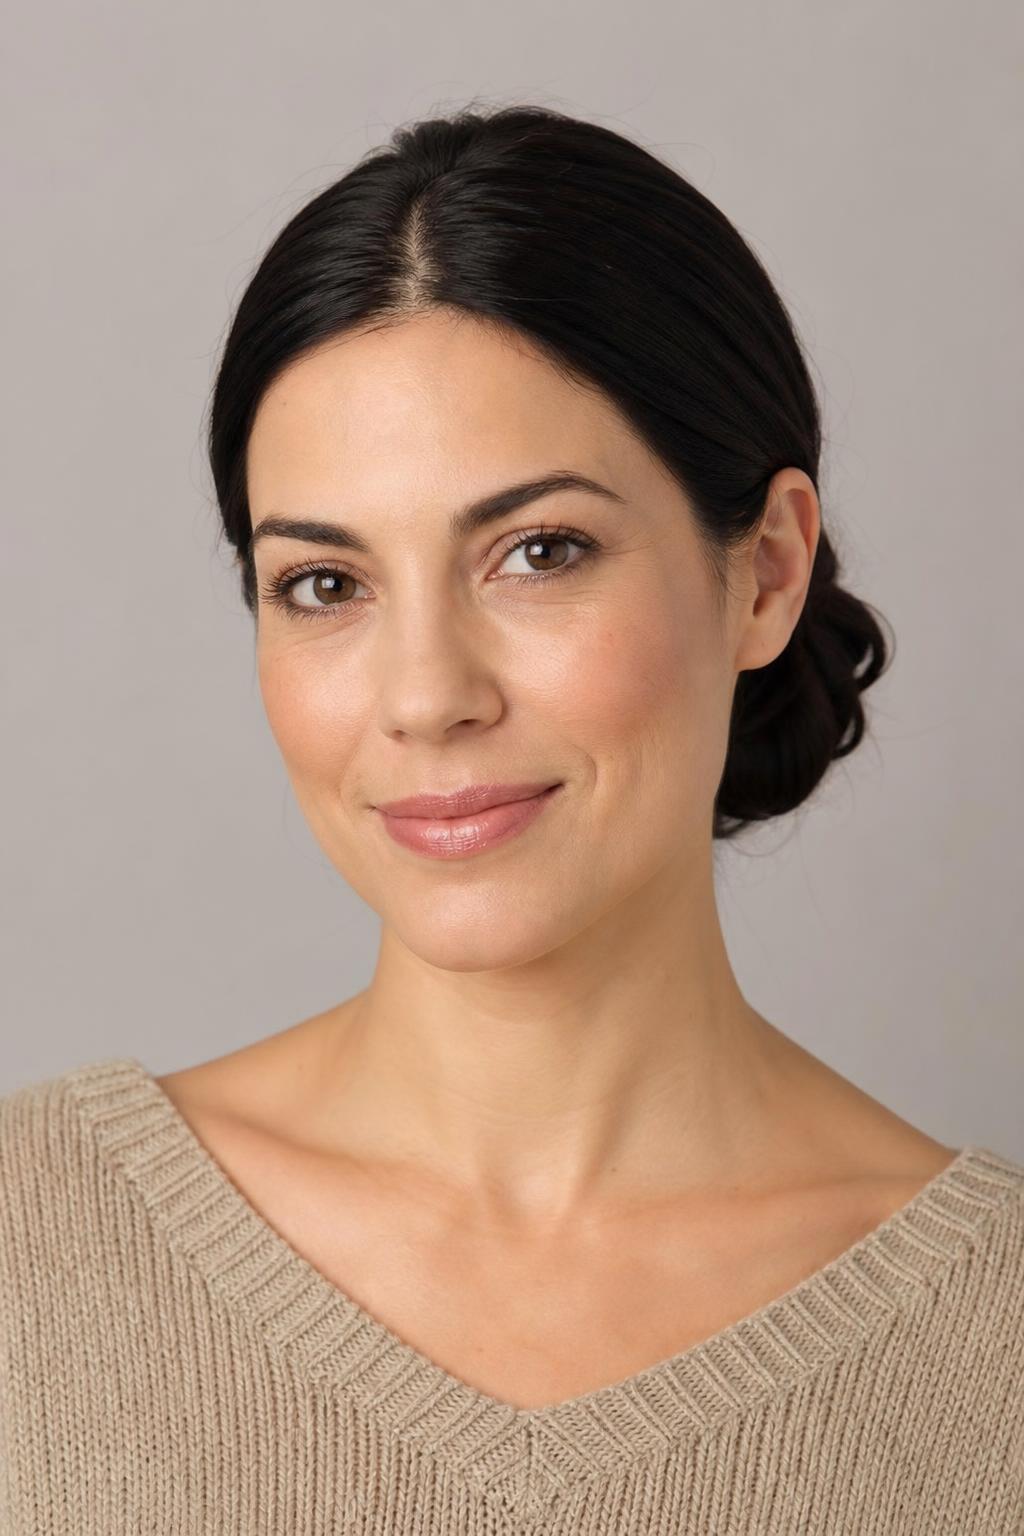
16. Softly Undone Low Bun
Compared with a fully sleek bun, a version left slightly loose at the sides gives the camera a softer head outline and hides the fact that you did it in 20 seconds. Pull gently at the sides after securing, never at the top. Loosening the top is what turns undone into unravelling on camera.
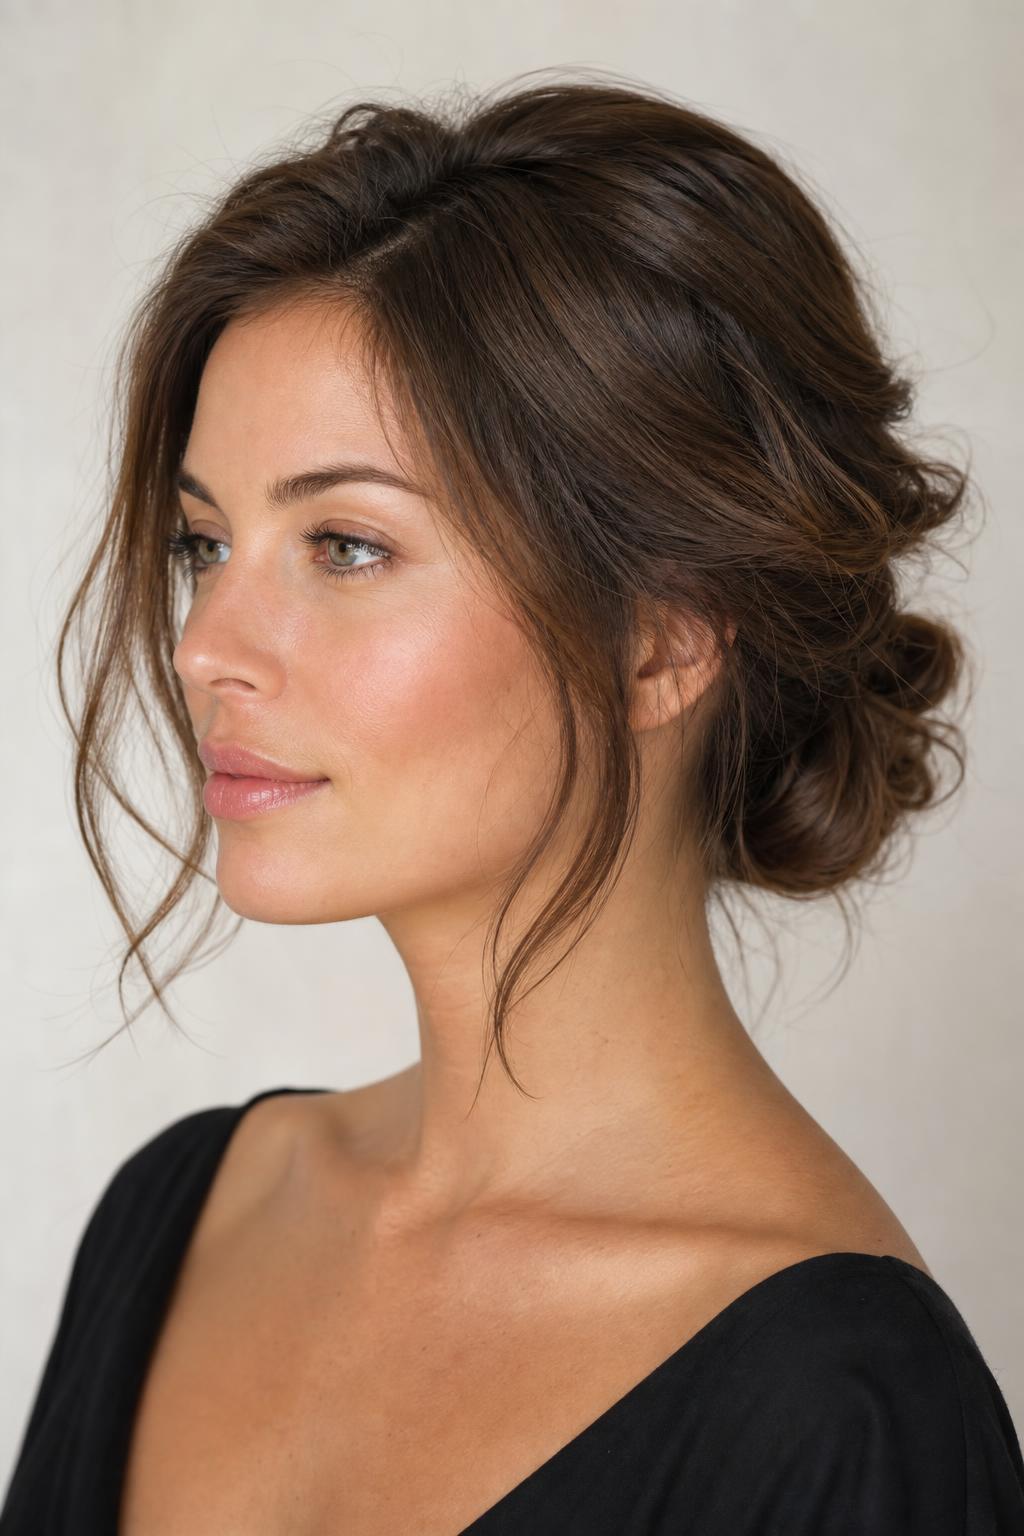
Short Hair on Camera
Short hair has an advantage on video that longer hair does not: the entire style is inside the frame, so nothing is lost below the crop. The trade-off is that every detail is visible, including the parts that grew out three weeks ago. Short cuts need more salon frequency for on-camera work than for in-person work.
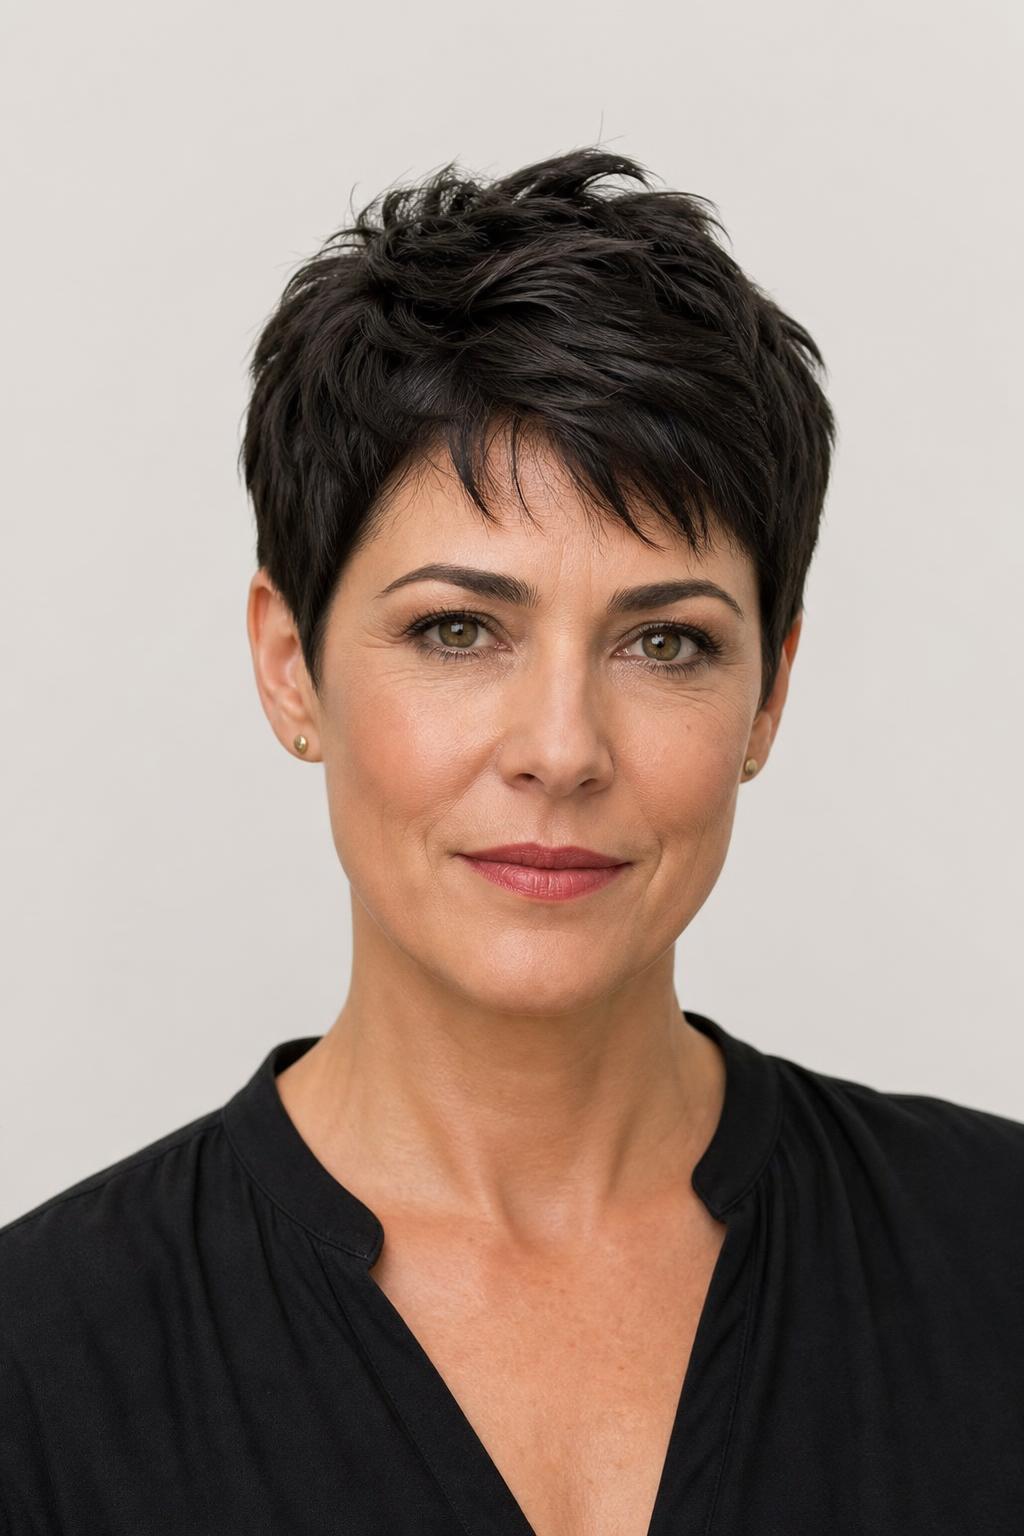
17. Piecey Pixie with Matte Paste
Work a pea-sized amount of matte paste through dry hair with fingertips, pushing from the back of the crown forward so pieces separate rather than lying together. Separation is what a camera needs to register texture at all. Shiny product does the opposite and turns the whole top into one bright patch.
18. Side-Swept Crop for a Square Jaw
Square jaws read harder on camera than in person, since flat frontal lighting removes the shadow that normally softens the corners. A crop swept diagonally across the forehead reintroduces an angle the light cannot flatten. Keep a little length in front of the ears rather than tucking everything back.
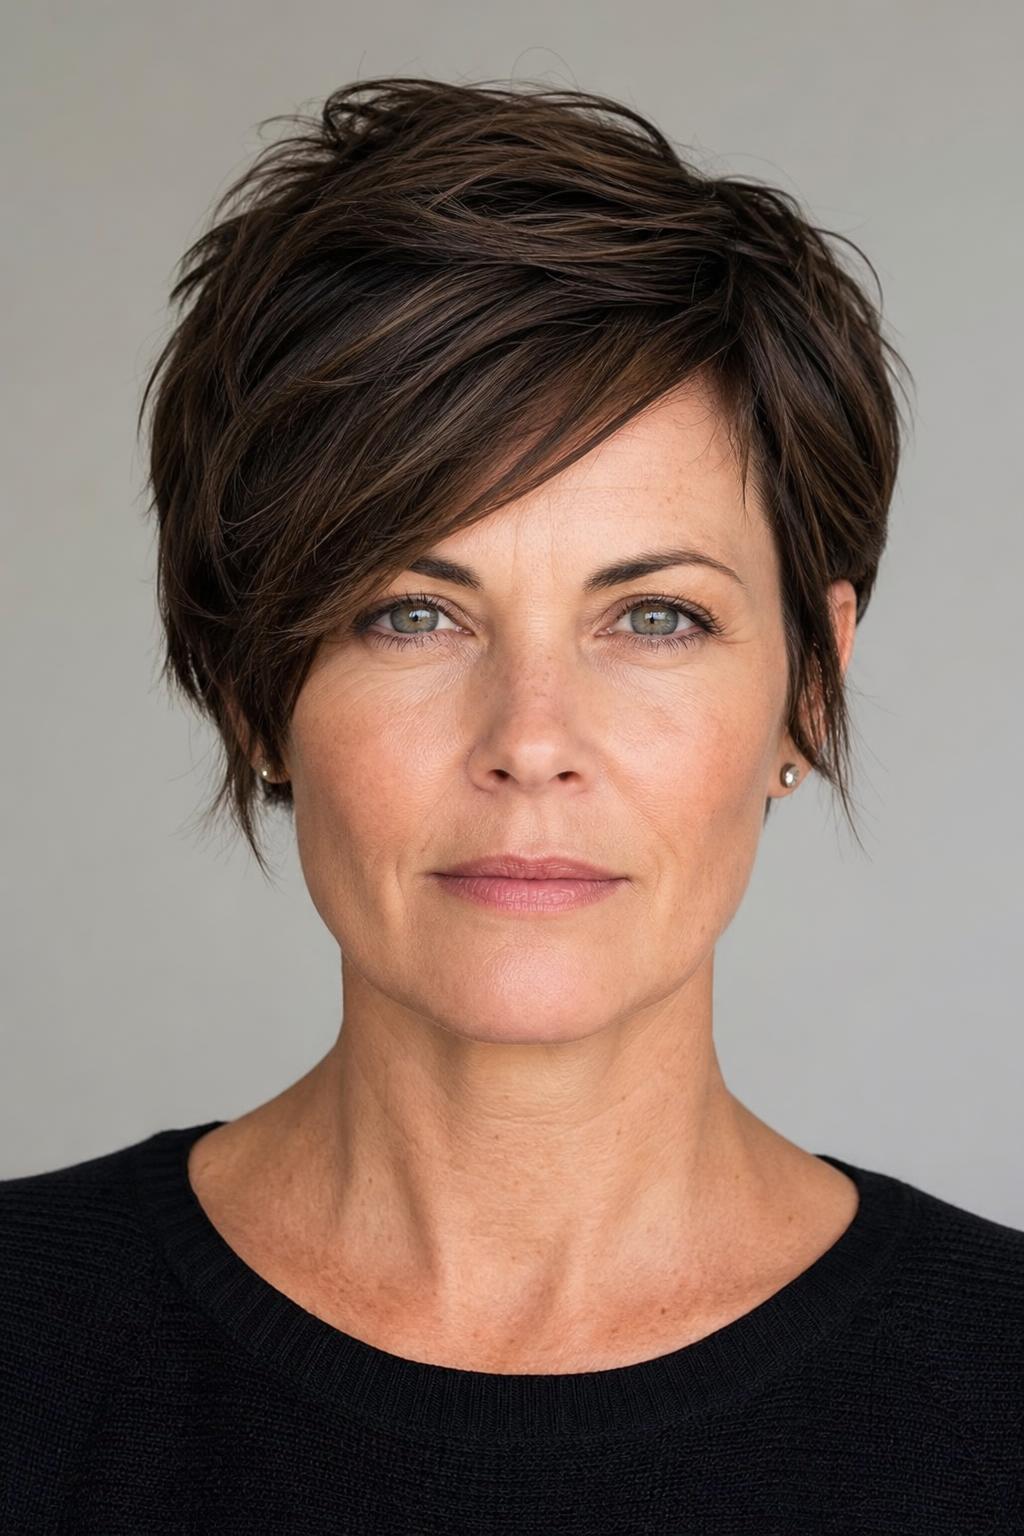
19. Defined Curls on a Short Cut
Short natural hair holds its shape on camera better than almost anything, provided the curls are defined rather than compressed from sleeping. A light water mist and a curl cream on the front section only takes 30 seconds and restores the pattern where the camera can see it. The back can stay as it is.
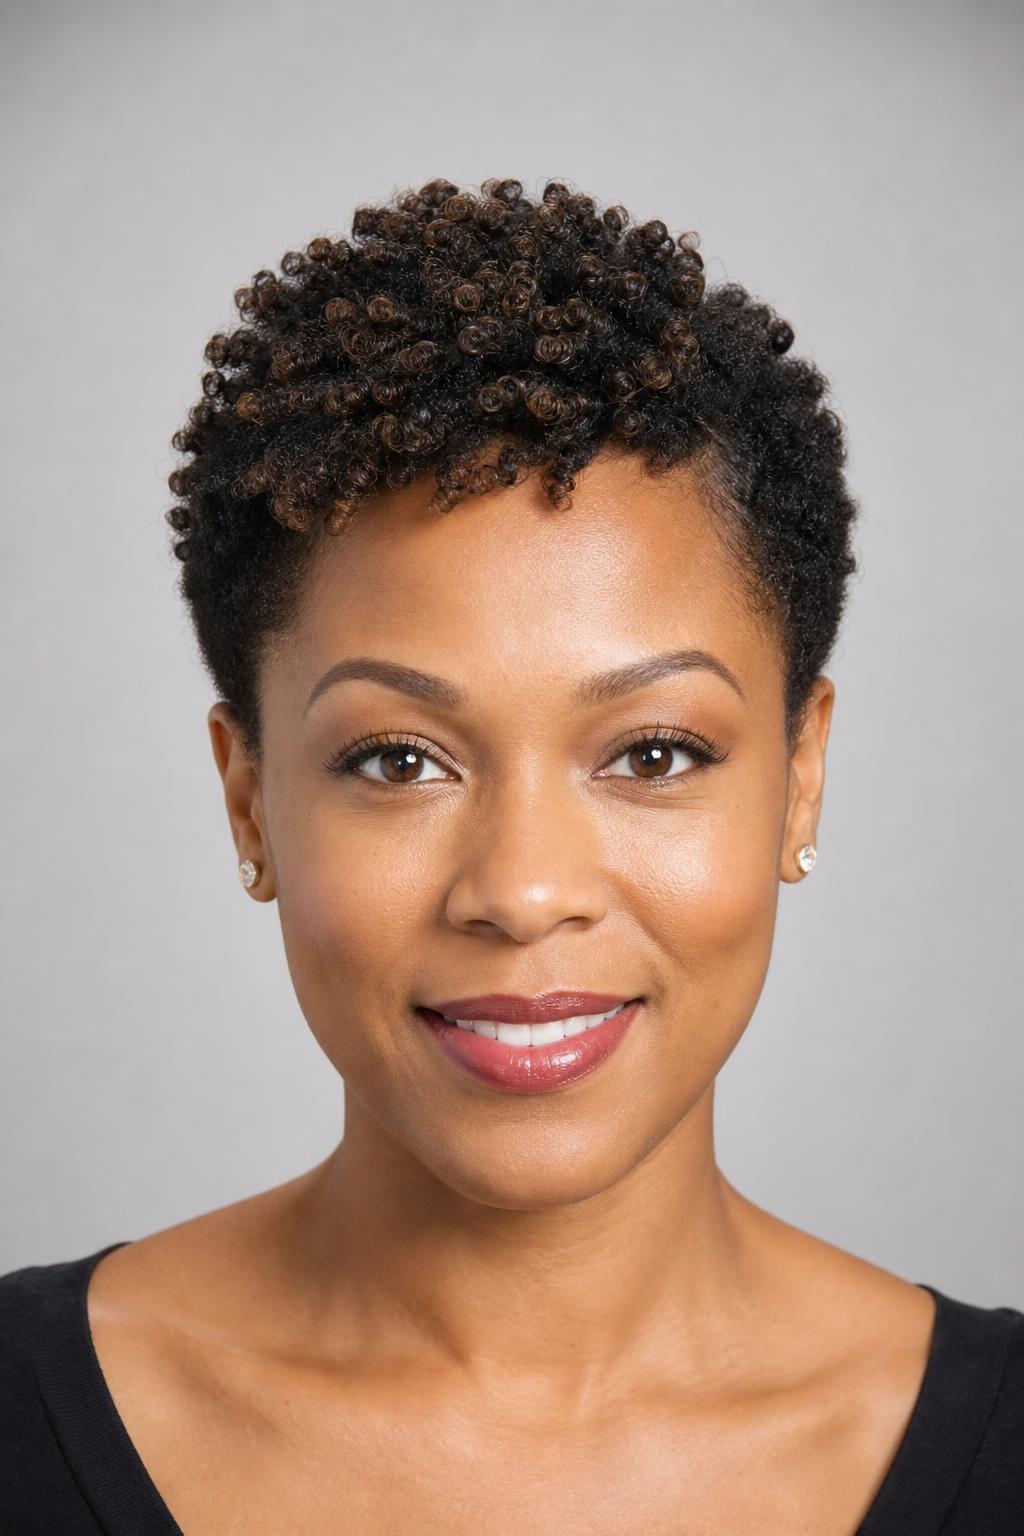
20. Tucked Bob with Lifted Roots
Tuck one side behind the ear and leave the other forward, then lift the roots on the forward side with your fingers and a burst of cool air. The asymmetry gives a flat frontal camera something to work with. Both sides tucked makes a bob disappear into the shape of your head. Getting the length right for this depends on the wording at the salon, which our word-for-word scripts for asking for a bob spell out.

Why Hair Looks Flat on Video and How to Counter It
A webcam does four specific things to hair, and each one has a direct fix. Understanding which effect is hurting you is faster than trying every styling tip in sequence. Turn on your video preview with no one else in the call and compare it to a mirror, then work down the table.
| What the Camera Does | How It Looks | The Fix |
|---|---|---|
| Compresses depth | Hair flattens against the head, no separation | Root lift at the crown, cooled under tension |
| Lights from one direction | One side glows, the other fills in as black | Move the light beside the camera, not behind you |
| Discards subtle tone | Color looks dull, highlights blow out white | Keep color within two levels, refresh with a gloss |
| Exaggerates width | Face and head look broader than in a mirror | Raise the camera to eye level, add a deep side part |
Stylist tip: Record 10 seconds of yourself on your actual work camera, in your actual chair, with your actual lighting, and watch it back. Every piece of hair advice for video is guesswork until you have seen your own setup. Most people discover their camera is 6 inches too low before they discover anything about their hair.
Camera Framing and Face Shape
Where your hair needs volume on camera depends on your face shape and on where your camera sits relative to your eyes. The table below assumes a camera at or slightly above eye level, which is the correct setup. If yours is lower, everything in the avoid column gets worse.
| Face Shape | Best On-Camera Style | Where Volume Goes | Avoid |
|---|---|---|---|
| Oval | Half-up, loose waves, tucked bob | Anywhere, crown is safest | Very tight styles that remove all softness |
| Round | Deep side part, half-up bun | Crown and above the temples | Center parts and width at the cheeks |
| Square | Side-swept crop, soft waves | Around the temples, softness at the jaw | Slicked-back styles under flat frontal light |
| Heart | Half-up starting behind the temples | Low, level with the jaw | High volume that widens the forehead |
| Oblong | Flat-crowned half-up, chin-length bob | At ear level, sideways not upward | Crown height and high buns |
| Diamond | Curly half-up, face-framing pieces | Forehead and jaw, not cheekbones | Volume level with the widest point |
How Long Each Style Holds Through a Day of Calls
A day of video meetings is harder on hair than a day in an office, because you sit still under one light source and lean toward a screen. Both flatten the crown. These times assume indoor conditions and no commute, and every one of them extends by two or three hours with a single mid-day reset.
| Style | Prep Time | Holds On Camera | Reset Needed |
|---|---|---|---|
| Blow-dried crown volume | 8 to 10 minutes | 4 to 5 hours | Head flip after lunch |
| Claw-clipped half-up | 15 seconds | 3 to 4 hours | Re-clip between meetings |
| Low bun | 2 minutes | Full day | None |
| Loose curled waves | 10 minutes | 6 to 8 hours | None in dry conditions |
| Piecey pixie | 2 minutes | Full day | Fingertip pass mid-afternoon |
If your hair goes flat rather than messy over a day of calls, the underlying problem may be the cut rather than the styling, and the diagnosis in our guide to keeping a blunt bob from falling flat applies to most one-length shapes.
What to Ask Your Stylist for On-Camera Hair
Tell your stylist that you spend most of your working day on video, because it changes what they should cut. The specific ask: “I am on camera a lot, so I need volume at the crown that holds without daily heat, and no short pieces at my hairline.” Those two constraints eliminate the flat-crowned one-length shapes and the short broken layers that a webcam turns into a halo.
Two questions to raise at the consultation. Ask where the shortest layer sits, since anything above the cheekbone is going to be visible in every meeting. Then ask what this cut looks like air-dried, because the honest answer determines whether you can take a 9am call after a 7am shower.
Stylist tip: Ask for internal layers rather than surface layers if crown volume is your goal. Internal layers lift the top from underneath and stay invisible, while surface layers create the separated flyaway pieces that front lighting picks out and that no amount of product will settle down. The distinction between the two is set out in our comparison of long layers against short layers.
Styles That Work Against You on Video
A few choices consistently photograph worse on a webcam than they look in person, and the cause is technical rather than aesthetic. Knowing which ones lets you save them for days without meetings rather than discovering the problem mid-call.
- Wet-look gel or high-shine serum on the top of the head. A single overhead or ring light turns the shine into one blown-out white patch. Matte products give the same sleekness with none of the glare.
- Very high top knots and top-of-head buns. A camera crops at the shoulders, so anything above the crown either leaves frame or makes the head look elongated. Drop it to just above the crown line.
- Chunky high-contrast highlights. Video compression handles fine tonal gradients badly and renders strong contrast as separate blocks of color. Softer hand-painted blending survives compression far better.
- Hair worn fully forward over both shoulders. It narrows the visible width of your upper body and makes the head look disproportionately large in a shoulders-up crop. Push one side back.
- Freshly washed fine hair with no product. It falls flat against the scalp within 20 minutes under warm light, and there is nothing to fix it with mid-call. Wash the night before instead.
FAQ
Why Does My Hair Look Flat on Zoom but Fine in the Mirror?
Because a webcam compresses depth and removes the shadow that gives hair its apparent volume. A mirror shows you three dimensions, a camera shows two, and the first thing lost is the space between your hair and your head. Root lift at the crown fixes about 80 percent of it, and raising the camera to eye level fixes most of the rest.
What Is the Best Hairstyle for a Job Interview on Video?
A half-up style with the crown lifted, because it stays put for a full hour without adjustment and keeps a soft outline that a flat camera will not harden. Avoid anything you will need to touch, since fidgeting is more visible on video than in a room. Set it 20 minutes before the call so it has settled by the time you join.
Should I Wear My Hair Up or Down on Video Calls?
Half-up outperforms both in most setups. Fully down merges into the background and loses definition, while a tight updo can make the head outline look severe under flat frontal lighting. If you prefer one extreme, choose down with a deep side part and root volume, or a low bun rather than a high one.
Does Hair Color Matter on Camera?
Yes, mainly in how much contrast it carries. Video compression discards fine tonal detail first, so chunky highlights separate into blocks while a color held within two levels of itself stays coherent. A gloss every six to eight weeks does more for on-camera appearance than a full highlight service does.
How Do I Fix My Hair Between Back-to-Back Meetings?
Flip your head forward, shake at the roots, flip back, and twist the top into a claw clip. The whole reset takes 15 seconds and restores the crown volume that an hour of sitting still removes. Keep a clip and a small comb beside your monitor rather than in the bathroom, or you will not do it.
Do Curly and Coily Textures Photograph Well on Video?
They photograph better than straight hair, because the curl pattern gives the lens natural separation and depth that straight hair has to be styled into. The one thing worth doing is refreshing the front section, since the camera only sees the top and front. Methods for that appear in our guide to reviving curls without rewashing.
Choosing hairstyles for video calls comes down to giving a flat, two-dimensional lens something to register: lift at the crown, definition around the face, and color that holds together under compression. Try one of the down styles and one half-up option on a normal working day and watch your own preview at 4pm rather than 9am. Whatever still looks deliberate at the end of the day is the one to keep.
Hair results vary based on your natural hair type, texture, density, and condition. Always consult with a licensed hairstylist before making significant changes, especially with chemical treatments or dramatic length changes. Photos may show styled results that require professional tools and products to replicate.