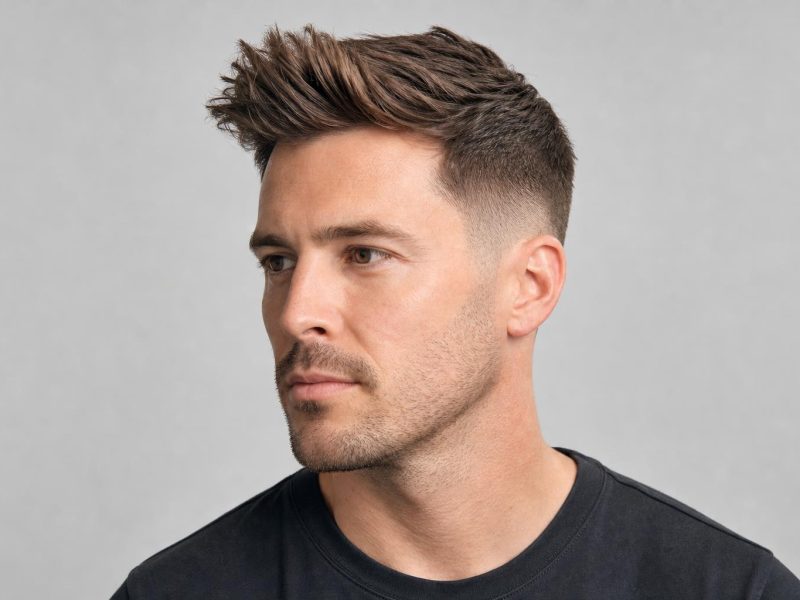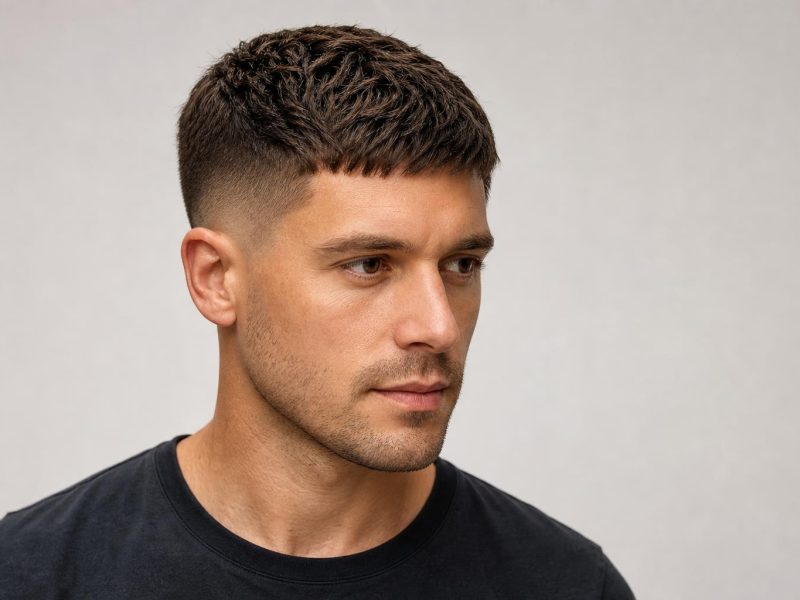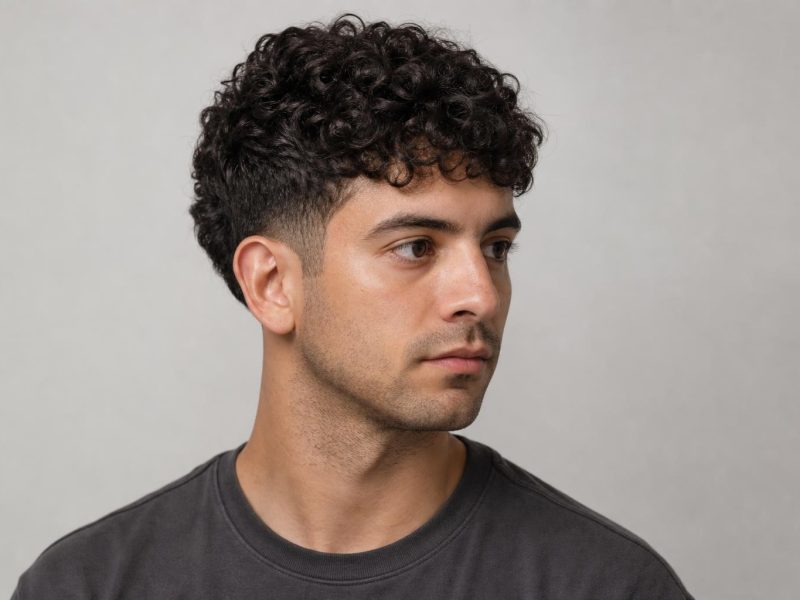
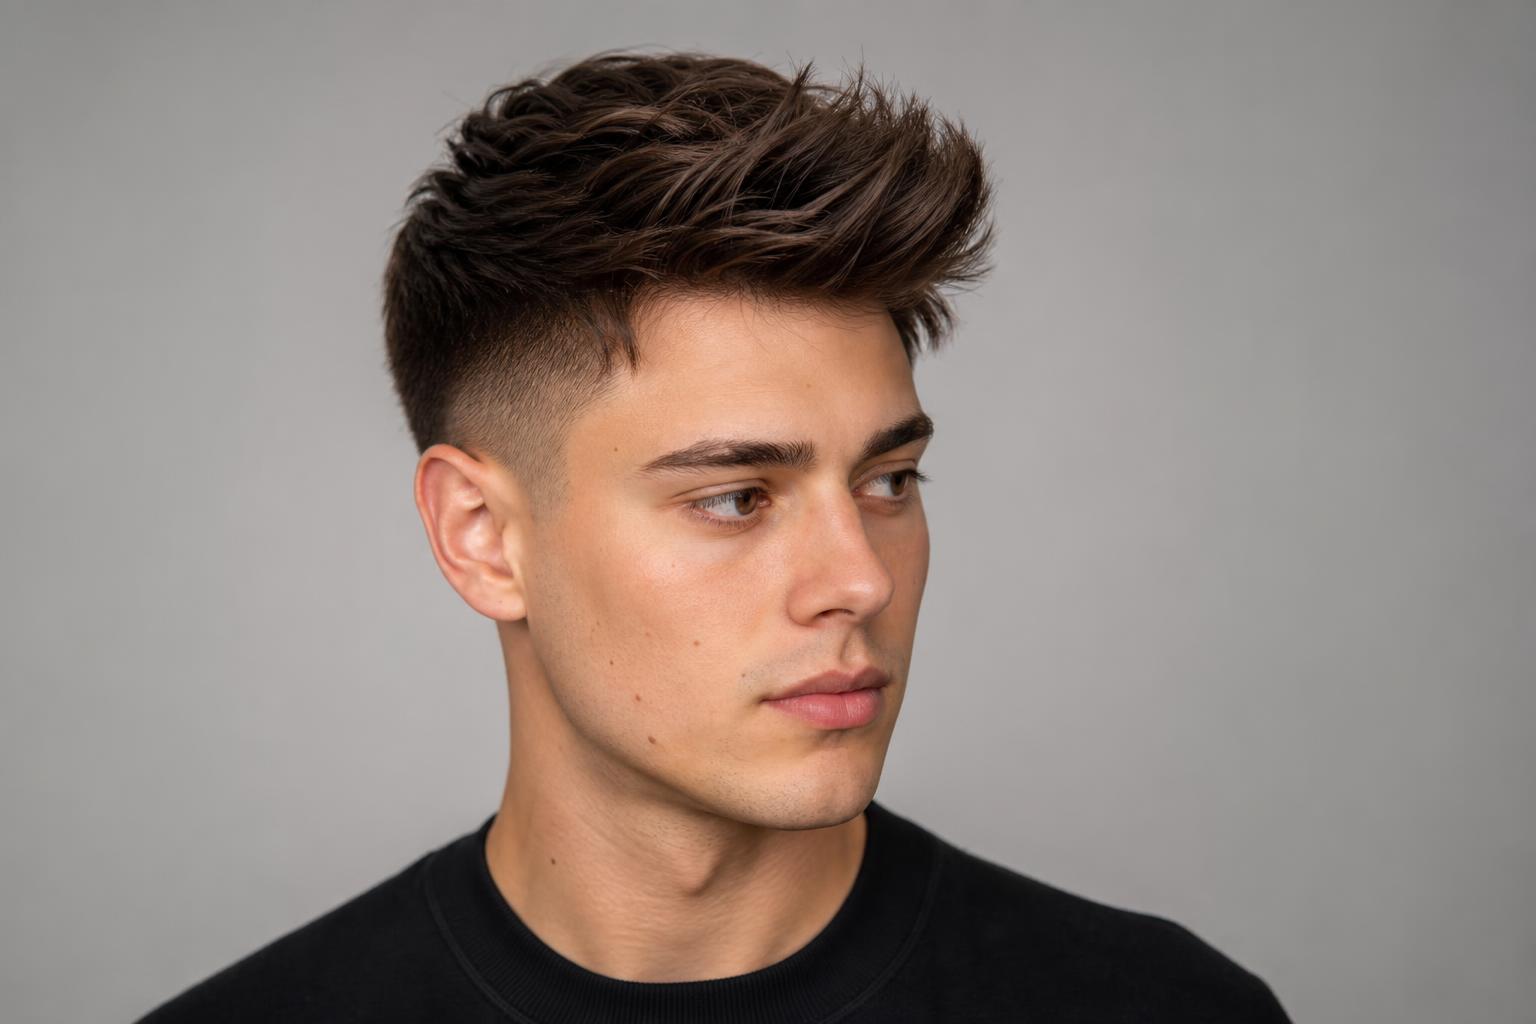
A quiff needs three to four inches at the front and one clear sentence at the chair, and it is almost always the sentence that goes wrong.
Say this: “Leave four inches at the front, graduate it shorter toward the crown, keep a low fade on the sides, and point cut the ends so I can lift the front up and slightly forward.” That request contains every decision a barber needs, in the order they cut. Walking in and asking for a quiff without those details leaves four separate choices to a stranger, and the most common result is a pompadour, which needs a brush and a dryer every morning that a quiff does not.
This guide covers what separates a quiff from the styles barbers confuse it with, the three decisions to settle before you sit down, the guard numbers and lengths that make it work, how to style it in under five minutes, and what to do if your hair is not long enough yet.
A Quiff Lifts Up and Forward, a Pompadour Sweeps Up and Back
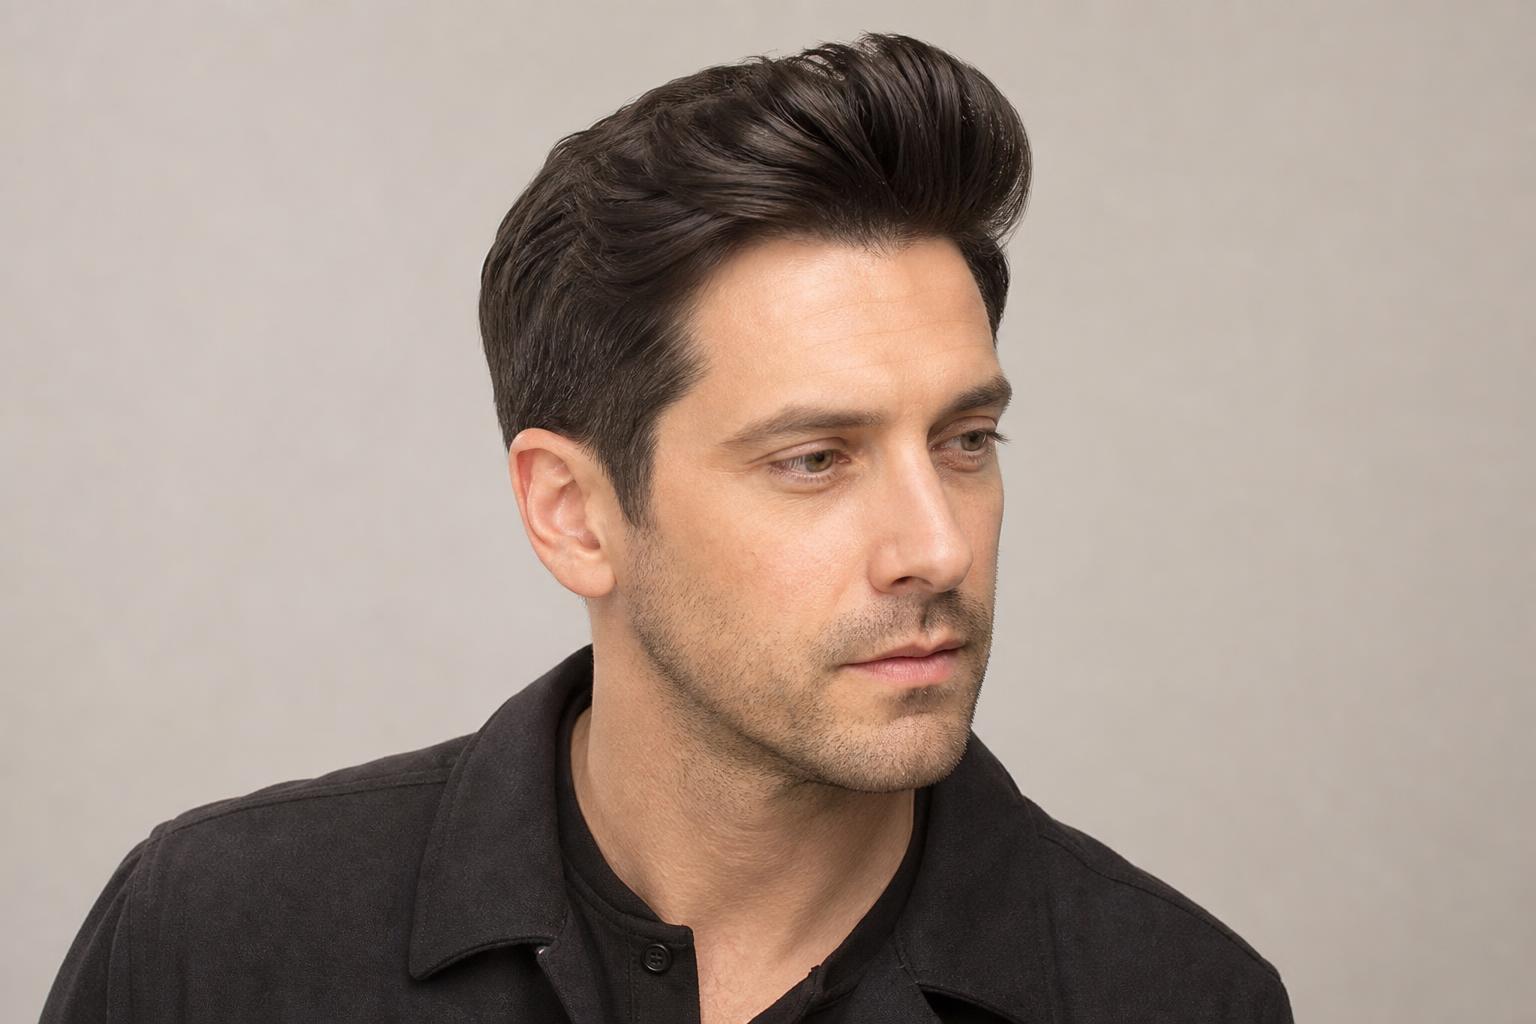
The quiff is defined by direction, not length. Hair at the front is lifted upward and pushed slightly forward, so the finished shape has a soft peak above the forehead and visible texture through it. A pompadour takes the same front section and sweeps it up and straight back into a smooth rounded mass, which is why it needs a round brush, a dryer, and a product with hold. Barbers often use the two words loosely, so naming the direction you want is more reliable than naming the style.
| Feature | Quiff | Pompadour | Faux Hawk |
|---|---|---|---|
| Direction | Up and slightly forward | Up and straight back | Up and inward toward a centre ridge |
| Front length needed | 3 to 4 inches | 4 to 5 inches | 2 to 4 inches |
| Finish | Textured and separated | Smooth and solid | Spiked or ridged at the centre |
| Tools each morning | Dryer and fingers | Dryer, round brush, comb | Fingers only |
| Product | Matte clay, medium hold | Pomade, strong hold, some shine | Paste or wax |
| Time per morning | 3 to 5 minutes | 8 to 12 minutes | 2 minutes |
The practical difference is the morning routine. If you want the height without committing to a brush and a dryer routine every day, the quiff is the one to ask for, and saying so out loud helps your barber cut it correctly. Men who would rather push everything backward and flat should look at a slicked-back shape with a fade instead, which is a different cut with different length requirements.
Three Decisions to Settle Before You Sit Down
Every quiff is built from three independent choices, and a barber will make all three for you if you do not. None of them are difficult, but each one changes the cut enough that two men who both asked for a quiff can walk out with completely different haircuts. Work through them in the mirror before your appointment and write the answers in your phone if you tend to freeze at the chair.
Front Length Sets the Height of the Quiff
Three inches gives a low, textured lift that stays put through a working day. Four inches gives obvious height and needs a little more product. Past five inches the section becomes too heavy to hold its own weight and collapses forward by lunchtime, which is the single most common reason a quiff stops working. Name the number in inches rather than saying long, because long means nothing consistent across two barbers.
The Side Treatment Decides How Sharp the Result Looks
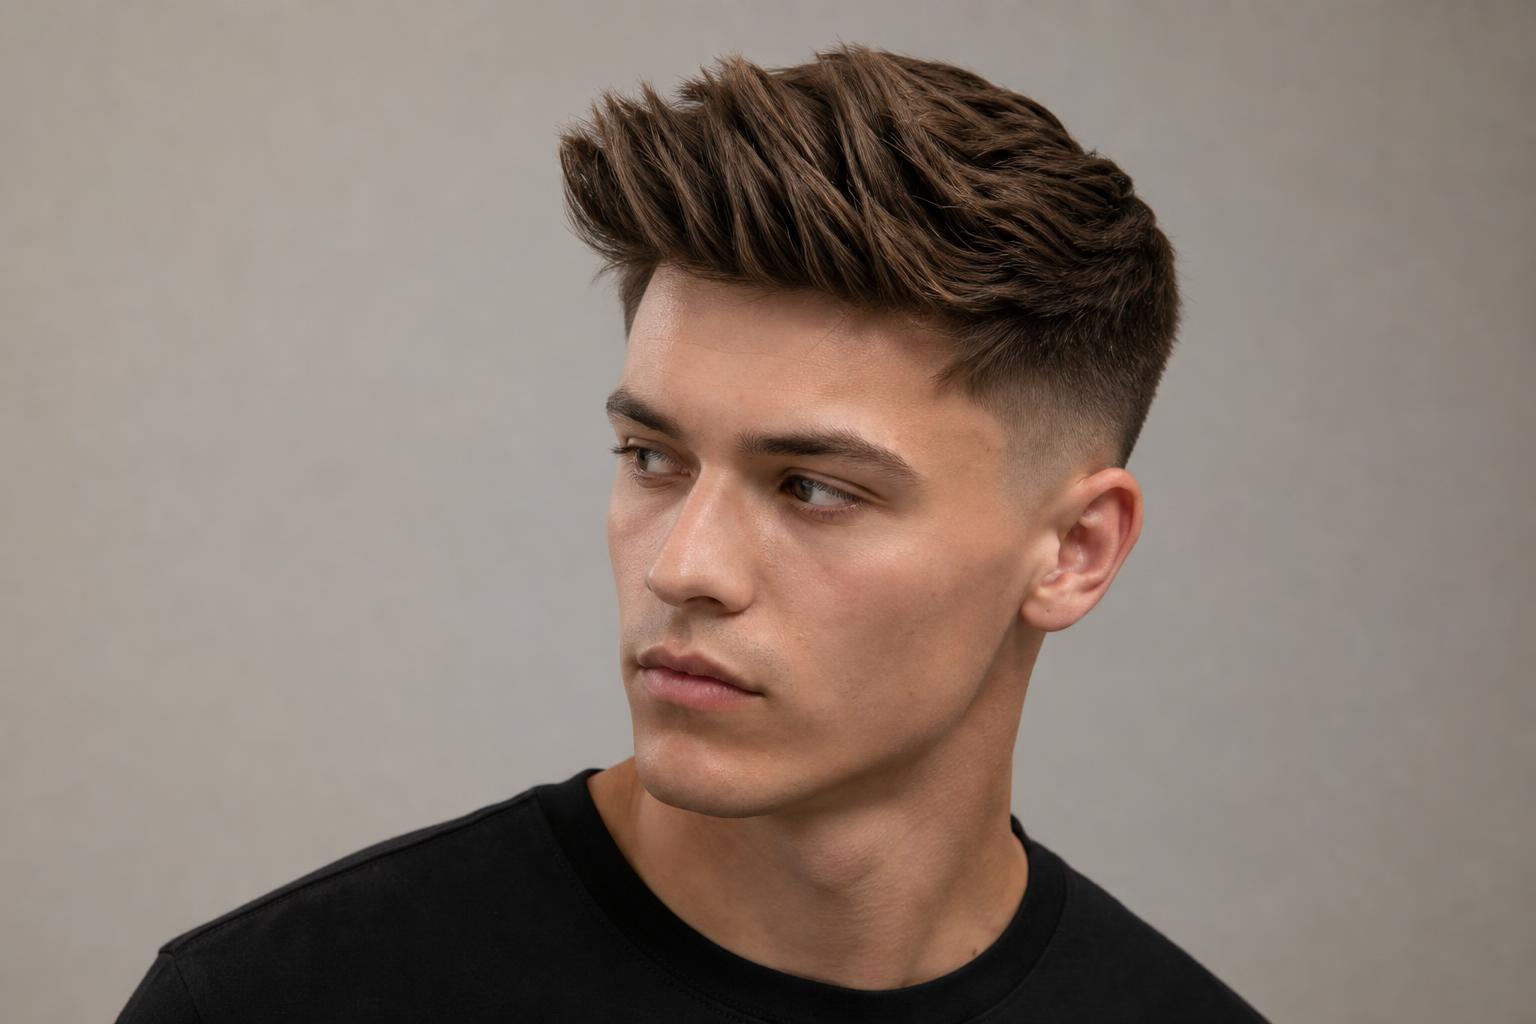
A taper keeps weight through the sides and gives a softer, more conservative outline that grows out slowly. A low or mid fade creates a cleaner separation between the sides and the top, which makes the height at the front more obvious. An undercut disconnects the sides entirely with no blending, which is the sharpest version and the least forgiving as it grows. Any of the three works; a mid taper fade sitting between the two extremes is the safest first choice.
Fringe Direction Changes the Cut, Not Just the Styling
Tell the barber whether you want the front pushed straight up, angled slightly to one side, or lifted with a visible part underneath it. This matters at the cutting stage because the barber shapes the front corners differently for each, and a quiff cut for a centred lift looks wrong when you push it sideways. If you are not sure, ask for centred with soft corners, which will go either way.
Stylist tip: Pull your hair straight up with your fingers before the cut and look at where it reaches. Whatever height it makes standing straight up is roughly double what you will get once it is styled, because a quiff leans forward rather than standing vertical. Men consistently overestimate how much height their current length can produce.
The Exact Words to Use at the Barber
Barbers work from instructions in the order they cut, which is sides first, then top, then the front edge. A request that follows that order is easier to act on than a description of the finished look. Below are three versions covering the common variations; pick the one that matches your three decisions and say it once, at the start, before anyone picks up clippers.
For a soft, conservative quiff: “Taper the sides and back, nothing above the ear. Leave four inches at the front graduating to about two at the crown. Point cut through the top so it has texture. I lift the front up and forward, so leave the front corners soft.”
For a sharper quiff with a fade: “Low fade on the sides, starting just above the ear. Four inches at the front, graduated back. Point cut the ends, no thinning shears. I wear it lifted up and slightly forward with a matte product.”
For an undercut quiff: “Grade 2 on the sides and back, disconnected, no blending into the top. Keep five inches at the front and leave the length on top heavy. I push the front up and forward and let the sides stay separate.”
The phrase no thinning shears is worth keeping in all three. Thinning shears remove bulk from the middle of the hair shaft and leave the ends intact, which makes a quiff sag rather than lift. Point cutting removes bulk from the ends instead, which is what creates the separation the style depends on.
Stylist tip: Bring a photo, but point at the side of the head in it rather than the front. Barbers can read front length from any angle, but the fade height and where it starts is the detail photos communicate best and words communicate worst.
Guard Numbers and Lengths That Make a Quiff Work
Guard numbers are the shared vocabulary between you and any barber, and they mean the same thing on Wahl, Andis, and Babyliss clippers. The top of a quiff is never cut with a guard, since it is scissor work, so the numbers below apply to the sides and back only. Give the barber a number for the sides and inches for the top, and there is very little left to misread.
| Section | Ask For | Length | What It Changes |
|---|---|---|---|
| Front section | Scissors, no guard | 3 to 4 inches | Sets total height; over 5 inches collapses forward |
| Crown | Scissors, graduated | 1.5 to 2 inches | Creates the slope from front to back |
| Sides, conservative | Grade 3 into a taper | 3/8 inch | Softest outline, grows out over 6 weeks |
| Sides, faded | Grade 1 to 2, low or mid fade | 1/8 to 1/4 inch | Sharper contrast; the line blurs by week 3 |
| Sides, undercut | Grade 2, disconnected | 1/4 inch, no blend | Hardest edge; awkward between weeks 4 and 7 |
| Neckline | Tapered, not blocked | Follows the hairline | A blocked neckline grows into a visible shelf |
Hair Type Decides How Much Product the Quiff Needs
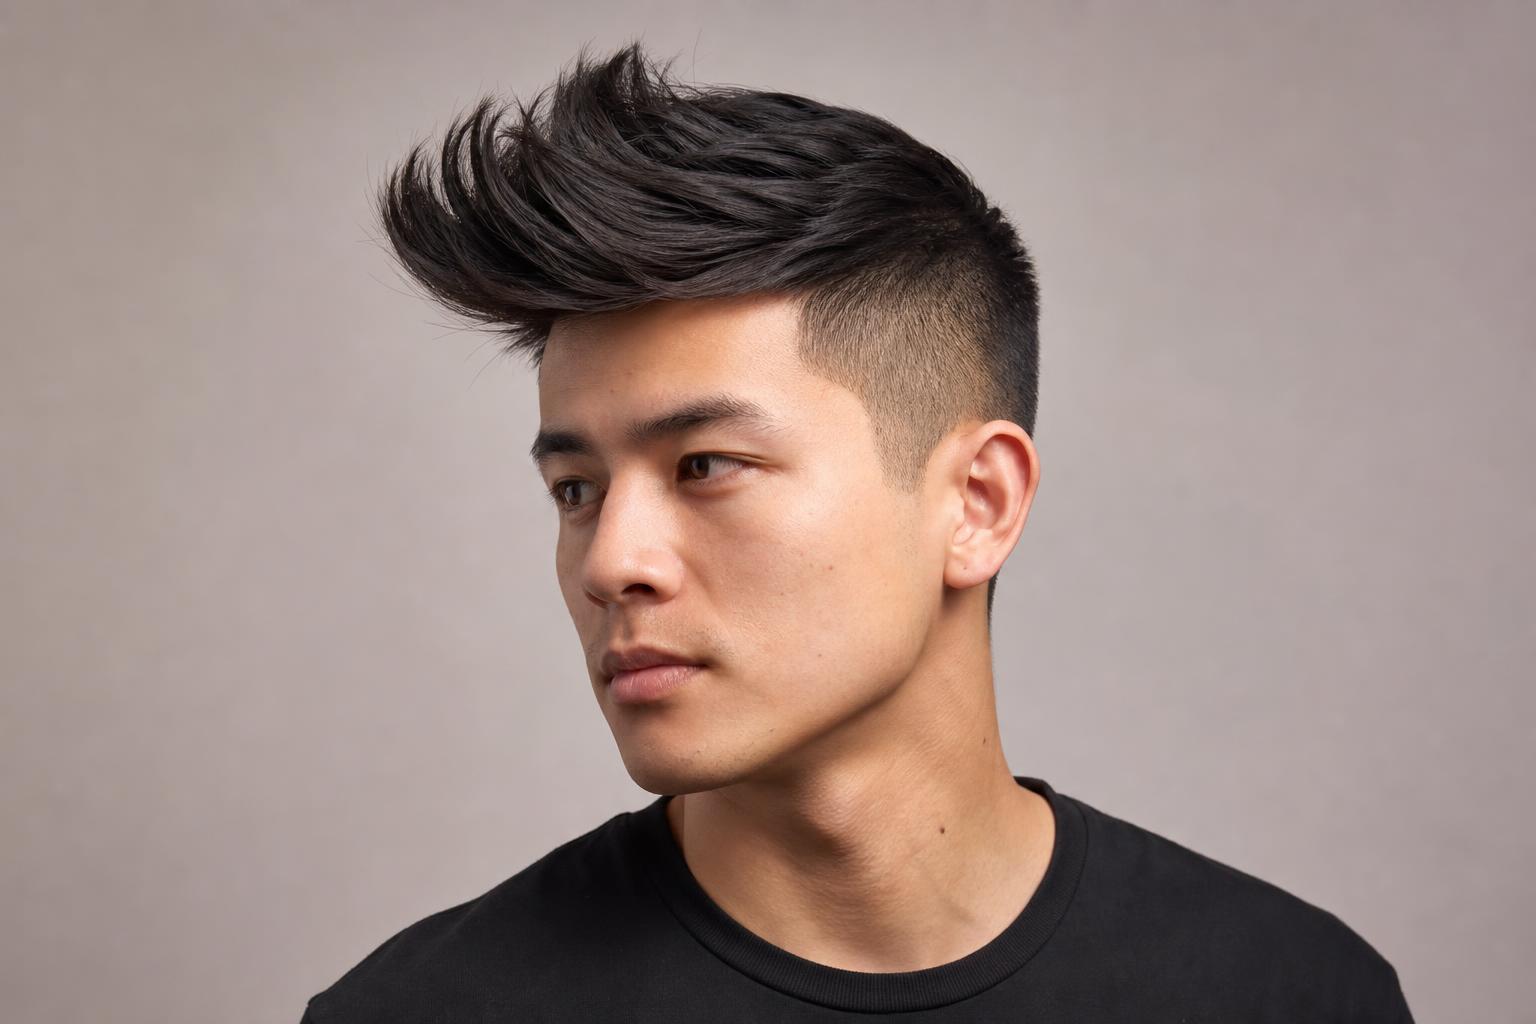
The cut is the same across textures, but the amount of work it takes each morning is not. Straight fine hair holds the shape least well and needs the most help at the roots. Thick straight hair holds it best. Curly and wavy hair produce a quiff that looks quite different from the photos, because the texture supplies its own volume and separation, which is an advantage as long as you go in expecting it.
| Hair Type | How It Behaves | What to Add |
|---|---|---|
| Fine and straight | Lifts easily but drops within a few hours | Volume spray at the roots, then texture powder before clay |
| Thick and straight | Holds height all day with minimal product | A strong matte clay, and ask for extra point cutting to cut bulk |
| Wavy | Lifts well but the shape wanders as it dries | Sea salt spray on damp hair, dry in the direction you want it |
| Curly | Builds height on its own but with a rounder outline | A light cream, and a dry cut so shrinkage is accounted for |
| Coarse or coily | Holds any shape but resists a forward lean | A sponge or brush to direct it, plus a medium-hold cream |
Curly hair needs one extra instruction that straight hair does not, which is to cut it dry. Wet curls stretch out and spring back as much as two inches once dry, so a barber measuring four inches at the sink will hand you a two-inch quiff. The same principle governs every curl-pattern cut for men, and it is covered in more depth in our guide to men’s haircuts by curl type.
How to Style a Quiff in Four Steps
A quiff is built while the hair dries, not after. Product applied to dry hair only holds a shape that is already there, which is why so many men find their quiff falls flat despite using the right clay. The whole routine takes three to five minutes once you have done it a few times.
Step 1: Start with Damp, Not Wet, Hair
What you need: A towel and a volumizing spray or lightweight mousse.
How: Towel-dry until the hair is damp rather than dripping, then mist a volumizing spray through the front three inches at the roots only.
Why: Root lift is what holds the height; product on the lengths adds weight and pulls the shape down.
Common mistake: Applying mousse through the whole head, which flattens the crown and leaves the front no slope to run down.
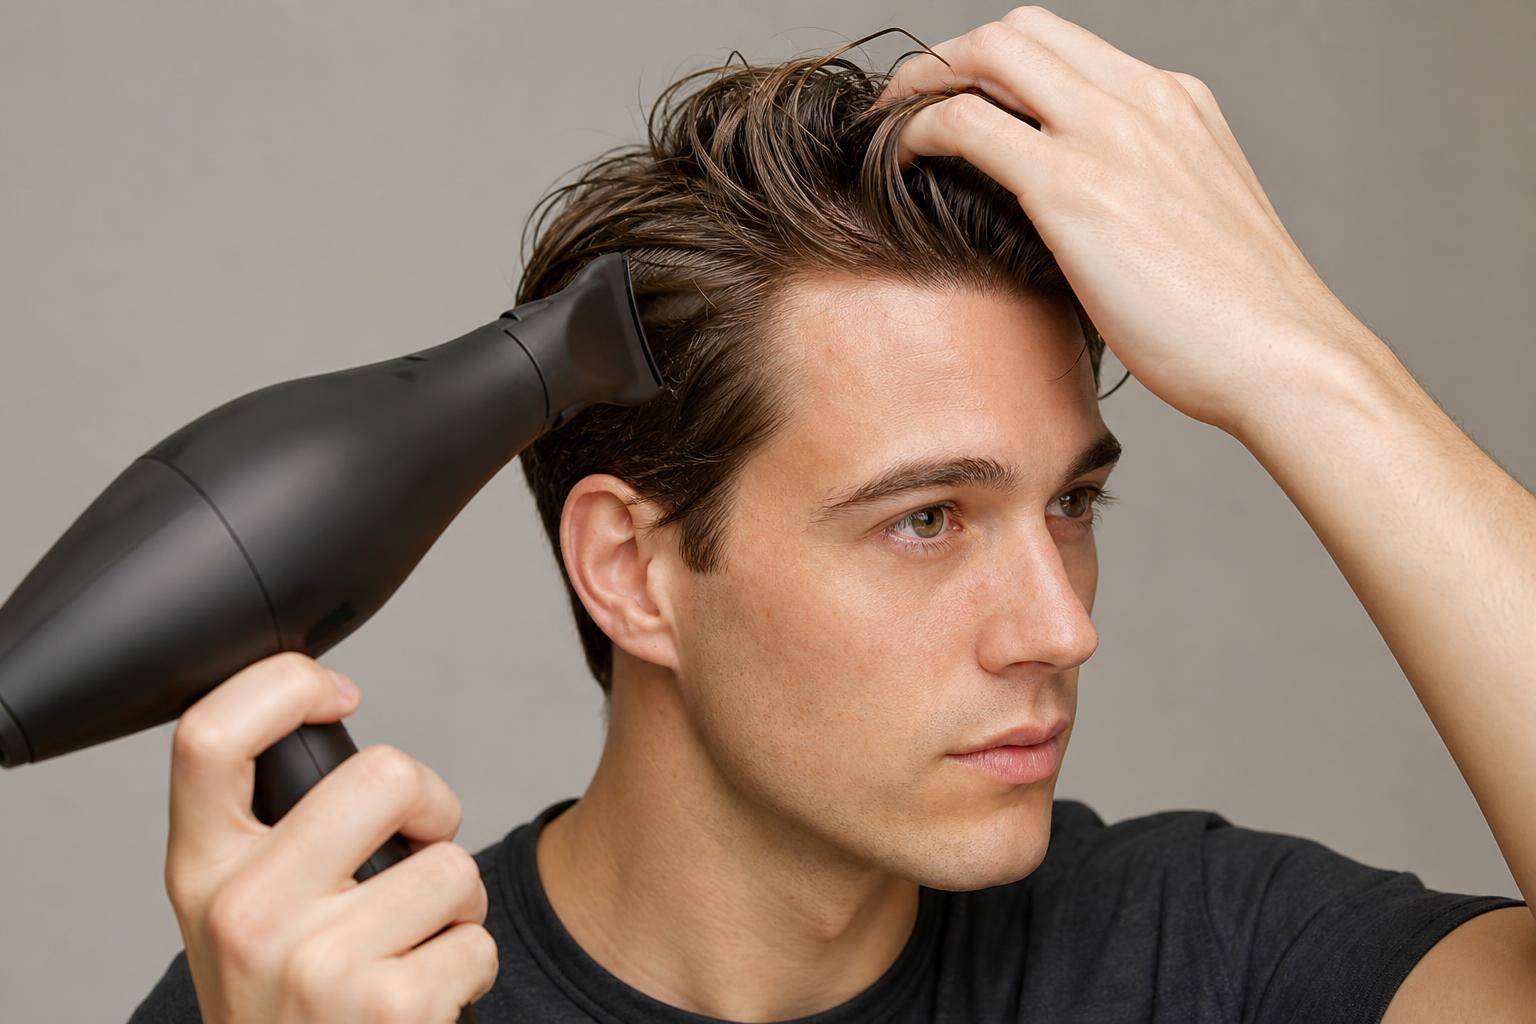
Step 2: Dry the Front Section Upward and Back
What you need: A hair dryer with a concentrator nozzle.
How: On medium heat, push the front section up and back with your fingers while directing the airflow at the roots, holding each section for five to ten seconds before releasing.
Why: Hair sets in whatever position it cools in, so the shape is decided here rather than at the product stage.
Common mistake: Drying downward first and trying to lift afterward, which sets the roots flat and makes the rest of the routine a fight.
Step 3: Work Matte Clay Through with Flat Palms
What you need: A pea-sized amount of medium-hold matte clay.
How: Warm it between your palms for ten seconds until it turns from solid to slick, then press it through the front section from underneath, lifting as you go.
Why: Applying from underneath supports the root; applying on top coats the surface and weighs the shape forward.
Common mistake: Using a scoop rather than a pea, which is the difference between texture and a solid greasy block.
Step 4: Push the Front Forward, Then Set It
What you need: Your fingers, and a light hairspray if your hair is fine.
How: Push the front section up and slightly forward with your fingertips, breaking it into two or three separated pieces rather than one solid wall, then mist lightly from about twelve inches away.
Why: The forward lean and the separation are the two things that make it a quiff rather than a pompadour.
Common mistake: Combing it after the product goes in, which merges the separated pieces back into a smooth mass.
If Your Hair Is Too Short Right Now
Most men asking how to ask for a quiff do not yet have the length for one, and a barber who says yes anyway will cut a shape that cannot lift. From a short back and sides you are looking at roughly three months to reach three inches at the front, since scalp hair grows about half an inch a month. The growing-in period is where people give up, so it is worth having a plan for it.
Keep visiting the barber during the grow-out, but only for the sides. Ask for the sides tapered and the top left completely alone, every four weeks. This keeps the cut looking deliberate while the top gains length, and it stops the shape spreading outward into a mushroom, which is what happens when the whole head grows evenly. Around the eight-week mark the front will be long enough to push sideways even if it will not yet stand up, and a curtain shape parted down the middle is a reasonable holding pattern until it does.
When a Quiff Is Not the Right Cut
The quiff suits most hair types and most face shapes, but there are a few situations where it works against you. Knowing them before the appointment saves a cut you will spend six weeks regretting.
- A receding hairline at the temples. Lifting the front up exposes the corners of the hairline rather than covering them, which draws attention to the recession. A forward-worn crop covers the same area, and the options in our guide to cuts for a thinning crown apply here too.
- A long or oblong face. Height on top adds vertical length to a face that already has it. A quiff kept under three inches works; anything taller pushes the proportions further.
- Very fine hair with low density. The front section needs enough strands to hold its own weight, and fine hair at four inches tends to separate into visible gaps rather than a full shape.
- No time in the morning. Three to five minutes with a dryer is the honest floor. There is no air-dry version of a quiff; without heat the roots set flat.
- A job with a hard grooming standard. Some workplaces measure length off the collar and above the ear, and a five-inch front section fails those rules even with short sides.
FAQ
How Long Does Hair Need to Be for a Quiff?
Three inches at the front is the working minimum and four inches is the comfortable target. Below three inches there is not enough length to lean forward, so the hair stands straight up and becomes a faux hawk instead. Measure by pulling the front section straight up and checking against your fingers, since three inches is roughly the width of two fingers plus a thumb.
What Is the Difference Between a Quiff and a Pompadour?
Direction and finish. A quiff lifts up and forward with visible texture and separation, while a pompadour sweeps up and straight back into a smooth rounded shape. The pompadour also needs an extra inch of length, a round brush, and a product with hold and shine, so it costs roughly triple the morning time.
Can I Get a Quiff with Curly Hair?
Yes, and curly hair often builds a better one, because the texture supplies volume that straight hair needs product to fake. Ask for the cut to be done dry so shrinkage is accounted for, and expect a rounder, softer outline than the sharp peak in most reference photos. A light cream holds it without turning the curl crunchy.
Does a Quiff Suit My Face Shape?
It suits round, square, and triangle faces particularly well, since the added height balances width lower down. Long and oblong faces should keep the front under three inches, because extra height stretches proportions that are already vertical. The face shape logic behind this is broken down further in our guide to cuts for triangle and diamond face shapes.
How Often Do I Need a Trim to Keep a Quiff?
Every four to five weeks with a taper, and every three weeks with a fade, because the fade line blurs long before the top needs touching. A useful approach is booking the sides more often than the top: ask for sides only at week three and a full cut at week six. That keeps the outline sharp while letting the front hold the length the style needs.
Why Does My Quiff Fall Flat by Midday?
Almost always because the roots were not dried into position, or the front section is too long. Product cannot hold a shape that was not set with heat, so if you are applying clay to air-dried hair, that is the first thing to change. If it is still dropping after a proper blow-dry, take an inch off the front, since weight beats hold every time.
Knowing how to ask your barber for a quiff comes down to replacing one vague word with four specific ones: the inches at the front, the guard number at the sides, the phrase point cut, and the direction you wear it. Settle those before you sit down and the cut becomes hard to get wrong. Bring a photo that shows the side of the head as well as the front, and the conversation takes about fifteen seconds.
Hair results vary based on your natural hair type, texture, density, and condition. Always consult with a licensed hairstylist before making significant changes, especially with chemical treatments or dramatic length changes. Photos may show styled results that require professional tools and products to replicate.