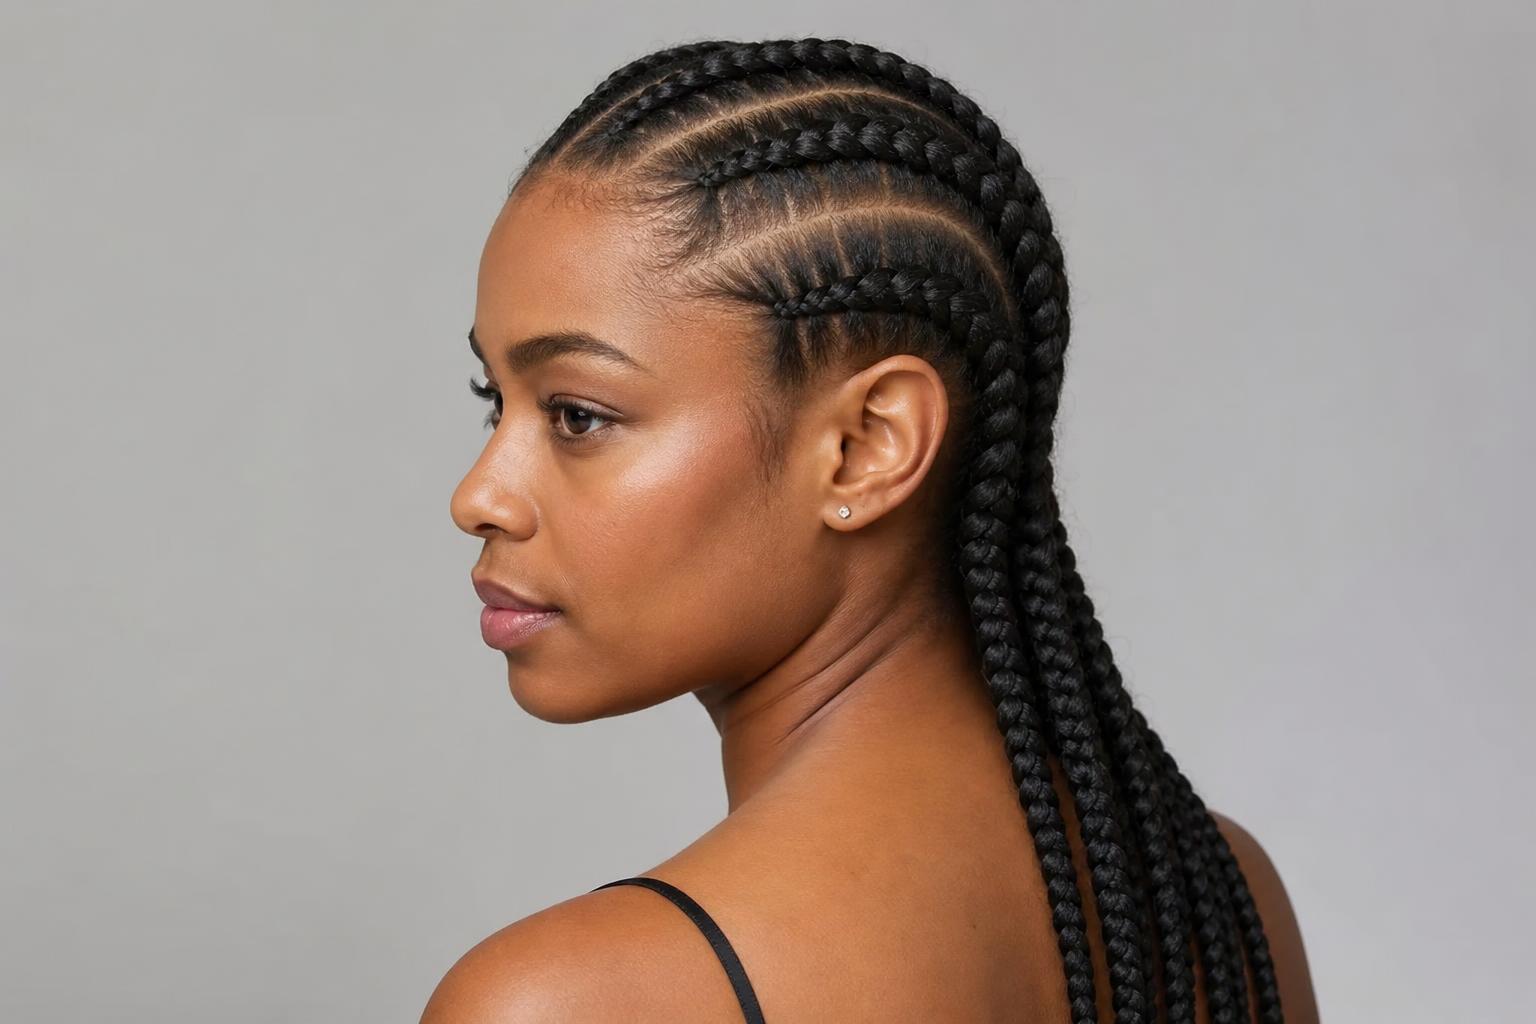
The cornrow trend that matters right now is not a single pattern, it is the shift toward looser tension and fewer, thicker braids, which is the first version of this style that protects your edges instead of costing them.
Cornrows are braided flat against the scalp, with each section fed in as the braid travels, and the pattern of the parts is what separates one style from the next. The 30 below cover straight-backs, curved and zigzag parts, feed-in and knotless installs, styles that combine braids with loose hair, and designs for kids and men. Install times run from 45 minutes for jumbo straight-backs to seven hours for small stitch braids with extensions.
Each entry names the part pattern, the braid size, and what the style needs from your hair, so you can walk into an appointment with a specific request. After the gallery there is an install-time and duration table, the exact language to use with your braider, a scalp and edge care routine for the weeks you are braided, and an honest section on tension damage.
| Factor | Details |
|---|---|
| Best for | Type 3c to 4c textures, natural or relaxed, at least 3 inches of length |
| How long they last | 2 to 6 weeks depending on braid size and how much new growth you have |
| Install time | 45 minutes to 7 hours, driven by braid count and whether extensions are added |
| Typical cost | $60 to $300 in most US metros, with extensions and small parts at the top end |
| Upkeep while braided | Scalp oil twice a week, satin scarf nightly, gentle cleanse every 2 weeks |
| Avoid if | Your edges are already thinning or your scalp is inflamed or scabbed |
Classic Straight-Back Patterns
Straight-backs run from the front hairline to the nape in parallel rows, and they are the pattern everything else is built on. The variable that changes the look most is not the direction but the number of braids: six thick rows produce a completely different result from twenty thin ones on the same head. All eight styles below work on natural hair with no extensions, though most can take feed-in hair if you want length.
1. Classic Straight-Back Cornrows
Eight to twelve even rows travel straight back from the hairline, each one fed with new hair from the scalp as it goes. The braider works from a clean, stretched base, which is why blow-dried or banded hair produces far crisper parts than shrunken wash-day hair.
2. Center-Parted Double Cornrows
Two thick braids either side of a center part suit oval and heart-shaped faces, since the strong vertical line lengthens the face and the fullness at the sides balances a wider forehead. Round faces do better with the part shifted off center.
3. Small Straight-Backs on Fine Hair
Finer 3c and loose 4a textures hold small braids well because there is less bulk fighting the part lines, and twenty or more thin rows give a defined result that thicker hair can struggle to achieve without added tension. Keep them under four weeks, since fine hair tangles at the roots faster during takedown.
4. Stitch Braid Straight-Backs
The ladder-rung look comes from a specific technique: the braider takes very small, even sections and pulls each one tight enough to create a visible horizontal notch. It takes longer than a standard cornrow and shows every inconsistency, so it is worth paying for someone whose stitch braid work you have actually seen.
5. Jumbo Straight-Backs
Four to six thick rows install in under an hour and cost the least of anything on this list, which makes them the practical choice between longer protective styles. The trade-off is that they last about two weeks before new growth loosens the parts. Larger sections also spread tension over more scalp, which is easier on the hairline than small braids.
6. Straight-Backs with Copper Extensions
Warm copper or ginger braiding hair blended into natural black roots gives a gradient that looks deliberate rather than grown out, and the color shows most clearly along the raised braid rather than at the scalp. Copper synthetic hair holds its tone for the life of the install with no fading.
7. Straight-Backs into a Low Braided Ponytail
Ask for straight-backs gathered and secured at the nape, with the loose ends braided into one thick plait rather than left free. Say whether you want the gathering point at the occipital bone or lower at the neck, because that placement decides how much the style pulls when you look up.
8. Diagonal Straight-Backs
Unlike a true straight-back, which runs front to back in parallel lines, diagonal rows angle across the head toward one shoulder. The change is small on paper and significant in person, since the asymmetry softens a square jaw and gives the style movement when the ends are left loose.
Curved, Zigzag, and Side-Swept Patterns
Once the parts stop being straight, cornrows become genuinely sculptural, and this is where most of the 2026 trend energy is going. Curved patterns take longer to install because the braider is following the shape of your skull rather than a ruler, and they also hide new growth better than straight lines do. Bring a photo for anything in this section, since verbal description rarely conveys a part pattern accurately.
9. Zigzag-Parted Cornrows
The braids themselves are ordinary straight-backs; the zigzag lives entirely in the parting, cut with a rat-tail comb before any braiding starts. Each zigzag point should line up with the one on the row beside it, which is what separates clean work from messy work.
10. Halo Cornrows Around the Crown
A single continuous braid circling the head just above the ears flatters oblong and diamond faces, because the horizontal band adds width at exactly the point where those shapes are narrowest. Longer faces gain the most. Keep the braid slightly loose at the front hairline where the skin is thinnest.
11. Curved Cornrows on Relaxed Hair
Relaxed and heat-trained hair takes curved parts beautifully because the strands lie flat and follow the direction they are combed, though the braids grip less than they would on natural texture. Have your braider use slightly smaller sections to compensate. Avoid installing within two weeks of a relaxer touch-up, when the scalp is still recovering.
12. S-Curve Side Braids
Each row sweeps out toward one temple, curves back toward the crown, then travels down to the opposite side of the nape. Setting the curves with a light gel and a rat-tail comb before braiding keeps the shape from flattening as the braid tightens.
13. Lemonade Braids Swept to One Side
All rows travel horizontally toward one shoulder, and because the whole install pulls in a single direction, the tension lands unevenly across the scalp. Alternate which side you sweep on consecutive installs rather than always going the same way. Classic lemonade braids with extensions hold four to six weeks with proper night care.
14. Two-Tone Curved Cornrows
Alternating rows of natural black and a lighter shade like honey or burgundy make a curved pattern legible from across a room, because the color traces the line the part is drawing. Blend the lighter hair from the mid-braid rather than the root if you want the color to look grown into rather than dyed on.
Feed-In and Extension Styles
Feed-in is the technique of adding small amounts of braiding hair gradually as the braid travels, rather than attaching a full bundle at the root. It is the single most important development in modern cornrowing because it removes the heavy knot at the scalp that traditional installs relied on. Every style in this section assumes feed-in, and it is worth asking for by name.
15. Feed-In Cornrows
Ask specifically for a feed-in install with no knot at the base, and say how much length you want in inches rather than showing a photo of someone with different hair. Braiders vary in how gradually they add hair, so mention if you want the braid to stay slim near the hairline. This is the request that protects your edges more than any product does.
16. Knotless-Style Feed-Ins for Tender Scalps
Where a traditional cornrow anchors the extension with a tight knot at the root, a knotless start uses only your own hair for the first half inch and introduces the added hair afterward. The difference in first-night comfort is dramatic, and the style hangs more naturally as well. The same principle applies to knotless installs finished with curly ends.
17. Fulani-Style Cornrows with Beads
The traditional structure runs a center braid front to back with cornrows angling in from both sides, and beads threaded onto the ends. Ask for the beads to be secured with small elastics rather than crimped metal cuffs, which snag on takedown. Our full look at Fulani braid patterns covers the traditional layouts in more detail.
18. Tribal Braids with a Center Braid
Heart and diamond face shapes gain the most here, because the strong center line draws the eye down the middle of the face and the angled side rows add width at the jaw where those shapes taper. Avoid pulling the center part too tight at the front hairline. Beads and cuffs are optional and add real weight, so use them sparingly if your hair is fine.
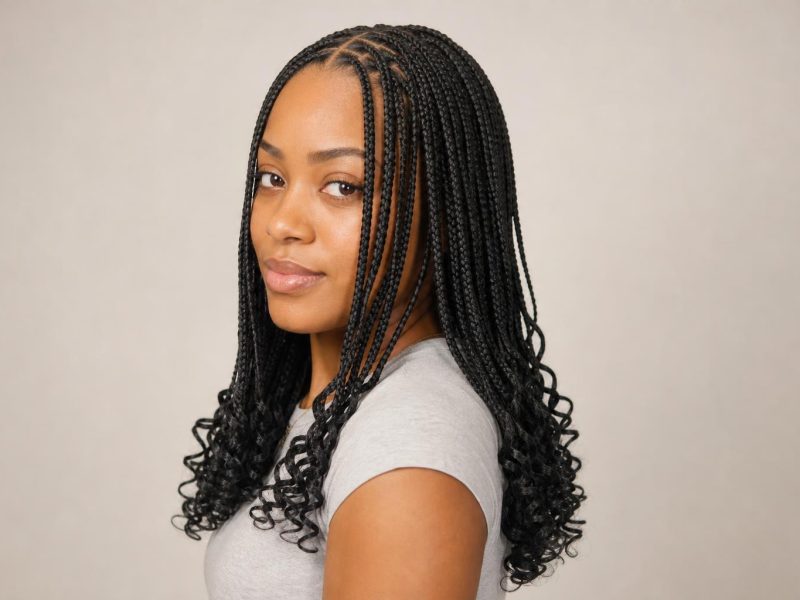
19. Goddess Cornrows with Curly Ends
Coarser 4b and 4c textures carry goddess braids well, since the thicker braid body matches the density of the natural hair and the transition to loose curls at the ends looks continuous. On finer hair the braid can look sparse next to the curly extension. Ask for water-wave hair rather than deep-wave for a softer finish.
20. Cornrows with Loose Curly Extensions at the Ends
Braid down to about ear level, then leave the remaining extension hair unbraided and defined with a leave-in and a light gel. Refresh the loose section every three or four days with a water and conditioner mist, scrunching rather than combing. Combing the curly ends dry is what turns them into frizz within a week.
21. Boho Cornrows with Wavy Pieces
Wispy human-hair pieces pulled out along the braid create the undone look, and they need more upkeep than they appear to, with a weekly detangle and a light oil to keep them from matting. Expect the boho pieces to look their best in the first two weeks and to need trimming after four.
22. Ombre Cornrows in Honey Blonde
A gradient from your natural root color into honey blonde at the ends keeps the scalp area dark, which makes new growth far less obvious as the install ages. Warm honey and caramel tones suit deeper skin tones without the harsh line a platinum extension creates. Pre-stretched ombre braiding hair saves an hour of install time over blending two colors yourself.
Cornrows Combined with Loose Hair
These four styles use cornrows for structure and leave part of the hair out, which suits anyone who wants the neatness of braids without committing the whole head. They also cut install time significantly. The trade-off is that the loose section still needs daily attention, so these are styling choices rather than fully protective ones.
23. Cornrows into a High Bun
Ask for straight-backs or curved rows gathered into a single high point, then say whether you want the bun made from your own braided ends or a separate added piece. Those are two different services at two different prices. Specify the bun position by pointing to your head rather than describing it, since high means different things to different braiders.
24. Half-Cornrow Half-Afro
Where a full install hides all your texture, this one braids only the front or one side and leaves the rest out in its natural state. The contrast between flat, precise rows and loose volume is the entire point, so the loose section needs to be picked out and defined properly rather than left flat. Works best on shorter afros where the loose hair holds its shape.
25. Cornrow Crown with a Loose Curly Top
The sides and back are cornrowed close to the scalp while the crown section stays out and is defined with a curl cream. Braiders create the boundary by parting a horseshoe shape from temple to temple over the crown before starting. The loose top can be worn out, pineappled at night, or pinned depending on the day.
26. Front Cornrows with a Sleek Low Bun
Square and angular face shapes benefit from three or four cornrows across the front softening the hairline, with the remaining length smoothed into a low bun at the nape. The braided front keeps the hairline flat without the edge-control gel a fully slicked style needs. Half-up structures like this and other half-up styles on natural hair give you a professional finish in about 20 minutes.
Cornrow Styles for Kids and Men
Children’s and men’s cornrows follow the same rules with two differences: tension matters even more on a child’s developing hairline, and men’s styles are usually shorter, so the pattern has to work without length to carry it. These four are the ones that hold up to real life. Keep children’s installs under three weeks regardless of how well they are holding.
27. Small Cornrows for Children’s Fine Hair
Young children have finer strands and a more fragile hairline than adults, so smaller sections braided loosely spread the load better than a few tight thick rows. Skip extensions entirely before about age eight. Our roundup of braided styles for girls covers age-appropriate options in more detail.
28. Heart-Pattern Cornrows for Kids
The heart is drawn entirely in the parting, with rows braided to follow the outline and the interior filled with straight-backs. Ask the braider to sketch the shape with a rat-tail comb and show you before any hair is braided, since a heart that is off center is difficult to fix afterward.
29. Men’s Straight-Back Cornrows
Six to ten rows on hair that is at least three inches long will hold about two weeks before the roots need redoing, which is the realistic cycle for men who braid regularly. Shorter hair grips less, so the front rows loosen first. A satin durag at night roughly doubles how long the install stays neat.
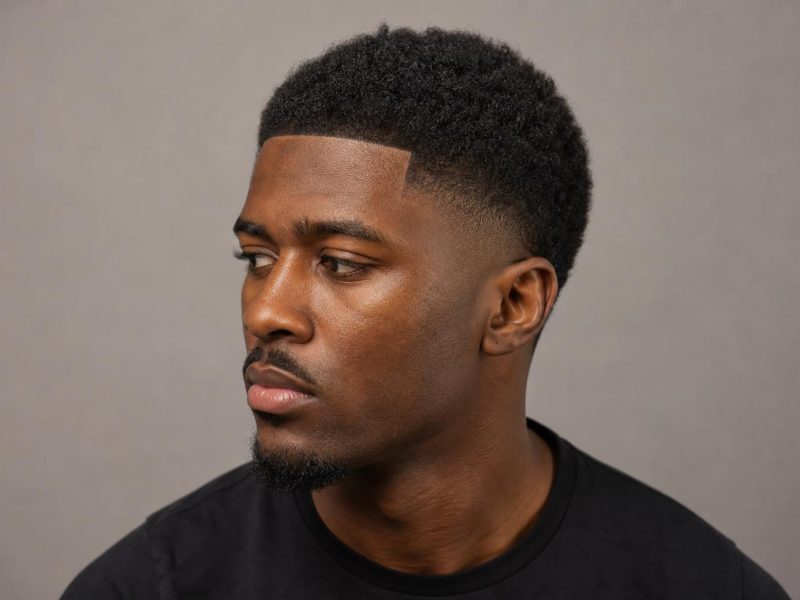
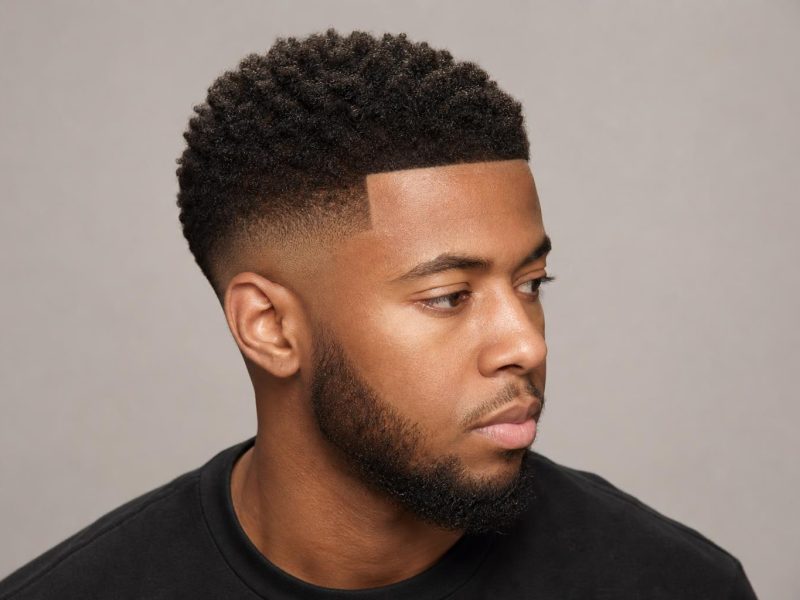
30. Men’s Cornrows with a Taper Fade
Braids on top with faded sides is the combination that dominates barbershop requests right now, and the color contrast between dark braided rows and skin at the temples is what makes it work. Book the fade and the braids in the right order, with the fade cut first so the braider can part cleanly to the new hairline. More variations live in our cornrow guide for men.
Install Time, Cost, and How Long Each Style Lasts
The three numbers people most want before booking are almost never published, so here they are in one place. Install time and price both scale with braid count rather than length, which is why twenty small rows cost more than six jumbo ones even though the six use more hair. Duration depends mostly on how fast your new growth pushes the parts apart.
| Style | Install Time | Lasts | Tension Level |
|---|---|---|---|
| Jumbo straight-backs, no extensions | 45 to 90 minutes | 1 to 2 weeks | Low |
| Standard straight-backs, no extensions | 2 to 3 hours | 2 to 3 weeks | Low to moderate |
| Feed-in cornrows with length | 3 to 5 hours | 4 to 6 weeks | Moderate |
| Stitch braids | 4 to 7 hours | 3 to 5 weeks | Moderate to high |
| Curved or zigzag patterns | 4 to 6 hours | 3 to 5 weeks | Moderate |
| Half-braided styles | 1 to 2 hours | 1 to 2 weeks | Low |
Braider tip: Book the earliest appointment of the day for anything over four hours. Braiders work faster and part more precisely in the first half of a shift, and the difference in edge crispness between a 9am install and a 6pm one is visible.
Caring for Your Scalp While Braided
The weeks you are braided are the weeks your hair should be gaining length, and that only happens if the scalp underneath stays clean and the braids stay loose enough not to pull. Most of the damage people blame on braiding actually comes from neglect during the install rather than the install itself. A simple routine covers it.
Cleanse every two weeks with diluted shampoo applied directly to the scalp with an applicator bottle, working it along the parts rather than scrubbing across the braids. Rinse thoroughly and dry the scalp properly, since damp braids at the root are how mildew and itching start. Between washes, a lightweight oil on the parts two or three times a week keeps the skin comfortable without building up.
Night care does more than anything else for how long an install stays neat. A satin scarf or bonnet stops the friction that frizzes braids at the hairline, and it takes ten seconds. Sleeping on a bare cotton pillowcase costs you roughly a week of a four-week install. The other habit worth adopting is refusing to sleep with braids gathered in a tight elastic, since that adds a second layer of tension on top of what the install is already applying.
Stylist tip: Take your braids out at week five even if they still look good. The reason is not the braids, it is what the new growth has done at the root, where five weeks of loose regrowth tangles into the braid and turns takedown into breakage. Set a calendar reminder on install day.
When Cornrows Are Not the Right Choice
Cornrows are protective only when the tension is right, and a tight install does more damage than wearing your hair loose. Skip or postpone in these situations:
- Your edges are already thinning or your temples have visibly receded. Repeated pulling at the hairline is the leading cause of traction alopecia, and the American Academy of Dermatology is clear that hairstyles that pull can cause permanent hair loss once the follicle scars. Give the hairline several months in low-tension styles first.
- You have small white bumps, tenderness, or scabbing on the scalp after a previous install. That is inflammation, and braiding over it makes it worse. Let the scalp settle and ask for looser tension next time.
- Your hair is shorter than about three inches. The braid will not grip, the front rows will slip within days, and the braider will compensate by pulling harder.
- You cannot commit to taking them down on schedule. Cornrows left in for two or three months matt at the roots, and the takedown removes more hair than the style ever protected.
- You are recovering from a chemical service. Wait at least two weeks after a relaxer or color before any tension style.
What to Tell Your Braider
Describe four things and you will get what you pictured: the part pattern, the braid size, whether you want extensions and how many inches, and where you want the ends to finish. Something like: “Straight-backs, about ten rows, feed-in with 18 inches, braided all the way down to the ends, and please keep the front two rows loose at the hairline.” Bring a photo for the pattern, since part layouts are close to impossible to describe accurately.
Say the word “loose” out loud at the start, and say it again at the hairline. Braiders are trained to produce neat, long-lasting work, and tightness is how that gets achieved unless you ask otherwise. If it hurts during the install, it will not settle, it will stay painful, and a headache on night one means the tension is too high. Asking a braider to redo the first two rows is normal and far cheaper than the alternative.
Braider tip: Wash and stretch your hair the day before rather than the morning of. Clean, fully dried, banded or blow-dried hair gives crisper parts and cuts install time by about 45 minutes, and most braiders charge extra to detangle hair that arrives unprepared.
FAQ
How Long Do Cornrows Last?
Two to six weeks, with braid size the biggest variable. Jumbo braids with no extensions loosen in a week or two, standard straight-backs hold two to three weeks, and feed-in cornrows with extensions can look neat for four to six. Take them out at five weeks regardless, since new growth tangles into the braid past that point and takedown starts costing you hair.
Do Cornrows Help Your Hair Grow?
They protect length you already have rather than speeding growth. Hair grows at roughly half an inch a month regardless of style, and braids help by keeping ends tucked away from friction, combing, and heat. That benefit disappears completely if the install is tight, so tension control is what decides whether cornrows help or hurt.
How Do I Wash My Hair With Cornrows In?
Use an applicator bottle with shampoo diluted about one part to three parts water, and apply it straight to the scalp along the parts. Massage with fingertips, not nails, rinse until the water runs clear, and dry the roots properly with a microfiber towel and cool air. Washing every two weeks is enough, and squeezing the braids rather than rubbing them keeps frizz down.
Are Cornrows Bad for Your Edges?
Tension is bad for your edges, and cornrows are only a problem when installed too tightly or worn too long. The hairline has the finest, most fragile follicles on your head, and repeated pulling there causes damage that eventually stops being reversible. Ask for the front rows loose, alternate your part direction between installs, and give your hairline a break of at least two weeks between styles.
What Is the Difference Between Cornrows and Box Braids?
Cornrows are braided flat against the scalp with hair fed in as the braid travels, so they follow the head. Box braids are individual braids that hang free from a square-parted section, attached at the root but not attached along their length. Cornrows generally take less time to install and last a shorter period; box braids take longer and can be worn for six to eight weeks.
Can I Get Cornrows on Short or Fine Hair?
Yes, from about three inches of length, and fine hair often takes small cornrows better than thick hair does because there is less bulk fighting the parts. What fine hair cannot handle is heavy extensions, since the weight pulls on follicles that are already delicate. Ask for lightweight feed-in hair, fewer inches of length, and looser tension throughout.
How Much Do Cornrows Cost?
Most US metros run $60 to $300, with braid count driving the price more than length does. Simple straight-backs without extensions sit at the low end, while small stitch braids or intricate curved patterns with feed-in hair reach the top. Extension hair is usually an additional cost unless the braider states otherwise, so confirm that when you book.
Choosing among trending cornrows comes down to three practical decisions rather than a photo: how many hours you can sit, how much tension your hairline can safely take, and whether you want the style to last two weeks or six. Bring a picture for the part pattern, ask for feed-in and loose edges by name, and put the takedown date in your calendar before you leave the chair.
Hair results vary based on your natural hair type, texture, density, and condition. Always consult with a licensed hairstylist before making significant changes, especially with chemical treatments or dramatic length changes. Photos may show styled results that require professional tools and products to replicate.