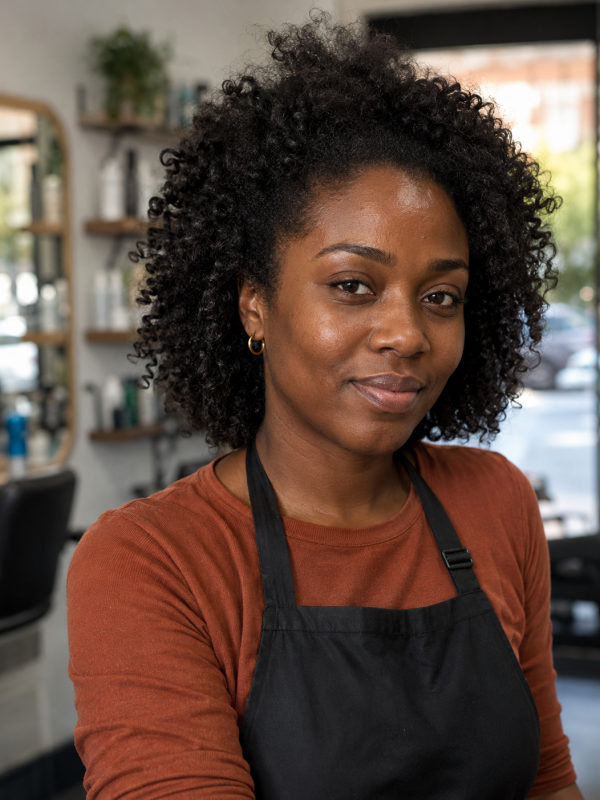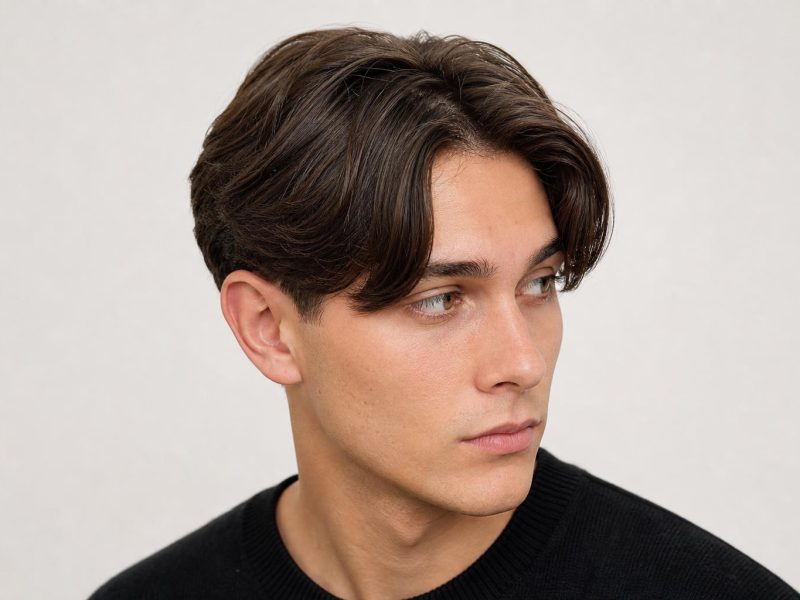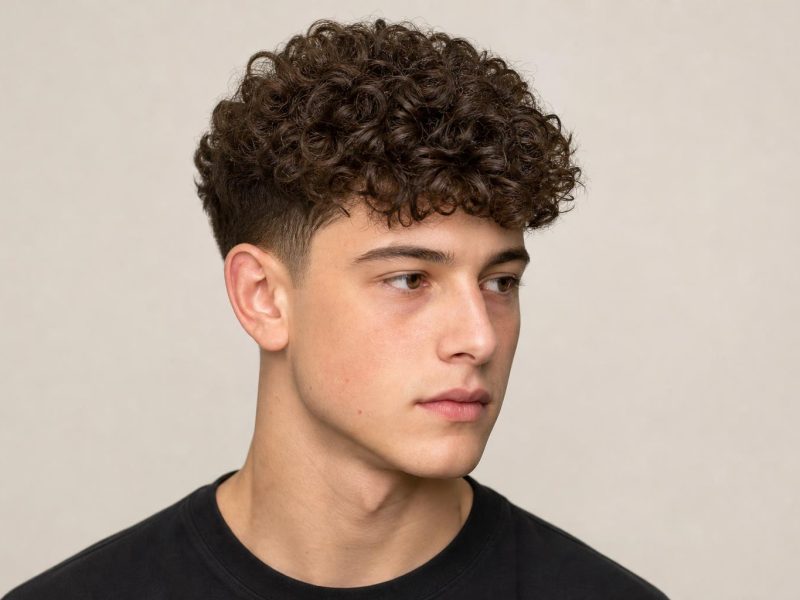
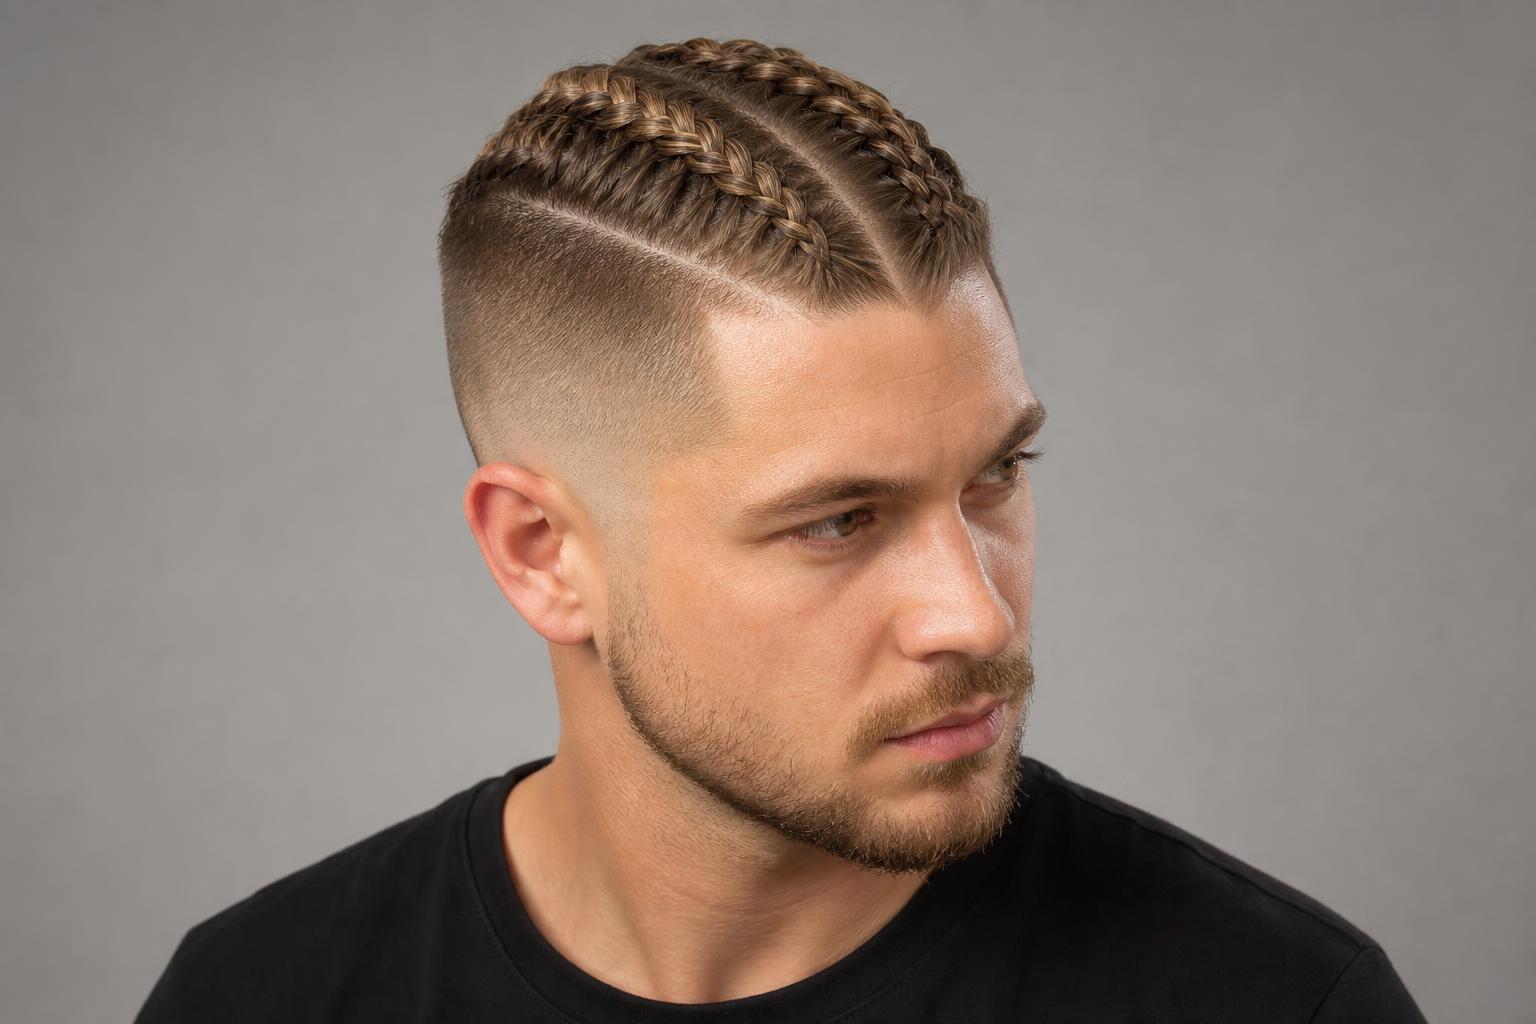
Viking braids live or die on two things, the length you have on top and how tightly each plait is anchored to the scalp.
Viking braids are scalp-anchored plaits worn on long top hair, usually set against short, faded, or shaved sides, and most versions need at least four inches on top before a braid holds its line for more than a day. The 25 styles below cover single warrior plaits, twin shield maiden braids, rope twists, and undercut versions for men and women.
Sections are grouped by who wears them and how much hair gets removed, starting with men’s scalp braids, moving to women’s shield maiden styles, then to the shaved-side and undercut versions. After the gallery you will find the length each style actually needs, face shape guidance, the exact wording to use with a barber or stylist, a realistic maintenance schedule, and the scalp tension warning most competing articles skip entirely.
| Factor | Details |
|---|---|
| Best for | Medium to thick hair, straight through 4C, minimum 4 inches on top |
| Maintenance | Rebraid every 2 to 5 days; side or undercut trim every 4 to 6 weeks |
| Works with | Undercuts, skin fades, tapers, or naturally long sides left loose |
| Avoid if | You have a receding hairline, fine sparse density, or any active scalp irritation |
| Salon time | 20 to 45 minutes for a braid set, 60 to 90 minutes with an undercut |
What Separates a Viking Braid from a Regular Plait
The difference is anchoring. A regular plait starts partway down the hair and hangs free, while a Viking braid begins flat against the scalp, usually as a Dutch braid, so the pattern stays visible from the front and the braid cannot slide backward during movement. That scalp attachment is why these styles hold through a workday, a gym session, or a long shift, and it is also why they pull if they are braided too tight.
The second marker is contrast. Viking braiding almost always pairs long, worked top hair with something drastically shorter at the sides, whether that is a skin fade, a nape undercut, or a single shaved panel. Scalp braiding itself is far older and far broader than any Norse association suggests, and the technique overlaps heavily with cornrow patterns cut for men, which use the same flat Dutch method with different sectioning.
Warrior Braids for Men
Men’s Viking braids concentrate the work in a narrow strip down the center or in two parallel lines, leaving the sides short so the braid pattern stays the focal point. These suit straight, wavy, and coily hair equally well, though the tighter your curl pattern, the longer the braid holds without slipping. Four inches on top is the practical floor, and six to eight inches gives you enough length to finish the braid past the crown.
1. Single Center Warrior Braid
One Dutch braid runs from the front hairline straight back over the crown, plaited under rather than over so the strand pattern stands raised above the scalp. The braid is fed with small pickups every half inch, which is what keeps the line tight and prevents the gapping you get from a standard three-strand start. Works on anything from six inches of top length upward.
2. Twin Warrior Braids
Two parallel Dutch braids split the top down a center part and travel back to the occipital bone before joining into one tail. Longer faces gain from the horizontal weight the double line creates across the front hairline, while very round faces do better with a single narrow braid that adds height instead of width. Start the part slightly off-center if your hairline is uneven.
3. Braided Top Knot
Coarse, dense hair carries this best, because the braid is only the first half of the style and the remaining length coils into a knot at the crown. Fine hair tends to produce a small, loose knot that unravels by midday, so a shorter braid finished with a band works better on lower density.
4. Rope Twist Crown
Split the top into two sections, twist each one clockwise on its own, then wrap the two around each other counterclockwise so the tension locks the cord in place. Damp hair with a light styling cream holds the twist far better than dry hair, and the whole thing takes about three minutes once you have done it twice. The same counter-rotation logic drives barrel twist styling on textured hair, scaled up.
5. Braided Ponytail with Shaved Sides
Everything above the parietal ridge braids back into a single tail that hangs free below the band. Rebraiding takes under five minutes each morning, and the shaved sides need a clipper pass every three to four weeks or the contrast softens and the style loses its shape. If you want the same silhouette with less commitment, a braided ponytail worn without shaved sides reverses in one wash.
6. Ash Blonde Half-Braid
Cool ash tones make the plait pattern visible from a distance, since lighter strands catch light on the raised sections while the shadowed grooves stay dark. Expect a toner refresh every five to six weeks, because ash pulls brassy fastest at the hairline where product and sweat concentrate.
7. Four-Strand Center Plait
Ask your barber for a four-strand flat braid down the center, sides taken to a number two guard, and say you want the braid anchored from the front hairline rather than started at the crown. The four-strand structure gives a wider, flatter braid than the standard three-strand, which suits broader heads.
8. Braided Mohawk Ridge
Unlike a shaved mohawk where the strip is left loose and spiked, this version braids the center strip flat so the ridge stays low and defined all day. The braided version also survives wind and helmets, which a product-held mohawk does not. Set it over a faded mohawk outline if you want the sides to blend rather than stop hard.
9. Beard-and-Hair Matching Braids
Two small three-strand braids in the beard mirror the scale of a single scalp braid above, tied off with clear elastics rather than metal cuffs that snag. Beard hair is coarser and shorter, so each braid needs a pea-sized amount of beard balm worked through before plaiting or the ends fray within an hour. Keep the beard braids narrower than the scalp braid, otherwise the lower half of the face dominates.
Shield Maiden Braids for Women
Women’s Viking braids usually keep all the length and put the structure into the crown, front hairline, and sides, so the style looks braided rather than shaved. Most of these need shoulder length or longer, and they hold noticeably better on second-day hair than on freshly washed strands. If your hair is heavily layered, expect shorter pieces to escape the braid at the nape within a few hours.
10. Crown Halo Braid
A single braid circles the head above the ears and pins behind the opposite temple, framing the face without covering it. Heart-shaped and diamond faces gain the most here, because the horizontal band across the forehead balances a narrower brow and draws the eye away from the cheekbones. Square jaws do better with the halo set higher and looser so the line does not echo the jaw angle.
11. Dutch Double Braids
Thick, dense hair is the natural fit, since two braids distribute the weight evenly and neither one strains a single section of scalp. On fine hair the same style looks thin, and the fix is to pancake each braid by gently pulling the outer loops wider after tying off. Coily and textured braid patterns hold this shape for days without any pulling at all.
12. Fishtail Shield Maiden
Work with slightly gritty hair, either second-day or misted with a sea-salt-based texturizing spray, then take half-inch pieces from alternating outer edges and cross them to the middle. Fishtail sections need to stay small or the woven pattern disappears into a rope shape. Finish by loosening the outer edges with your fingertips, not a comb, which would separate the weave.
13. Loose Boho Warrior Braid
Deliberately soft tension means this one grows out gracefully and can be left in for two or three days, since loose braids do not leave the sharp dent that tight ones do. The trade-off is that it needs a light hairspray and a few pins at the nape by day two.
14. Copper Fishtail Crown
Copper and auburn tones give a fishtail its dimension, because the weave creates dozens of small shadow lines and warm pigment makes each one visible. The pigment molecule that produces copper lies closer to the outside of the hair shaft than brown pigment, which is why the tone softens after a handful of washes and needs a color-depositing conditioner to hold its depth. Plan a gloss refresh roughly every four to six weeks.
15. Braided Half-Up with Loose Length
Ask for the braided section to start at the temples and stop at the crown, with the rest left down and untouched. The phrase that gets this right in a salon chair is two Dutch braids from the temples, joined at the crown, everything below left loose. It is the most workplace-neutral option here and takes about six minutes once you know the sectioning.
16. Waterfall Shield Braid
Where a standard shield maiden braid keeps every strand contained, this one drops a section out with each pass so length falls through the braid line. The result is far softer and suits fine hair that would look sparse in a solid plait. The technique is the same one used for a waterfall braid worn on its own, just angled back rather than across.
17. Triple Scalp Braids into a Bun
Three narrow Dutch braids run parallel from the front hairline to the crown, where all three feed into a single low bun. Keeping the three parts perfectly straight matters more than braid tightness, so section with the tail of a rat-tail comb rather than your fingers.
18. Face-Framing Micro Braids
Two or three pencil-thin braids run just behind the hairline on each side, with the rest of the hair left down. Long and oblong faces benefit, since the narrow vertical braids break up the length of the sides without adding the width a full crown braid creates. Round faces should keep these to a single braid per side, positioned further back.
Undercut and Shaved-Side Viking Braids
This section removes hair rather than adding structure, which changes the commitment level substantially. An undercut or shaved panel takes six to twelve months to grow back into blended length, so the decision is worth a conversation with your stylist before the clippers come out.
19. Disconnected Undercut with Single Braid
Coarse, dense hair carries the hard disconnection best, because the top section stays thick enough to look like a deliberate contrast rather than a mistake. Fine hair softens the effect and a taper is usually the better call.
20. Side-Shave Braided Sweep
Part deep on the heavy side, braid a single line along the part, then sweep the remaining length over the shaved panel and pin it at the back. Damp hair and a matte paste hold the sweep far better than dry hair with hairspray, which goes stiff and flakes at the part line.
21. Nape Undercut with Wrapped Braid
Because the shaved area hides completely when the hair is down, this is the lowest-risk undercut on the list for anyone with a conservative workplace. The nape needs a clipper pass every four to five weeks, and the wrapped braid across it takes about two minutes to redo each morning.
22. Silver Braided Undercut
Silver and natural gray give the sharpest definition of any color on a braided undercut, since the shaved section looks almost white against the darker braid grooves. Toning matters more than on pigmented hair, because silver picks up yellow from hard water and styling product within about three weeks. A violet-based conditioner once weekly holds the tone without over-depositing.
23. Braided Faux Hawk over a Fade
Tell your barber you want a mid skin fade with the top left at four inches minimum, no thinning shears through the center strip, and a soft blend rather than a hard line at the temples. The wording that matters most is keep the weight in the center, because barbers often texturize the top and that removes exactly the density a braid needs.
24. Twin Braids over a Skin Fade
A skin fade underneath makes the two braids look far wider and more graphic than the same braids over long sides, where the surrounding hair competes for attention. Long sides give a softer, more historical look, while the fade version is the one that photographs well.
25. Accented Braids with Beads and Cuffs
Slide open-ended cuffs on before you finish the braid and close them with flat-nose pliers over a cloth so the metal does not score. Position the accent no higher than the mid-braid, because a cuff near the scalp swings and pulls at the root every time you move your head. The same accent logic runs through a lot of subculture and alt styling.
How Much Length Each Viking Braid Actually Needs
Most guides skip this and it is the single biggest reason home attempts fail. A braid needs enough length to complete at least three full crossings past the point where it stops being fed, or it slips out within the hour. Measure from the crown, not from the hairline.
| Style Type | Minimum Top Length | Comfortable Length | Holds For |
|---|---|---|---|
| Single center braid | 4 inches | 6 to 8 inches | 1 to 2 days |
| Twin or triple braids | 5 inches | 7 to 10 inches | 2 to 3 days |
| Rope twist | 6 inches | 8 inches | Under 1 day |
| Braided top knot | 8 inches | 10 to 12 inches | 1 day |
| Crown halo braid | Shoulder length | Mid-back | 2 days |
| Fishtail crown | Collarbone | Mid-back or longer | 2 to 3 days |
| Beard braid | 3 inches | 5 inches | Under 1 day |
Choosing a Viking Braid for Your Face Shape
Braid placement changes the visual proportions of a face more sharply than a haircut does, because a scalp braid draws a hard line the eye follows. The rule is simple enough to apply in a mirror, add horizontal lines to shorten a long face and vertical lines to narrow a wide one. If you are still working out which shape applies to you, the reasoning in our diamond face shape guide transfers directly to braid placement.
| Face Shape | Best Braid Placement | Avoid | Why |
|---|---|---|---|
| Oval | Almost anything, single or twin center braids | Nothing structural | Balanced proportions carry both vertical and horizontal lines |
| Round | Narrow single center braid with height at the front | Wide crown halo braids | A vertical center line lengthens; a horizontal band widens |
| Square | Loose halo set high, softened edges | Tight braids ending level with the jaw | Soft curves counter a strong jaw line instead of echoing it |
| Heart | Crown halo braid, face-framing micro braids | Slicked-back styles with no front structure | A braid across the forehead balances a narrower chin |
| Oblong | Halo braid, twin braids kept low and wide | Tall braided top knots | Height at the crown adds length a long face does not need |
| Diamond | Braids that add fullness at the temples and jaw | Braids pulled flat at the sides | Flattened sides emphasize the widest point at the cheekbones |
What to Tell Your Stylist or Barber
Viking braid is not a technical term, so walking in and saying it produces wildly different results depending on who is holding the clippers. Describe the cut and the braid as two separate requests, because the cut is what your barber controls and the braid is what you will be redoing at home.
For the cut, useful phrasing sounds like this. Leave the top at four inches or longer with the weight kept in the center, take the sides to a number one or two, blend soft at the temples, and no thinning shears through the top. For a nape undercut, say you want the shaved section to stop below where the hair falls naturally, so it hides when everything is down.
Stylist tip: Ask your barber to leave the front hairline slightly longer than the rest of the top. A braid anchored at the hairline needs those extra strands to grip, and a squared-off front edge is the most common reason the first two crossings of a Dutch braid keep slipping loose.
Stylist tip: Book the braid and the cut as separate appointments if you can. Freshly cut hair has blunt, clean ends that resist gripping, and braiding on day-two hair with a little natural texture gives a noticeably tighter result than braiding straight after a wash and cut.
When Viking Braids Are Not the Right Choice
Tension is the real risk here, and it is worth being direct about it. Repeated pulling at the same points along the hairline causes traction alopecia, which is gradual, painless, and often not noticed until the hairline has already receded a visible amount.
- A receding or thinning hairline makes scalp braids a poor idea, since the braid concentrates pull exactly where density is already lowest. A loose top knot or a taper with length left on top gives a similar silhouette without the pull.
- Fine, low-density hair produces a braid barely wider than a pencil, which disappears against the scalp. Adding a small amount of volumizing mousse at the root before braiding helps, but a rope twist gives more visible bulk than a plait at the same density.
- Chemically relaxed or recently bleached hair should not be braided tightly at all, because the cuticle is already compromised and tension breakage happens at the mid-shaft rather than the root.
- Any tenderness, small bumps, or itching along the part lines means the braids are too tight. Take them out the same day; soreness that lasts beyond a few hours after braiding is not something that settles.
- Jobs with strict grooming standards rarely accommodate a shaved panel or skin fade. A nape undercut with a wrapped braid gives you the same style off the clock and hides completely when worn down.
Maintenance and Styling Reality
These styles are worn, not installed, which puts them in a different maintenance category from long-wear protective braiding.
| Task | Frequency | Time | What You Need |
|---|---|---|---|
| Rebraid | Every 2 to 5 days | 3 to 10 minutes | Rat-tail comb, clear elastics, light styling cream |
| Wash | Every 2 to 4 days | Braid out first | Sulfate-free shampoo, scalp-focused rinse |
| Side or undercut trim | Every 4 to 6 weeks | 15 to 25 minutes | Barber visit or clippers with guards |
| Top length trim | Every 10 to 14 weeks | 15 minutes | Dusting the ends only, no layering |
| Overnight care | Nightly | 1 minute | Silk or satin pillowcase, or a loose braid tied off |
| Scalp rest | 1 to 2 days weekly | All day | Hair worn fully loose, no tension at the hairline |
Common Viking Braid Myths
Myth: Viking Braids Are a Historically Documented Style
Reality: The detailed braid patterns sold as authentic Norse styling are largely a modern invention, popularized by television and film rather than by archaeology. Historians agree Norse people groomed carefully and wore long hair, but the specific multi-braid patterns you see online today have no documented source.
Myth: Tighter Braids Last Longer
Reality: Past a certain point, tighter braids fail sooner, not later. Over-tensioned hair snaps at the point of greatest pull, so the braid loses the very strands that were holding it, and you also get the small white bumps along the part line that signal follicle stress. A firm but comfortable braid, snug enough to hold when you shake your head and no snugger, lasts longer than a painful one.
Myth: You Need Very Long Hair
Reality: Four inches on top is enough for a single center braid, which is shorter than most people expect. What matters is the ratio between top length and side length, not absolute length. Six inches on top over a number one guard on the sides gives a stronger braided look than twelve inches over long sides, because the contrast is what makes the pattern visible.
FAQ
How Long Does It Take to Learn to Braid Your Own Hair?
Most people get a passable Dutch braid on their own head within about a week of daily attempts, and a clean one within a month. Braiding backward on yourself is the hard part, since the motion is mirrored and your arms tire quickly. Practice sitting down with your elbows supported, and start with a rope twist, which takes about a tenth of the coordination and looks similar from a distance.
Can You Get Viking Braids with Curly or Coily Hair?
Yes, and textured hair holds these styles considerably better than straight hair does. Coils grip each other so the braid stays put for days rather than hours, and the raised Dutch pattern shows up more clearly on defined curl types. Braid on damp hair with a leave-in conditioner rather than dry, and use a wide-tooth comb for sectioning so you are not fighting shrinkage.
Do Viking Braids Damage Your Hair?
Braiding itself does not damage hair, but sustained tension does. The risk comes from wearing tight braids in the same parting pattern day after day without a break, which stresses the same follicles repeatedly. Rotate your part lines, give your scalp one or two loose days a week, and stop immediately if you notice tenderness or small bumps at the hairline.
What Products Hold a Viking Braid Best?
A light styling cream or a matte paste worked through damp hair gives the grip a braid needs without the stiffness of gel. Sea-salt-based texturizing spray is the better choice on fine, slippery hair, since it adds friction between strands. Skip hairspray during braiding entirely; apply it only at the end, held about eight inches away, or the braid goes crunchy and shows every flake at the part line.
Should I Wash My Hair Before Braiding It?
No, second-day hair braids far better than clean hair. Freshly washed strands are slippery and the braid loosens within a couple of hours, while a day of natural oil gives the grip that keeps the pattern tight. If you must braid on wash day, let the hair dry to about ninety percent and work a small amount of cream through the mid-lengths first.
How Do I Grow Out an Undercut Without It Looking Awkward?
Plan on six to twelve months and let a stylist blend it in stages rather than growing it out untouched. Around month three the shaved section reaches an awkward length where it lifts away from the head, and that is the point to have the top lightly layered so the two lengths start meeting. Keeping a braid in through the middle stages hides most of the transition.
Are Viking Braids Appropriate for a Wedding or Formal Event?
A crown halo braid or a loose fishtail looks formal without any adjustment, especially finished with a few pins and a light hairspray. Skip the metal cuffs and beads for formal settings, since they photograph as costume rather than styling. Book a trial run with your stylist two weeks out, because braided updos behave differently on hair that has been colored or trimmed in the interim.
Viking braids reward preparation more than technique. Get the length right, get the cut underneath right, and keep the tension comfortable, and the braid itself becomes a three-minute morning habit rather than a project. Bring two photos to your next appointment, one of the braid you want and one of the cut underneath it, and ask your barber or stylist to leave the weight where the braid needs it.
Hair results vary based on your natural hair type, texture, density, and condition. Always consult with a licensed hairstylist before making significant changes, especially with chemical treatments or dramatic length changes. Photos may show styled results that require professional tools and products to replicate.