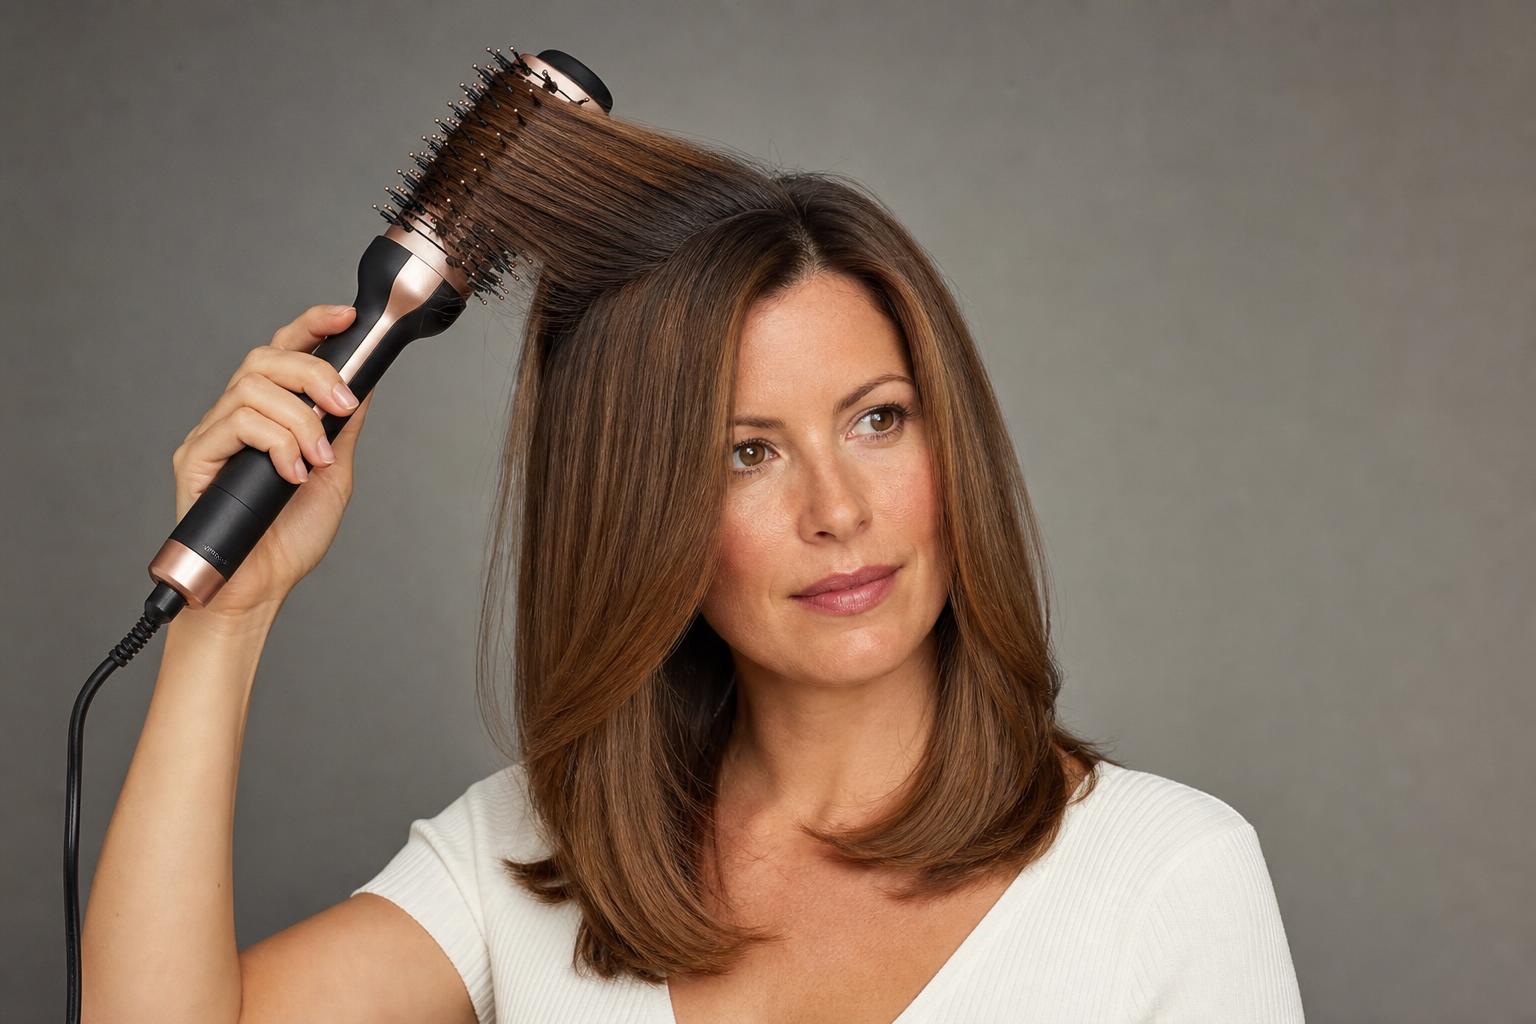
A blow dryer brush replaces the dryer-and-round-brush juggle, but only for smooth, bendy finishes, not for poker-straight hair.
A blow dryer brush is a hot-air styler with bristles built into the barrel, so it dries and shapes hair in the same pass. On shoulder-length hair it turns a 25-minute blow-dry into roughly 12 to 15 minutes, and it does its best work on root lift and a soft bend through the ends. What it will not do is make coarse or tightly curled hair pin-straight, which is where nearly every disappointed review comes from.
This guide covers how to match barrel diameter to your hair length, the sectioning and tension technique that separates a smooth result from a frizzy one, which heat setting to choose and why the setting matters more on this tool than on a standard dryer, how to fix the four problems people actually run into, and when a round brush plus a separate dryer still gives the better finish.
| Factor | Details |
|---|---|
| Best for | Fine to medium hair, straight through loose wave, chin length to mid-back |
| Time saved | Roughly 40 to 50 percent off a two-tool blow-dry once the technique clicks |
| Produces | Root volume, smooth mid-lengths, a soft inward or outward bend at the ends |
| Avoid if | You want mirror-flat hair, you have 3c to 4c texture, or your hair is past mid-back and dense |
| Replace when | Bristles splay outward or the airflow weakens, typically 18 months to 3 years of regular use |
What a Blow Dryer Brush Does Differently From a Dryer
A standalone hair dryer moves a lot of air at high heat and leaves the shaping to whatever brush is in your other hand. A blow dryer brush flips that balance: it pushes far less air, usually through a heating element in the 300 to 700 watt range rather than the 1600 to 1875 watts of a full-size dryer, and it puts the bristles in permanent contact with the hair. Lower airflow means less frizz-inducing turbulence. Constant bristle contact means the hair holds its shape while it dries instead of flapping loose and setting into a random pattern.
That trade is the whole tool in one sentence. You give up raw drying power and gain control, which is why beginners get a better result from a dryer brush than from a round brush, and why anyone who already blow-dries well may find it slow. If you have been fighting a two-tool salon-style blowout at home and losing, the brush is usually the fix.
Stylist tip: Buy for the airflow rating, not the wattage on the box. Two brushes at the same wattage can feel completely different, because a stronger motor moving cooler air dries faster and leaves the cuticle in better shape than a weak motor pushing hot air through the same barrel.
Hot-Air Brushes Need Your Wrist, Rotating Brushes Spin the Barrel for You
A hot-air brush is a fixed barrel; you create the bend by rolling your wrist at the ends, exactly as you would with a round brush. A rotating brush spins the barrel under motor power in either direction, so the hair wraps itself and you only guide the tool down the section. Rotating models are genuinely easier on the arms and better for reaching the back of your own head, which is the hardest part of any self-blowout.
The catch with rotating barrels is tangling. Feed too much hair in at once, or let the barrel spin while you are stationary, and it will wind the section into a knot at the scalp. Most models have a release direction; learn which button unwinds before your first use, not during your first tangle.
Oval Paddle Heads Lift Roots Better Than Round Barrels
The flattened oval shape found on most one-step tools has more surface area against the scalp, so it lifts a wider band of roots per pass and moves quickly through long hair. Round barrels give a cleaner curved end and a more defined bend, but they cover less ground per stroke. If your main complaint is flat roots, choose oval. If your main complaint is ends that hang limp and straight, choose round.
Barrel Size Decides the Shape You Get
Barrel diameter is the single spec that changes your result the most, and it is the one people get wrong most often. The rule that works: the barrel should be roughly the diameter of the curve you want at the ends, and the hair needs to wrap at least one full turn around it to take any shape at all. A 2-inch barrel on a chin-length bob cannot complete that turn, so the ends stay flat no matter how long you hold them.
| Barrel or Head | Best Hair Length | What It Produces | Watch Out For |
|---|---|---|---|
| 1 inch round | Pixie to chin length | Tight tucked ends, strong root lift on short layers | Over-rolling the ends produces a dated flip |
| 1.5 inch round | Chin to collarbone | The classic soft inward bend on a lob | Needs a full wrap, so shorter layers slip off |
| 2 inch round | Shoulder length and longer | Wide bouncy waves, big volume through the crown | Too large to shape anything above the shoulder |
| Oval paddle | Collarbone to mid-back | Fast smoothing with lifted roots, minimal end curl | Ends finish straight unless you flick the wrist |
| Rotating dual barrel | Shoulder length to long | Wrapped, salon-shaped ends without wrist work | Tangles at the scalp if sections are too thick |
How to Use a Blow Dryer Brush Step by Step
The technique is short but the order is not negotiable. Almost every bad result traces back to starting on hair that was too wet, sections that were too thick, or too much time spent on the ends and not enough at the root.
Step 1: Rough-Dry to About 80 Percent First
What you need: A regular dryer or a few patient minutes of air drying, plus a heat protectant spray on damp hair. A dryer brush is a finishing tool, not a drying tool. Used on soaking hair it spends most of its heat simply evaporating water, which means a far longer exposure for the same result. Hair should feel cool and barely damp, not wet, before the brush touches it.
Step 2: Split Into Four to Six Panels and Clip
Separate the bottom layer at the occipital bone, then split the top into left, right, and crown. Fine hair can work in four panels; thick hair needs six or more. Each pass should hold a section no thicker than the barrel itself, because anything deeper leaves the underside damp while the surface overheats.
Step 3: Set the Root Before You Touch the Length
Place the brush under the section at the scalp, lift the hair to a right angle from the head, and hold for three to five seconds before moving. That pause is where volume is built, and it is the step people skip. Rushing straight down the strand produces a smooth but completely flat result, which is the most common complaint about these tools.
Step 4: Roll Through the Ends Instead of Parking on Them
Glide down the section at a steady pace, then rotate the barrel a half turn at the ends and keep it moving for two or three seconds. Holding still in one spot concentrates heat on the most fragile part of the hair and creates a crease rather than a curve. If you want a stronger bend, repeat the pass rather than lengthening it.
Step 5: Let Each Section Cool Before You Brush It Out
Hair holds a shape when the hydrogen bonds re-form as it cools, not while it is hot. Drop each finished section and leave it alone for a minute or two before touching it. If your brush has a cool-shot button, run it down each panel at the end; on models without one, pinning the section up while you work on the next one does the same job.
Heat Settings Matter More Here Because the Heat Never Leaves the Hair
Research on drying methods found that hair dried with a dryer held about 15 cm away and kept moving showed less surface damage than hair dried at closer range or held still, according to a study on hair shaft damage and drying time published in Annals of Dermatology. A dryer brush makes that 15 cm gap physically impossible, because the heat source and the bristles are the same object. That is the real trade behind the convenience, and it is why the temperature dial deserves more attention on this tool than on a standard dryer.
In practice that means medium heat for fine, color-treated, or chemically straightened hair, with high heat reserved for coarse, virgin, dense hair that genuinely will not dry otherwise. Keep the brush moving at all times, and never make more than two passes over the same section in one styling session. The difference between an ionic model and a basic one also shows up here, since the ionic, ceramic, and tourmaline labels on hair tools describe how evenly a heating element spreads heat rather than how hot it can get.
Stylist tip: Apply heat protectant to damp hair before the rough-dry, not to dry hair right before the brush. Most protectants are formulated to bond as water evaporates, so a spray applied at the last second does far less than the same product applied ten minutes earlier.
Four Problems People Run Into and What Causes Each One
Nearly all dryer brush complaints fall into four categories, and none of them are really about the tool. Each has a specific cause that changes with technique rather than with a different purchase.
| Problem | Usual Cause | Fix |
|---|---|---|
| Smooth but completely flat | Brush never paused at the root; hair pulled straight down | Lift each section to 90 degrees and hold three to five seconds at the scalp |
| Frizzy halo after drying | Hair was too wet at the start, or sections were thicker than the barrel | Rough-dry to 80 percent and halve the section thickness |
| Ends kink or crease | Barrel held stationary on the last two inches | Keep rotating through the ends; add a second short pass instead of a longer one |
| Result drops within two hours | Sections brushed out while still warm | Cool each panel fully, then finish with a light flexible-hold spray at the roots only |
When a Round Brush and a Separate Dryer Still Win
A dryer brush is not a universal upgrade, and three groups are better served by the older two-tool method. Tightly curled hair in the 3c to 4c range needs far more heat and tension than these brushes can supply, and forcing it produces heat damage long before it produces straight hair; a diffused air-dry or a proper blowout with a paddle brush and a high-airflow dryer gets there with less risk, and the right diffuser attachment for curly hair preserves the pattern rather than fighting it.
Very long, very dense hair is the second group. Below mid-back, the low airflow runs out of drying power and the session stretches past the point where the time saving disappears. The third group is anyone chasing a genuinely flat, glassy finish, which no bristled barrel produces; that look needs a paddle brush, high airflow, and a flat iron pass. Wanting a defined curl rather than a bend also belongs in the separate-tool column, since a long barrel curling iron holds a shape a dryer brush cannot.
Cleaning and Replacing a Blow Dryer Brush
Pull hair from the bristles after every second or third use, and check the air intake vent monthly. That vent is usually a small mesh screen at the base of the handle, and lint clogs it silently. A blocked intake makes the motor labor and the barrel run hotter than the setting suggests, which is the most common reason a brush that once worked well starts scorching hair. Clean the screen with a dry toothbrush and never rinse it.
Wipe product residue off the barrel with a barely damp cloth once the tool has fully cooled, and never submerge any part of it. Bristles that splay outward permanently have lost their tension and will not grip a section any more, which is the honest end of the tool’s useful life. Most brushes used two or three times a week last 18 months to 3 years, and daily users should expect the shorter end of that range. Heavy silicone-based products shorten it further, so if you rely on smoothing serum, a monthly wash with a clarifying shampoo keeps buildup off the hair and out of the bristles.
FAQ
Does a Blow Dryer Brush Damage Hair More Than a Flat Iron?
No, a dryer brush is gentler than a flat iron in almost every scenario. Flat irons commonly run at 300 to 450 degrees Fahrenheit against dry hair, while dryer brushes deliver moving hot air at a much lower surface temperature. The trade is duration rather than intensity, since the heat stays in contact with the hair for the whole drying pass, so the safe habit is fewer passes rather than a lower dial.
Can I Use a Blow Dryer Brush on Soaking Wet Hair?
You can, but it is the least efficient way to use one and the hardest on your hair. Wet hair is at its most fragile because the cortex swells with water, so bristle tension plus a long heat exposure does more damage than the result requires. Rough-dry to about 80 percent first, then use the brush purely for shaping.
Will a Blow Dryer Brush Straighten Curly Hair?
It will loosen waves and 2c to 3a curls into a smooth wave with body, but it will not deliver straight hair on tighter patterns. Those textures need more tension and more sustained heat than the tool provides, and repeated attempts are a reliable path to heat damage. If frizz rather than curl is the actual complaint, the causes behind frizzy hair are usually about moisture balance rather than styling tools.
How Long Does a Blow Dryer Brush Last?
Two to three uses a week gets most people 18 months to 3 years. The motor rarely fails first; the bristles splay and stop gripping, or the intake clogs and the brush overheats. Cleaning the vent screen monthly extends the life more than anything else you can do.
Is a Rotating Brush Worth the Extra Money?
It is worth it if reaching the back of your own head is what defeats you, or if arm fatigue ends your blowouts early. It is not worth it for short hair, where the barrel cannot complete a wrap, or for anyone whose sections tend to be thick, since rotation plus a thick section equals a tangle. Try mastering a fixed hot-air brush first, because the technique transfers and the cheaper tool may prove sufficient.
Can I Use One on Fine, Color-Treated Hair?
Yes, and fine hair is arguably the ideal candidate because it needs the least heat and gains the most visible root lift. Stay on the medium setting, keep sections thin so you never need a second pass, and use a leave-in with heat protection. Color-treated hair fades faster with cumulative heat, so alternating styling days with a refresh using dry shampoo between washes keeps the total exposure down.
A blow dryer brush earns its place when the goal is a smooth, lifted, slightly bent finish in half the usual time, and it disappoints when it is asked to behave like a flat iron. Match the barrel to your length, rough-dry before you start, pause at the root, and let each section cool. Get those four things right and the tool does exactly what the reviews promise.
Hair results vary based on your natural hair type, texture, density, and condition. Always consult with a licensed hairstylist before making significant changes, especially with chemical treatments or dramatic length changes. Photos may show styled results that require professional tools and products to replicate.