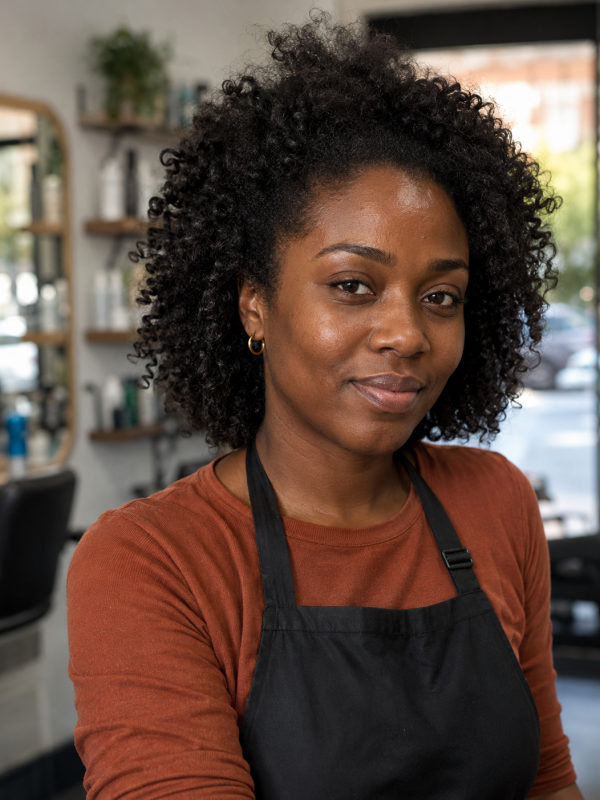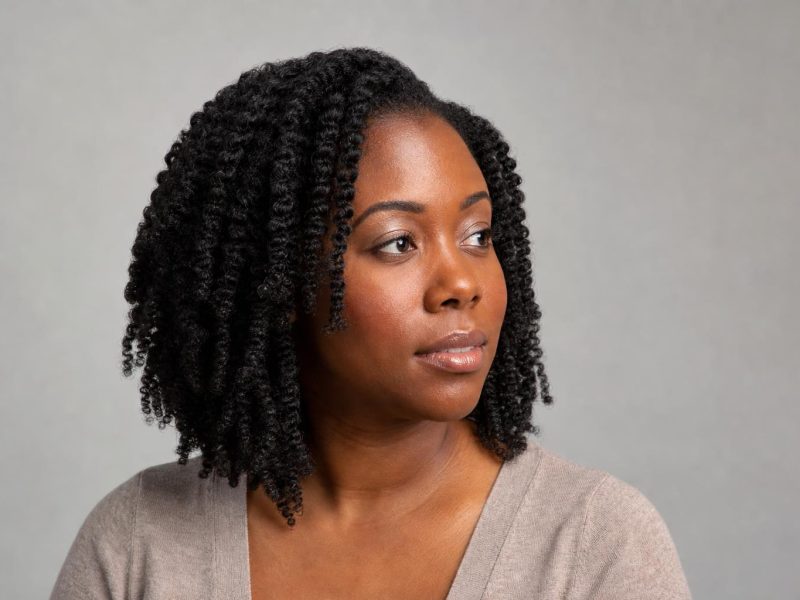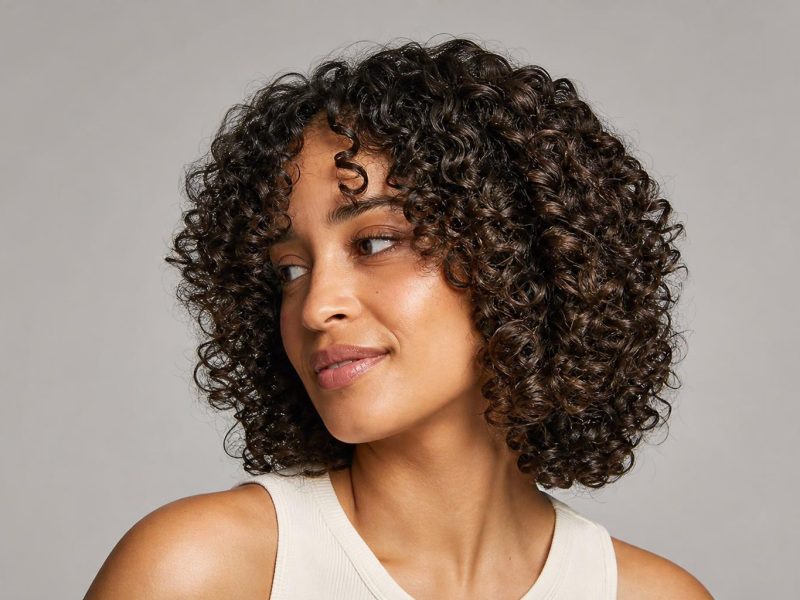
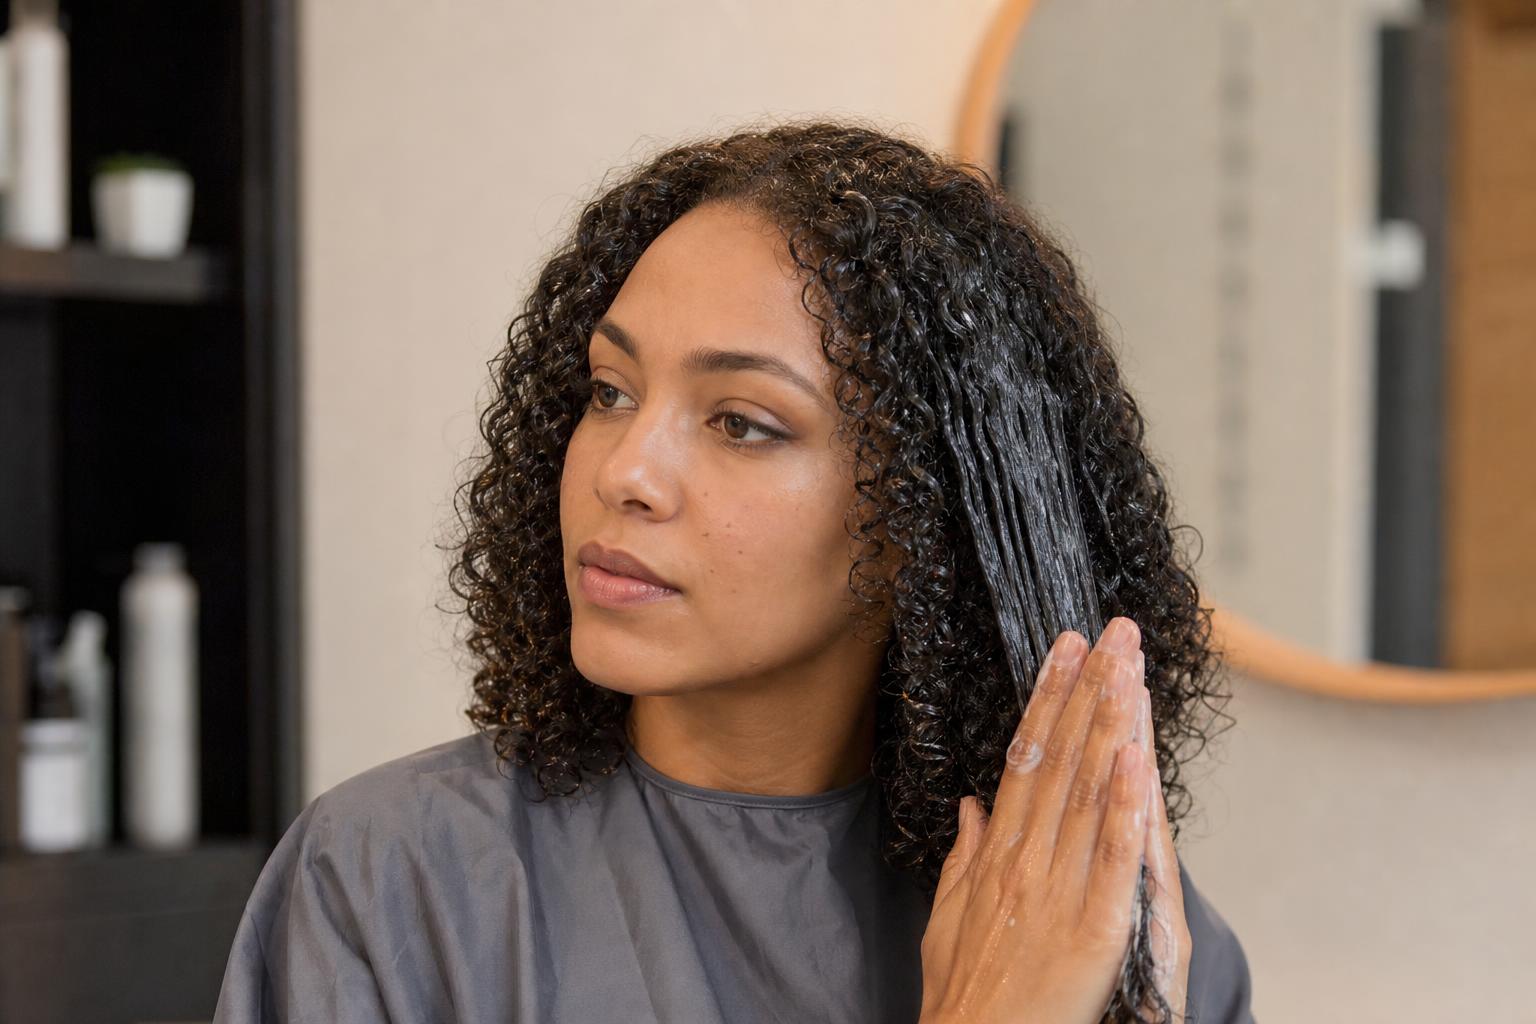
Every guide tells you to apply leave-in conditioner to damp hair and every curly stylist tells you to apply it to soaking wet hair, and the reason both camps are confident is that they are talking about different curl patterns.
A leave-in conditioner is a diluted rinse-out conditioner built to stay on the hair instead of washing off, and its job is to coat the cuticle so strands slide past each other rather than catching. For curls from 3A tighter, apply it to hair still dripping from the shower, because the water is what spreads a small amount of product evenly and holds the curl clumps together while it dries. For loose waves, wait until the hair has stopped dripping, or the same product flattens the pattern it was meant to define.
This guide covers what separates a leave-in from every other bottle in a curly routine, how much to use at each curl pattern, which ingredients on a label actually do the detangling, the three application methods and when each works, and how to read the most common failures back to their cause.
A Leave-In Is a Rinse-Out Conditioner Built to Stay On
Both products work the same way chemically. Hair carries a negative surface charge, particularly when it has been washed or colored, and conditioners are built around positively charged ingredients that stick to it. Those ingredients lay along the cuticle, smooth the raised scales and cut the friction between neighboring strands, which is why wet hair stops snagging the moment conditioner goes on.
The difference is concentration and design. A rinse-out is heavily loaded because most of it goes down the drain within two minutes, which is why picking the right wash-day pair still carries most of the conditioning load in a curly routine. A leave-in carries a fraction of the same actives in a thinner, faster-spreading base, so what stays behind is a light film rather than a coating heavy enough to weigh curls flat. Using a rinse-out as a leave-in is the single most common cause of greasy roots and limp curl clumps by the afternoon.
Worth knowing before you spend much on one is what a leave-in cannot do. Conditioning agents cut the force needed to comb through wet hair, and the ingredient research covered further down found no reversal of the chemical damage bleach or heat has already done to the fiber. Damaged curls become manageable with a leave-in. They do not become undamaged.
Leave-In, Rinse-Out, Curl Cream and Detangler Do Different Jobs
Most curly routines contain at least three of these four, and a lot of frustration comes from expecting one to do another one’s work. The table sorts them by what they are actually formulated to achieve, so you can cut whatever you are duplicating.
| Product | Main Job | When It Goes On | Gives Hold? |
|---|---|---|---|
| Rinse-out conditioner | Heavy detangling and slip during the wash | In the shower, rinsed after 2 to 5 minutes | None |
| Leave-in conditioner | Ongoing slip and softness through the day | Straight after the shower, before styling | None |
| Curl cream | Clump definition and light shape | On top of the leave-in, hair still wet | Light |
| Detangler spray | Emergency slip on dry or second-day hair | Any time, usually between washes | None |
A leave-in and a detangler spray overlap enough that most people need only one, and the leave-in is the more useful of the two because it doubles as the base layer on wash day. Where each of these belongs in a full routine is mapped out in our breakdown of what every curly hair product category actually does.
Apply It to Soaking Wet Hair for Curls, Damp Hair for Waves
Here is where the advice online splits in half, and the split maps almost exactly onto curl pattern. Water is the carrier that spreads a small amount of a thin product across a lot of surface area, and it is also what holds curl clumps together as they dry. On a 3B or 4A head, applying to dripping hair means the leave-in reaches every strand and the clumps set the way they formed in the shower.
Loose waves have the opposite problem. A 2A or 2B pattern has little natural clumping strength, and product applied to dripping hair spreads far too thin at the root and pulls the wave straight under its own water weight. Blotting with a cotton T-shirt until the dripping stops, then applying, keeps the bend intact. Our guide to using curl cream on wavy hair covers the same wet-versus-damp line for the styler that goes on afterward.
Work in Sections and Do Not Go Back In Later
Divide the head into four sections and treat each one once. Curls have far more surface area than straight hair of the same length, so a single pass over the top of the head leaves the underside untouched. Going back over a section after it has started to set breaks the clumps apart, which is the frizz people blame on humidity when it happened in the bathroom.
Keep It Off the Scalp
Start applying about an inch below the root and work down. Leave-in on the scalp does nothing useful, since the scalp makes its own oil, and a conditioning film sitting on skin between washes is how buildup and itching begin. The ends need it most because they are the oldest part of the strand and the furthest from any natural oil.
How Much to Use by Curl Pattern
Underapplying is more common than overapplying, particularly on tighter patterns where the same head of hair has several times the surface area of a straight one. Start with the amounts below for shoulder-length hair, halve them for short hair, and add roughly 50 percent for anything past mid-back.
| Curl Pattern | How Wet | Amount | Best Texture of Product |
|---|---|---|---|
| 2A to 2B waves | Blotted, no longer dripping | A nickel-sized amount | Spray or milk |
| 2C to 3A | Very wet, barely blotted | A quarter-sized amount | Milk or light lotion |
| 3B to 3C | Dripping | Two to three quarter-sized amounts | Lotion or light cream |
| 4A to 4B | Dripping, re-wet if it dries | A palmful, section by section | Cream |
| 4C | Dripping, worked in small sections | A generous palmful | Rich cream or butter-based |
Density adjusts these as much as pattern does. A fine 3B head with low density can need less than a thick 2C one, so treat the table as a starting point and judge by whether the hair feels slippery while wet, not by how it feels once dry.
What to Look for on a Leave-In Label
Most of a leave-in bottle is water. What matters is which conditioning agents follow it, because that choice decides how much slip you get and how long it lasts. Three ingredient groups do nearly all the work, and knowing them turns a wall of bottles into three or four real options.
Cationic Ingredients Do the Detangling
Look for names ending in trimonium or alkonium in the first six ingredients, which is where the conditioning actives live. A 2026 International Journal of Cosmetic Science study measuring how four cationic surfactants adsorb onto human hair found that behentrimonium chloride cut wet combing forces substantially while stearalkonium chloride performed worst because so little of it stuck to the fiber. The pattern behind it is chain length, since longer chains hold on more strongly. Behentrimonium and cetrimonium are the ones worth paying for; a leave-in built mainly on stearalkonium chloride will feel slippery in the shower and disappointing by the time hair dries.
Humectants Behave Differently Depending on the Weather
Glycerin and similar humectants pull water toward the hair, and how well that goes depends on how concentrated they are and how humid the air is. A comparative study of glycerin solutions found that moisture retention rose with concentration up to about 60 percent, and that above 70 percent the solution began absorbing moisture from the air rather than losing it. A leave-in heavy in glycerin therefore behaves like a different product in a dry winter room than it does on a humid August afternoon, which is why so many people find one bottle works half the year.
Oils and Proteins Are Support, Not the Main Event
Oils high in a leave-in add weight and shine and seal in the water already there, which suits coarse or high-porosity hair and smothers fine curls. Hydrolyzed proteins temporarily fill gaps in a damaged cuticle and are genuinely useful after bleach, though used in every product at every wash they leave hair stiff and prone to snapping. Neither group replaces the cationic ingredients that create slip.
Stylist tip: Scan the first six ingredients and stop. Anything below that point is present in fractions of a percent and is on the label for marketing rather than performance, however appealing the plant name is.
Three Application Methods and When Each Works
The technique changes the result as much as the product does, because curls either keep their clumps or lose them based on how your hands move. Pick by curl pattern rather than by whichever method a video demonstrated.
Praying Hands Preserves Clumps on Tight Curls
Smooth the product down a section between two flat palms, moving root to tip without separating anything. Nothing disturbs the way the curls formed in the shower, so definition survives intact. Tight patterns from 3C down benefit most, and it is the slowest of the three methods on a full head.
Raking Gets Even Coverage on Looser Patterns
Fingers spread wide, pulled through a section from near the root to the ends, distributes product further and faster than praying hands can. The trade-off is that raking breaks the clumps apart, which suits 2C and 3A hair where separated curls look fuller rather than frizzy. Follow it with a gentle scrunch to encourage the pattern back.
Squishing Adds Water Back In
Cup a section in one hand and push it up toward the scalp, repeating until the product and water make a squelching sound. The action forces water and conditioner into the strand rather than just onto it, and high-porosity hair that dries out mid-application gains the most. Keep a spray bottle nearby and re-wet any section that has started to dry before you get to it, and protect the result by air-drying without disturbing the clumps.
Reading the Common Failures Back to Their Cause
Almost every leave-in complaint traces to one of five mistakes, and the symptom usually tells you which. Work through the table before changing product, since most of these survive a change of brand unchanged.
| What Happens | Most Likely Cause | Fix |
|---|---|---|
| Roots greasy by the afternoon | Product applied too close to the scalp | Start an inch below the root and work down |
| Curls dry frizzy despite plenty of product | Hair was too dry when the leave-in went on | Apply in the shower or re-wet section by section |
| White flakes or a chalky cast | Leave-in and gel fighting each other, or too much product | Cut the amount by half and let each layer settle |
| Waves pulled straight | Formula too heavy, or applied to dripping hair | Switch to a spray and apply after blotting |
| Hair feels rough and dull by week two | Buildup from daily leave-in with no clarifying wash | One clarifying wash, then reduce to wash days only |
| Great on day one, flat on day two | No hold layer over the leave-in | Add a gel or cream on top while hair is still wet |
Buildup deserves particular attention, because a leave-in is designed to stay on and therefore accumulates in a way a rinse-out never does. A single wash with a clarifying shampoo every four to six weeks resets it, and hair that had felt coated usually takes product properly again the very next wash.
When You Do Not Need a Leave-In
A leave-in is close to essential on tight curls and entirely optional elsewhere, and there are situations where adding one makes things worse rather than better.
- Your hair is fine and low-porosity and already goes limp by lunchtime, where a lightweight gel over rinse-out conditioner gives definition without added weight.
- You are using a rich curl cream that already contains the same cationic ingredients, in which case the two layers are duplicating each other and one can go.
- Your scalp is flaking or itching, where the first move is to clear whatever is coating it rather than add another leave-on layer.
- You wash daily, since a rinse-out conditioner at every wash already delivers more conditioning than a leave-in would add.
- Your curls are freshly bleached and feel gummy when wet, which calls for a protein treatment and a professional assessment rather than more slip.
- You wear braids or a protective style, where a watered-down spray reaches the scalp and lengths more evenly than a cream that collects on the braid surface.
Stylist tip: Change one thing at a time and give it three wash days. Curly routines fail to improve mostly because people swap three products at once and then cannot tell which change helped.
FAQ
Can You Use Regular Conditioner as a Leave-In?
You can dilute one and get away with it, though a bottle formulated to rinse off is far more concentrated than one formulated to stay. Mix roughly one part rinse-out to four parts water in a spray bottle and use it within a week, since diluted conditioner has no preservative system built for that. Straight from the bottle it will weigh curls down and leave the roots greasy the same day.
Should Leave-In Go On Before or After Curl Cream?
Leave-in goes first, directly onto wet hair, then the cream or gel on top. The order matters because the leave-in is the thinnest layer and needs direct contact with the cuticle to adsorb properly, while the styler works from the outside to hold the shape. Applying them in reverse leaves the leave-in sitting on top of a film it cannot get through.
How Often Should You Use a Leave-In Conditioner?
Every wash day is the standard for curls from 3A tighter, which for most people means once or twice a week. Daily use without a clarifying wash in the rotation builds up within a month and leaves hair dull and product-resistant. Waves often do better with a leave-in at every other wash rather than every one.
Does Leave-In Conditioner Cause Buildup?
It can, because it is designed to stay on the hair and each application adds to the last. Signs are hair that feels rough rather than soft, curls that stop responding to product, and a dull surface that no amount of oil fixes. A clarifying wash every four to six weeks prevents it entirely.
Can Leave-In Conditioner Repair Damaged Curls?
No, and any bottle claiming otherwise is overselling. Conditioning agents reduce friction and make damaged hair behave far better, but the chemical damage from bleach or heat stays in the fiber. What a leave-in genuinely prevents is the additional mechanical damage that comes from combing dry, tangled curls, which over months is worth a great deal.
Is a Leave-In Spray Better Than a Cream?
Neither is better in general, and the right texture tracks curl pattern and density closely. Sprays suit fine hair and loose waves that lose their bend under weight, creams suit dense coils that need real substance, and lotions fall in between for most 3A to 3C hair. If your hair falls between categories, start with the lighter option since adding more is easier than washing excess out.
Choosing a leave-in conditioner for curly hair comes down to three decisions rather than a brand, which are how wet your hair should be when it goes on, how much your pattern and density actually need, and whether the label leads with a cationic ingredient that stays put. Get those right with whatever bottle you already own, give the change three wash days, and clarify before you conclude a product has stopped working.
This article is for general information and is not medical advice. If you have a persistent scalp condition, unusual shedding or hair that feels gummy when wet, see a dermatologist or a stylist trained in textured hair before changing your routine.