
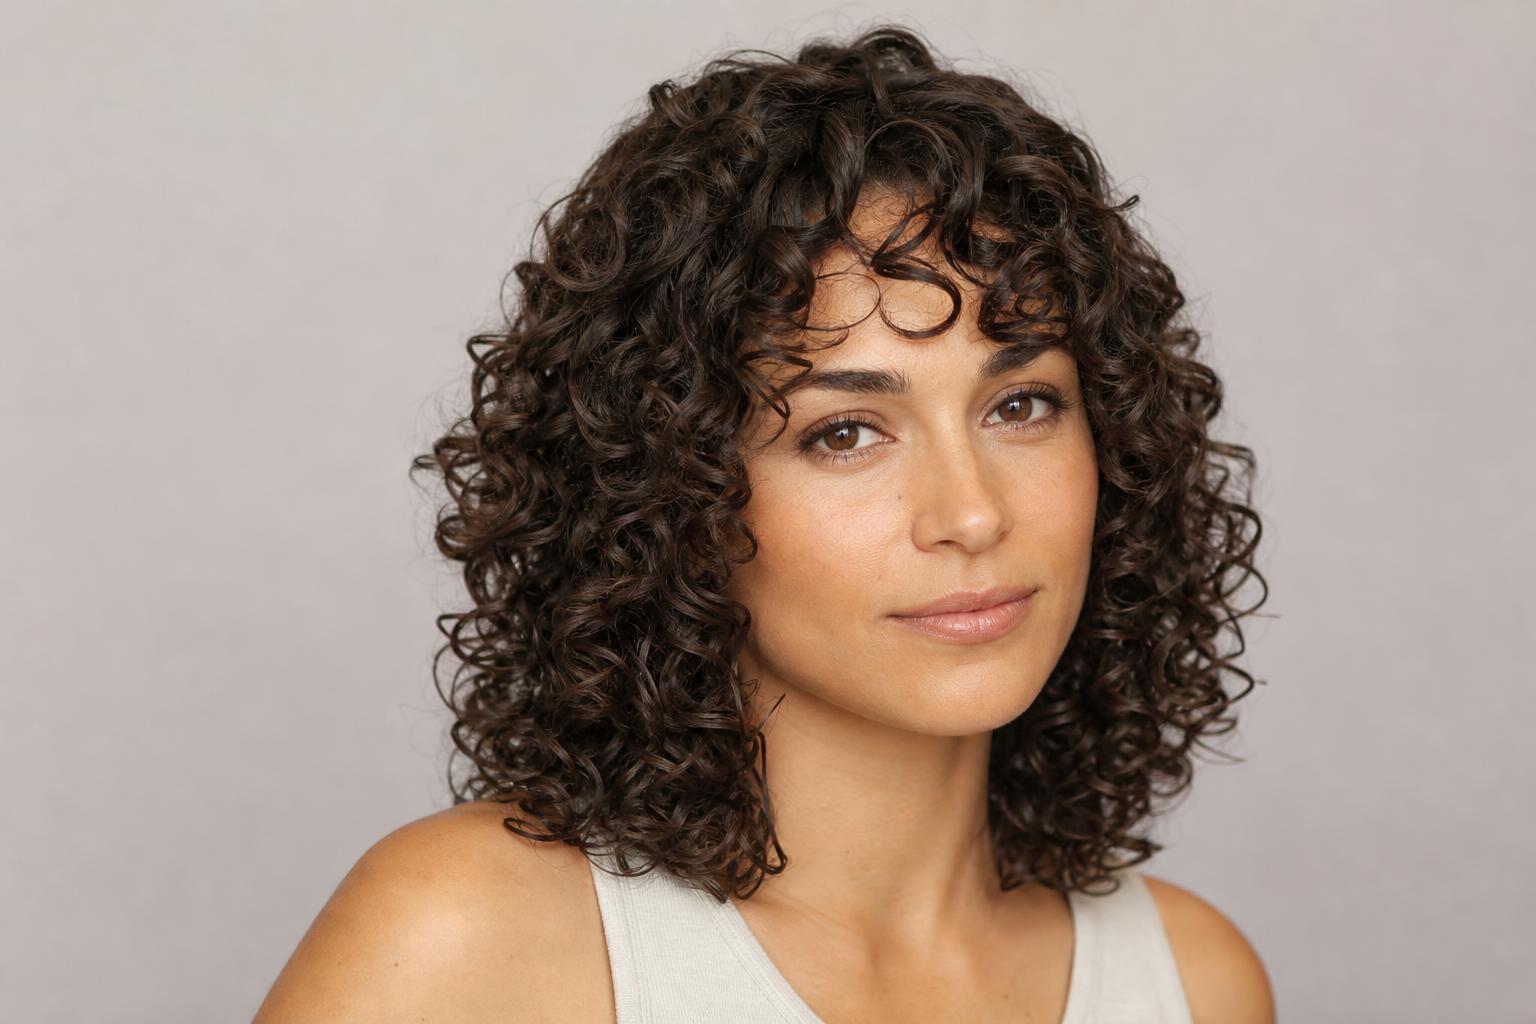
Frizz while air-drying is almost always caused by touching your hair before it is dry, not by the product you chose.
Curly hair air-dries smoothest when you apply product to soaking-wet hair, choose one drying method, and then leave it completely alone until there is no dampness left at the roots. Every technique below works on that same principle, and they differ mainly in how much volume they preserve, how long they take, and which curl patterns they suit. Expect two to four hours of drying time for most mid-length curls indoors.
The five methods compared here are plopping, micro-plopping, root clipping, shingling, and sectioned twisting. You will find a side-by-side comparison table, step-by-step instructions for each, a troubleshooting section for the three most common frizz patterns, and honest guidance on when air-drying is not the right call at all.
The Five Methods Compared
Method choice matters less than technique discipline, but it does change the finished shape. The table below is the fastest way to narrow the field before reading the instructions.
| Method | Best Curl Types | Effect on Volume | Total Dry Time | Frizz Control |
|---|---|---|---|---|
| Plopping | 3a to 3c | Lifts roots, shortens curls slightly | 2 to 3 hours | High |
| Micro-plopping | 2b to 3a, fine density | Neutral, keeps natural fall | 2 to 3 hours | Medium to high |
| Root clipping | Any pattern with flat roots | Adds noticeable crown height | 3 to 4 hours | Medium |
| Shingling | 3c to 4b | Reduces volume, elongates | 4 to 6 hours | Very high |
| Sectioned twisting | 4a to 4c | Stretches length, softens shrinkage | 6 hours to overnight | Very high |
The Rules That Apply to Every Method
These four habits do more for frizz than switching products ever will, and skipping any one of them undercuts whatever method you pick. Get them right and the method choice becomes a matter of preference rather than damage control.
Apply everything to soaking-wet hair, straight out of the shower, with water still running off the ends. Product needs water to spread evenly across the strand, and on towel-dried hair it lands in patches that dry as frizzy gaps between defined sections. Use a cotton T-shirt or a microfiber towel rather than terrycloth, because terrycloth loops catch individual strands and lift the cuticle. Then do not touch your hair at all until it is completely dry, including at the roots, since every touch on damp hair splits a curl clump into three frizzy pieces. Finally, dry indoors in still air whenever you can, because wind and swinging humidity work against the cast as it forms.
Stylist tip: The crunchy cast a gel forms is doing the work, and it is meant to be broken. Wait until the hair is bone dry, then scrunch upward with a few drops of lightweight oil on your palms. Breaking it while still damp is the most common self-inflicted frizz there is.
Method 1: Plopping Builds Root Volume While It Dries
Plopping wraps your curls into a cotton T-shirt on top of your head so they dry in a lifted, coiled position instead of hanging under their own weight. It suits type 3 patterns best, where there is enough curl strength to hold the shape once the shirt comes off.
What you need: A cotton T-shirt or a large microfiber towel, and your usual leave-in and gel applied to soaking hair.
How: Lay the shirt flat on a chair or the closed toilet lid, flip your head forward so your curls pile onto the fabric, wrap the body of the shirt over the back of your head, then tie the sleeves at the nape. Leave it for 15 to 30 minutes.
Why: The curls dry partially in a compressed spiral rather than stretched out by gravity, which sets a tighter pattern and lifts the roots at the same time.
Common mistake: Leaving the plop on for over an hour. Past that point the roots stay damp in a flattened position and dry with a dent that no amount of scrunching will fix.
Method 2: Micro-Plopping Keeps Fine Curls from Collapsing
Micro-plopping is a 60-second version of the same idea, meant for hair that gets weighed down or over-compressed by a full plop. Fine curls and loose waves in the 2b to 3a range usually get better shape from it, because it removes surplus water without holding the hair in a fixed position long enough to leave marks.
What you need: A cotton T-shirt, and slightly less product than you would use for a full plop.
How: After applying product, cup sections of hair in the T-shirt and squeeze upward toward the scalp, working around the head. Spend about a minute total, then let the hair down and leave it alone.
Why: Removing surplus water shortens dry time and stops product from sliding down the strand and pooling at the ends, which is what makes fine curls look stringy by hour two.
Common mistake: Squeezing with a rubbing or twisting motion instead of a straight upward press. Any lateral movement disturbs the clumps you just formed.
Method 3: Root Clipping Fixes Flat Crowns
Root clips hold sections of hair away from the scalp while everything dries, so the roots set standing up instead of lying flat. This is the fix for anyone whose curls look full at the ends but sink at the crown, and it works alongside any of the other methods rather than replacing them. If your crown flattens because the cut is carrying too much weight up top, the underlying issue is structural, and layering built for curly hair solves it more permanently than clips do.
What you need: Four to eight metal root clips or small duckbill clips.
How: Once product is in and any plopping is finished, lift a small section at the crown, slide a clip in at the base so it holds the root upright without gripping the length, and repeat along the part and around the hairline. Leave them in until the hair is completely dry.
Why: Wet hair sets in whatever position it dries in. Holding roots up during that window builds height that survives the day, which no product can do on its own.
Common mistake: Clipping into the mid-lengths rather than just the root. A clip gripping the curl body leaves a visible crease across the section.
Method 4: Shingling Gives Maximum Definition on Tight Patterns
Shingling means applying product to small sections and smoothing each one strand by strand so every coil forms individually before anything is allowed to dry. It takes the longest of the five methods and returns the most definition, which makes it the standard choice for 3c through 4b hair when the goal is visible, separated coils.
What you need: A rich curl cream or a strong-hold gel, a wide-tooth comb, sectioning clips, and a spray bottle to re-wet sections that dry out mid-process.
How: Work in four to six sections. Within each one, take small subsections, run product through with a comb or with flat palms, and smooth from root to tip so the coil forms along the strand. Move on and do not revisit a finished section.
Why: Coily patterns do not clump on their own the way spirals do, so the definition has to be built manually while the hair is wet enough to hold the shape.
Common mistake: Letting sections dry out before you get to them. Once a section is damp rather than soaking, shingling it creates frizz instead of definition, so re-wet it before you start.
Method 5: Sectioned Twisting Stretches Length While It Dries
Twisting damp sections and releasing them once dry produces defined, elongated curls with far less shrinkage than a wash-and-go. It suits type 4 patterns, where shrinkage can hide most of your length and where a fully hands-off air-dry often produces a shape that tangles. Understanding whether your pattern is genuinely coily rather than tightly curly changes which of these last two methods to reach for, and our breakdown of how curly and coily patterns differ settles it with a one-strand test.
What you need: A leave-in cream, a sealing oil if your hair takes it, and enough time for a long dry.
How: Part the hair into eight to twelve sections, apply product to each while soaking, then two-strand twist each section from root to tip. Let everything dry completely, which usually means overnight, then unravel each twist gently with oiled fingertips and separate as little as possible.
Why: The twist holds the strand in a stretched position while it dries, so the finished coil is longer and smoother than the same hair dried loose.
Common mistake: Unravelling while any part is still damp. Half-dry twists lose their set within an hour and the frizz arrives immediately.
Troubleshooting the Three Most Common Frizz Patterns
Frizz is not one problem. Where it appears on your head tells you which step went wrong, and the fixes are quite different from each other.
Frizz Only at the Crown Means the Hair Was Disturbed While Drying
Crown frizz with defined ends almost always traces back to touching, adjusting, or sleeping on partly dry hair. The crown is where hands go first and where a headrest makes contact, and it is also the last area to dry because the roots hold water longest. If you have to go out before the hair is dry, clip the crown loosely up rather than letting it press against anything.
Stringy, Separated Ends Point to Too Much Product, Not Too Little
Curls that look thin and glued together in ropes have more product than the hair can carry, and it usually accumulates at the ends because gravity pulls it there while drying. Cut the amount by a third and apply more of what remains at the mid-lengths rather than the tips. Fine curls in particular do better with a lightweight foam than with a cream and a gel layered together.
A Halo of Frizz Around the Whole Head Usually Means Dryness or Breakage
Short frizzy pieces standing away from the shape all over are either new growth, which is harmless, or broken strands, which are not. If the halo has appeared recently and you have been detangling roughly or using heat, the shorter pieces are breakage and no drying method will hide them. A deep conditioning treatment weekly and gentler detangling on soaking-wet hair is the actual fix.
When Air-Drying Is Not the Right Choice
Air-drying is not automatically better than diffusing, and there are situations where it makes results worse.
- You need to leave the house within two hours. Partially dry curls handled or exposed to wind will frizz, so a diffuser on low heat and low speed is the better tool that day.
- You have high-density type 4 hair and go to bed damp. Hair that stays wet against the scalp for many hours can leave the scalp uncomfortable and the roots musty, and a hooded dryer for the last stretch avoids it.
- Your roots consistently dry flat no matter what you clip. Some density and length combinations simply need airflow at the root, which only a diffuser provides.
- The weather is cold and damp. Drying outdoors in high humidity keeps the cuticle open far longer than it should be, and the frizz that follows is not a technique failure.
Choosing the Right Method for Your Hair
Start from your curl pattern and then adjust for density. Loose waves and fine 3a curls do best with micro-plopping, because anything heavier flattens them. Springy 3b and 3c curls get the most from a full plop, optionally with root clips added afterward for crown height. Coily patterns from 4a down do best with shingling when definition is the goal or sectioned twisting when length is. Checking where you actually fall on the curl type chart is worth doing before you commit to a routine, since a surprising number of people are working with the wrong assumption.
Your cut matters here too. Curls shaped with tension in a conventional wet cut often dry unevenly no matter which method you use, because the lengths were never set to match how the curls actually fall. A dry cut such as a curl-by-curl DevaCut removes that variable entirely. Anyone who wants to cut down on heat styling more broadly will find the same hands-off principles applied differently in our guide to styling without heat tools.
Stylist tip: Give any new method three consecutive wash days before judging it. The first attempt at plopping or shingling nearly always produces a worse result than your usual routine, simply because the timing and product amounts take a couple of rounds to calibrate.
FAQ
How Long Does Curly Hair Take to Air-Dry?
Most mid-length curls take two to four hours indoors, with dense or coily hair running to six hours or overnight. Shingled and twisted styles sit at the long end because the product load is heavier and the sections are packed tighter. Plopping for 20 minutes first can shave close to an hour off the total.
Should I Air-Dry or Diffuse Curly Hair?
Air-drying is gentler and generally produces a softer result, while diffusing gives more root volume and cuts drying time to 15 or 20 minutes. Neither wins outright, and plenty of people air-dry to about 80 percent and then diffuse the roots on low heat to finish. That hybrid gets most of the volume benefit without the heat exposure of a full blow-dry.
Can I Sleep with Wet Curly Hair?
It is workable if the hair is in twists or a loose high pineapple on a satin surface, and it is a bad idea if the hair is loose. Loose wet curls flatten and frizz against the pillow, and hair that stays damp against the scalp all night can leave the scalp itchy. If you regularly wash at night, twisting the hair in sections before bed is the reliable route.
What Product Stops Frizz Best When Air-Drying?
A gel with a firm hold does the most work, because the cast it forms locks the curl shape while the hair dries and gets broken up afterward. Creams add moisture and softness but very little hold, which is why cream-only routines frizz by mid-afternoon. Layer a leave-in first, then the gel, then leave everything alone.
Why Does My Hair Frizz Only in Humid Weather?
Humidity pushes moisture into the hair shaft, which swells the strand and lifts the cuticle, and hair that is still drying is especially vulnerable to it. A firmer hold product and drying indoors in still air both help. On the worst days, a stretched style such as twists frizzes less than a wash-and-go simply because there is less exposed surface.
Does a Haircut Change How Well Curls Air-Dry?
Considerably, because uneven lengths are one of the biggest sources of what people read as frizz. Short pieces sticking out of a clump look like frizz even when the strand is perfectly healthy. A well-shaped curly bob or a properly layered longer shape gives every curl a neighbor at a similar length, and the same routine suddenly looks cleaner.
Learning to air-dry curly hair without frizz comes down to three things: soaking-wet product application, one method chosen and executed consistently, and total patience while it dries. Pick the method that matches your pattern from the table above, give it three wash days before you judge it, and resist every impulse to check on your curls with your hands. The single change that fixes the most frizz costs nothing at all, which is simply leaving your hair alone.
Hair results vary based on your natural hair type, texture, density, and condition. Always consult with a licensed hairstylist before making significant changes, especially with chemical treatments or dramatic length changes. Photos may show styled results that require professional tools and products to replicate.
2 responses