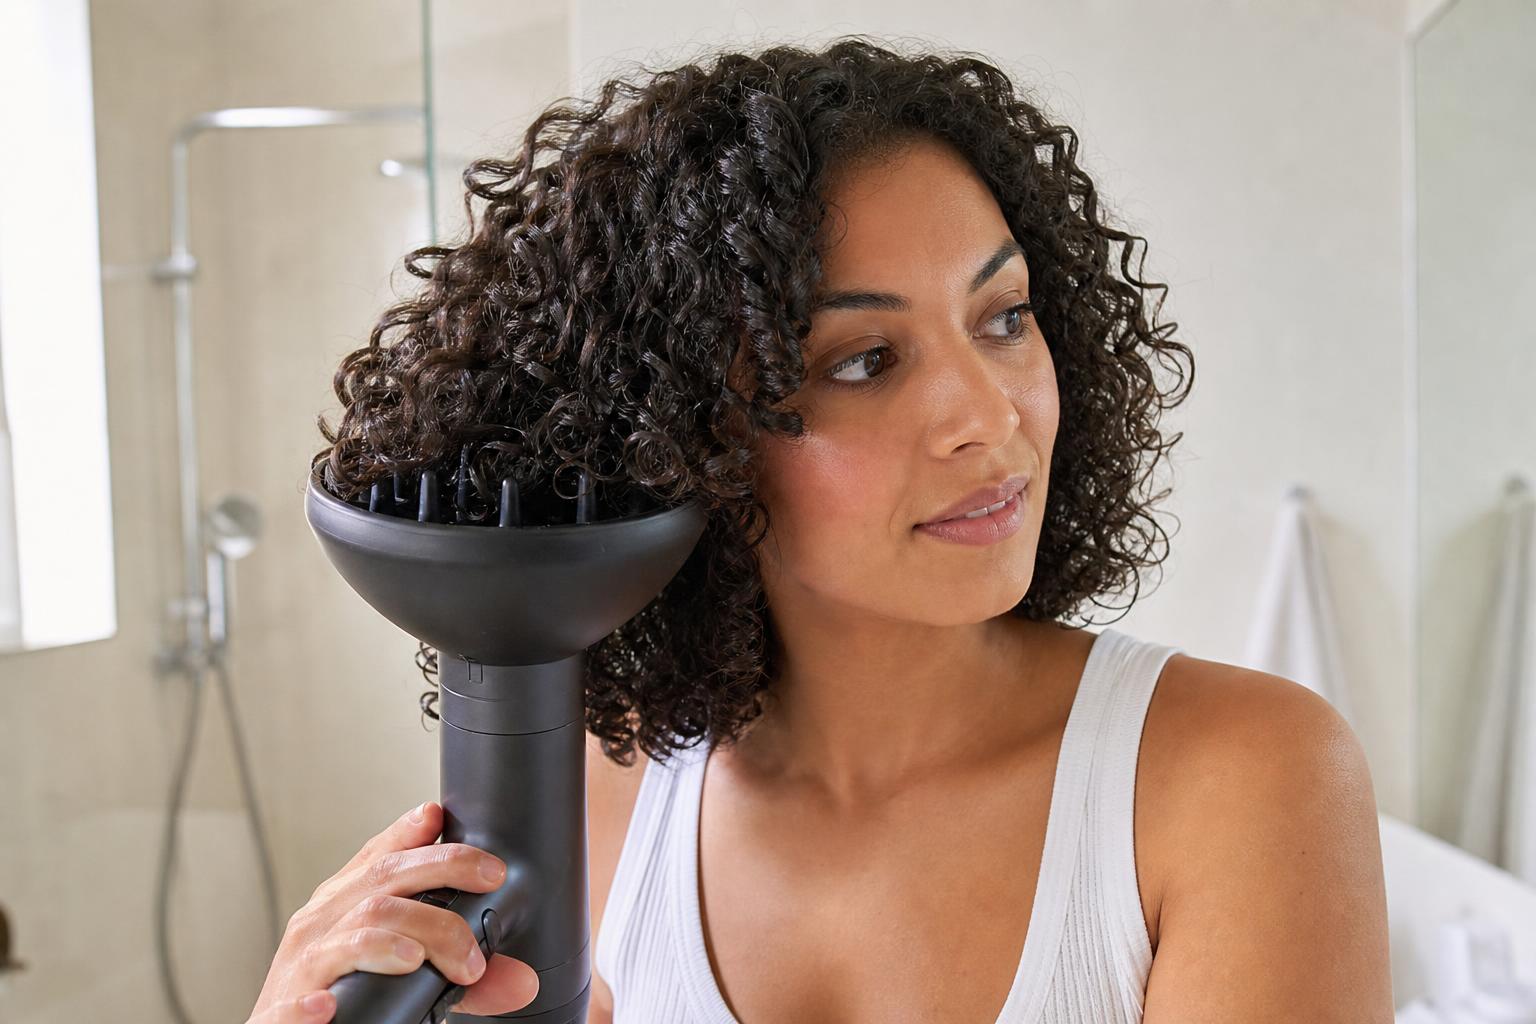
Nearly all diffuser frizz traces back to two habits: too much heat and touching your hair while it dries.
A diffuser works by spreading the dryer’s airflow across a wide bowl so it dries curls without blasting them apart, and it only does that job on low heat with low airspeed. Push either setting up and you get the same result a bare nozzle gives you, which is a halo of frizz and curls that have lost their clumps. The second half of the equation is keeping your hands off the hair from the moment product goes on until it is fully dry.
This guide covers choosing a bowl that fits your curl pattern, the heat and speed settings by curl type, how the hover, pixie, and cup methods differ and when each is worth using, the step-by-step routine, how to break the gel cast without undoing the definition, and how to diagnose frizz that appears anyway.
Pick a Bowl That Fits Your Curl Pattern
Diffusers are not interchangeable, and the two features that matter are bowl depth and prong length. A deep bowl holds more hair and dries a larger clump at once, which suits dense curls and coils. Long prongs reach through thick hair to the root and lift it, while short prongs distribute air across the surface and suit looser waves that collapse under too much handling.
| Curl Type | Bowl and Prongs | Heat and Speed | Best Method |
|---|---|---|---|
| 2a to 2c waves | Shallow bowl, short prongs | Low heat, low speed | Hover first, cup at the ends only |
| 3a to 3b curls | Medium bowl, medium prongs | Low to medium heat, low speed | Hover to set, then cup section by section |
| 3c curls | Deep bowl, long prongs | Medium heat, low speed | Cup throughout, pixie at the roots |
| 4a to 4c coils | Deep bowl, long widely spaced prongs | Medium heat, low to medium speed | Cup with the head upright, minimal movement |
| Fine hair, any pattern | Shallow bowl, short prongs | Low heat, lowest speed | Pixie at the roots for lift, hover elsewhere |
If your dryer came with a diffuser you dislike, universal attachments that clamp onto the barrel are inexpensive and usually a better fit than the manufacturer’s own. What matters more than the brand is whether the bowl comfortably holds a section of your hair without you having to press.
Low Heat and Low Speed Are Not Optional
High airspeed is what physically separates curl clumps, and clumps are the whole basis of definition. Even on cool air, a fast stream pushes strands out of formation and leaves them drying in the wrong position. High heat causes a different problem, drying the outer cuticle before the inner shaft has released its water, which leaves hair that feels dry and behaves damp.
Low speed is the setting to protect first. If your dryer only has two speeds and the low one still feels strong, hold the diffuser further from the head and move it more slowly rather than turning the speed up to finish faster. Heat can rise to medium for dense 3c and 4-type hair, which genuinely takes too long on low, but airspeed should stay down regardless of texture.
Stylist tip: Finish every section with thirty seconds of cool air before moving on. Hair sets its shape as it cools rather than while it is hot, so a cool pass at the end of each section is what makes the definition survive the day rather than dropping within an hour.
What You Do Before the Dryer Decides the Result
Diffusing does not create definition, it preserves whatever you built while the hair was soaking wet. Apply your leave-in and gel to hair that is genuinely dripping, not towel-dried, since water is what lets product distribute evenly and lets curls find their natural clumps. Rake the product through, then scrunch upward toward the scalp, and stop touching your hair at that point.
The gel cast is the crisp shell that forms as gel dries around a clump, and it is doing real work. It holds the curl in position while the water leaves, then gets broken afterward to release soft, defined hair underneath. People who describe gel as crunchy and give up on it are usually skipping the last step rather than using the wrong product. This is the same principle behind air-drying curly hair without frizz, where the cast does the work over a longer timeline.
Blot with a microfiber towel or a cotton t-shirt by pressing upward rather than rubbing, and only enough to stop actual dripping. Terry cloth towels are the single worst thing you can put on curly hair, because the loops catch individual strands and pull them out of their clumps before drying even starts.
Hover, Pixie, and Cup Diffusing Compared
The three named methods are not competing philosophies, they are three tools for different stages and different goals. Most good routines use at least two of them in sequence, and knowing which does what saves a lot of trial and error.
| Method | What You Do | What It Gives | Trade-Off |
|---|---|---|---|
| Hover | Hold the bowl a few inches away without touching the hair | Lowest frizz, sets the cast cleanly | Slowest, and builds no root volume |
| Cup | Gather a section into the bowl, lift toward the scalp, hold still | Faster drying with curls held in a compressed spiral | Frizz if you move the bowl while the air is on |
| Pixie | Press the bowl into the roots and hold curls compressed at the scalp | The most root volume of the three | Most hands-on, so the riskiest for frizz |
| Upside down | Flip the head forward and cup from underneath | Volume through the whole canopy, not just the roots | Can flatten the crown shape when you flip back |
The sequence most curly stylists recommend is hover until the cast has set on the surface, then switch to cupping for the bulk of the drying, adding pixie work at the roots only if you want more lift. Starting with cupping on soaking hair is where a lot of people go wrong, because the cast has not formed yet and the bowl pulls clumps apart as it lifts.
The Routine, Step by Step
Plan for fifteen to thirty minutes depending on density. The steps below assume shoulder-length 3a to 3b hair, and the timings scale up for coarser or denser textures. Sit down for it if you can, because holding a dryer overhead for twenty minutes is genuinely tiring and fatigue is what makes people rush the last third.
Step 1: Set the Cast With Hover Drying
What you need: Diffuser attached, low heat, lowest speed.
How: Hold the bowl three or four inches from the hair and move slowly around the head for three to five minutes, never letting the prongs touch a curl.
Why: The gel needs to form its shell before anything touches the hair. Once that shell is in place, later handling cannot break the clumps underneath.
Common mistake: Starting to cup immediately because hovering feels unproductive.
Step 2: Cup Section by Section From the Ends Up
What you need: The same settings, plus patience for thirty to sixty seconds per section.
How: Lower the bowl under a section, let the curl fall into it, lift the bowl toward the scalp so the curl compresses, then hold completely still while the air runs.
Why: Compressing the spiral as it dries shortens and tightens the curl, which is where bounce comes from. Stillness is the entire technique.
Common mistake: Shaking or circling the diffuser, which turns it into a slow blow dryer and undoes the point.
Step 3: Add Root Volume With the Pixie Press
What you need: A bowl with prongs long enough to reach your scalp.
How: Press the prongs gently into the roots at the crown, hold for twenty seconds per spot, and work across the top of the head.
Why: Roots dry in whatever direction they are held, so holding them lifted away from the scalp is the only reliable way to build volume on curly hair.
Common mistake: Doing this at the start, when wet roots simply fall flat again the moment you move on.
Step 4: Stop at 90 Percent Dry
What you need: Your hands, kept off the hair, and the cool shot button.
How: Switch to cool air for the last two minutes, then stop while the hair still feels faintly cool at the densest sections and let the rest finish in the air.
Why: The final stretch of drying is where heat does the most damage for the least benefit, and cooling sets the shape you have built.
Common mistake: Chasing every last damp spot at the nape with hot air, which frizzes the surface you already dried.
Breaking the Cast Without Losing Definition
Wait until the hair is completely dry. Not nearly dry, not dry on top. Breaking a cast early is the most reliable way to produce frizz in an otherwise perfect wash day, because the curl underneath has not finished setting and immediately springs out of formation. If you are unsure, give it another twenty minutes.
To break it, rub a pea-sized drop of lightweight oil or a serum between dry palms, then scrunch upward from the ends toward the scalp in small handfuls. The crisp shell cracks and falls away, leaving soft, defined curls. Scrunching with completely bare hands works too and gives slightly more volume, though a trace of oil adds shine and reduces static.
You can also break the cast with the diffuser itself, cupping sections on cool air until the shell releases, which produces the least disruption of all. Whatever you use, resist the urge to run fingers through afterward. Curls separated by combing or raking on dry hair do not reclump until the next wash, which is why refreshing curls between washes is a separate technique rather than a matter of brushing them back into place.
Where Frizz Actually Comes From
If you have followed the settings and the method and still get frizz, the cause is almost always upstream of the dryer. Work down this list before buying a different diffuser.
- Not enough product, or product applied to hair that was already half dry. Gel needs water to spread. Reapply on soaking hair and use more than feels reasonable the first time.
- Terry towel drying. Swap to a microfiber towel or an old cotton t-shirt and press rather than rub.
- Touching the hair mid-dry. Every check with your fingers costs you a clump. Look, do not feel.
- Mineral buildup coating the strand. If your curls stopped clumping and products stopped absorbing, hard water deposits are a common cause and need a chelating wash rather than more gel.
- A protein and moisture imbalance. Hair that frizzes while feeling limp usually needs protein, and hair that frizzes while feeling stiff needs moisture. A quick porosity check points you to which.
- Sleeping on cotton. A satin pillowcase or a loose pineapple at the crown protects the definition you spent twenty minutes building.
When a Diffuser Is Not the Right Tool
Diffusing suits most curl patterns, but there are situations where it costs more than it delivers. Recognizing them saves both time and condition.
Very fine, low-density waves often look better air-dried, because even low airflow disturbs clumps that have little weight holding them together. Freshly bleached or heavily processed hair should be diffused sparingly on the lowest heat, since twenty minutes of sustained warmth adds up on a compromised cuticle. Hair with a heavy silicone or product buildup will not clump properly no matter how careful the technique, so clarify first and diffuse the next wash instead.
Stylist tip: If you are short on time, air-drying to about 70 percent and then diffusing only the last stretch gives close to the same definition in a third of the dryer time. Most of the frizz risk lives in the early minutes when the cast is still forming, and letting that stage happen in still air removes it entirely.
FAQ
How Long Should Diffusing Take?
Fifteen to twenty minutes for medium-density shoulder-length curls, and thirty to forty for dense or long hair. If you are finishing in under ten minutes, your airspeed or heat is almost certainly too high. Splitting the job with some air-drying first is the practical fix when time is genuinely short.
Can I Diffuse Wavy Hair or Is It Only for Curls?
Waves benefit from diffusing, though they need a lighter touch and a shallower bowl, since they lose their pattern more easily than tighter curls. Hover for most of the drying and use the bowl only at the ends, where the wave needs encouragement. Anyone growing out a wavy bob shaped for 2c hair will notice the difference in root lift immediately.
Should I Diffuse Upside Down?
Only for part of the drying, and not at the very end. Flipping forward builds volume through the canopy, but flipping back after the hair is fully dry drops the crown into a shape you did not choose. Spend the middle third of your drying time upside down and finish upright.
Does a Diffuser Damage Hair?
Far less than a bare dryer nozzle, because the bowl spreads the heat over a much larger area and you are working on low settings. That said, it is still heat, so a heat protectant belongs in the routine even on low. The correct way to apply heat protectant is to damp hair before any product layering, not as an afterthought.
Why Are My Curls Stiff and Crunchy After Diffusing?
That is the gel cast doing exactly what it should, and it means the technique worked. Scrunch it out with a drop of oil once the hair is fully dry, and the crunch disappears into softness. Crunchy hair that stays crunchy after scrunching usually means too much product rather than the wrong product.
Can I Use a Diffuser Every Day?
You can, but most curly routines do not involve washing daily, so the question usually answers itself. Diffusing on wash days and refreshing in between is gentler and holds definition better. Daily heat on curls, even low heat, tends to show up as roughness at the ends within a couple of months.
Does the Dryer Wattage Matter?
Less than people assume, since you are deliberately running low settings. What matters more is having genuinely distinct low speeds and a working cool shot, which cheap dryers often lack. A mid-range dryer with three heat settings and two speeds beats a high-wattage one with a single blast setting for this job.
Learning how to use a diffuser well is mostly a lesson in doing less: less heat, less airspeed, and far less handling than instinct suggests. Set the cast before you touch anything, hold the bowl still while the air runs, and wait until the hair is completely dry before you break the crunch. The rest of your curly hair routine gets easier once the drying stage stops working against you.
Hair results vary based on your natural hair type, texture, density, and condition. Always consult with a licensed hairstylist before making significant changes, especially with chemical treatments or dramatic length changes. Photos may show styled results that require professional tools and products to replicate.